logo

FourChapter.gallery–Update HOMEPAGE Content: STEP ONE

Oct 29, 2024
1

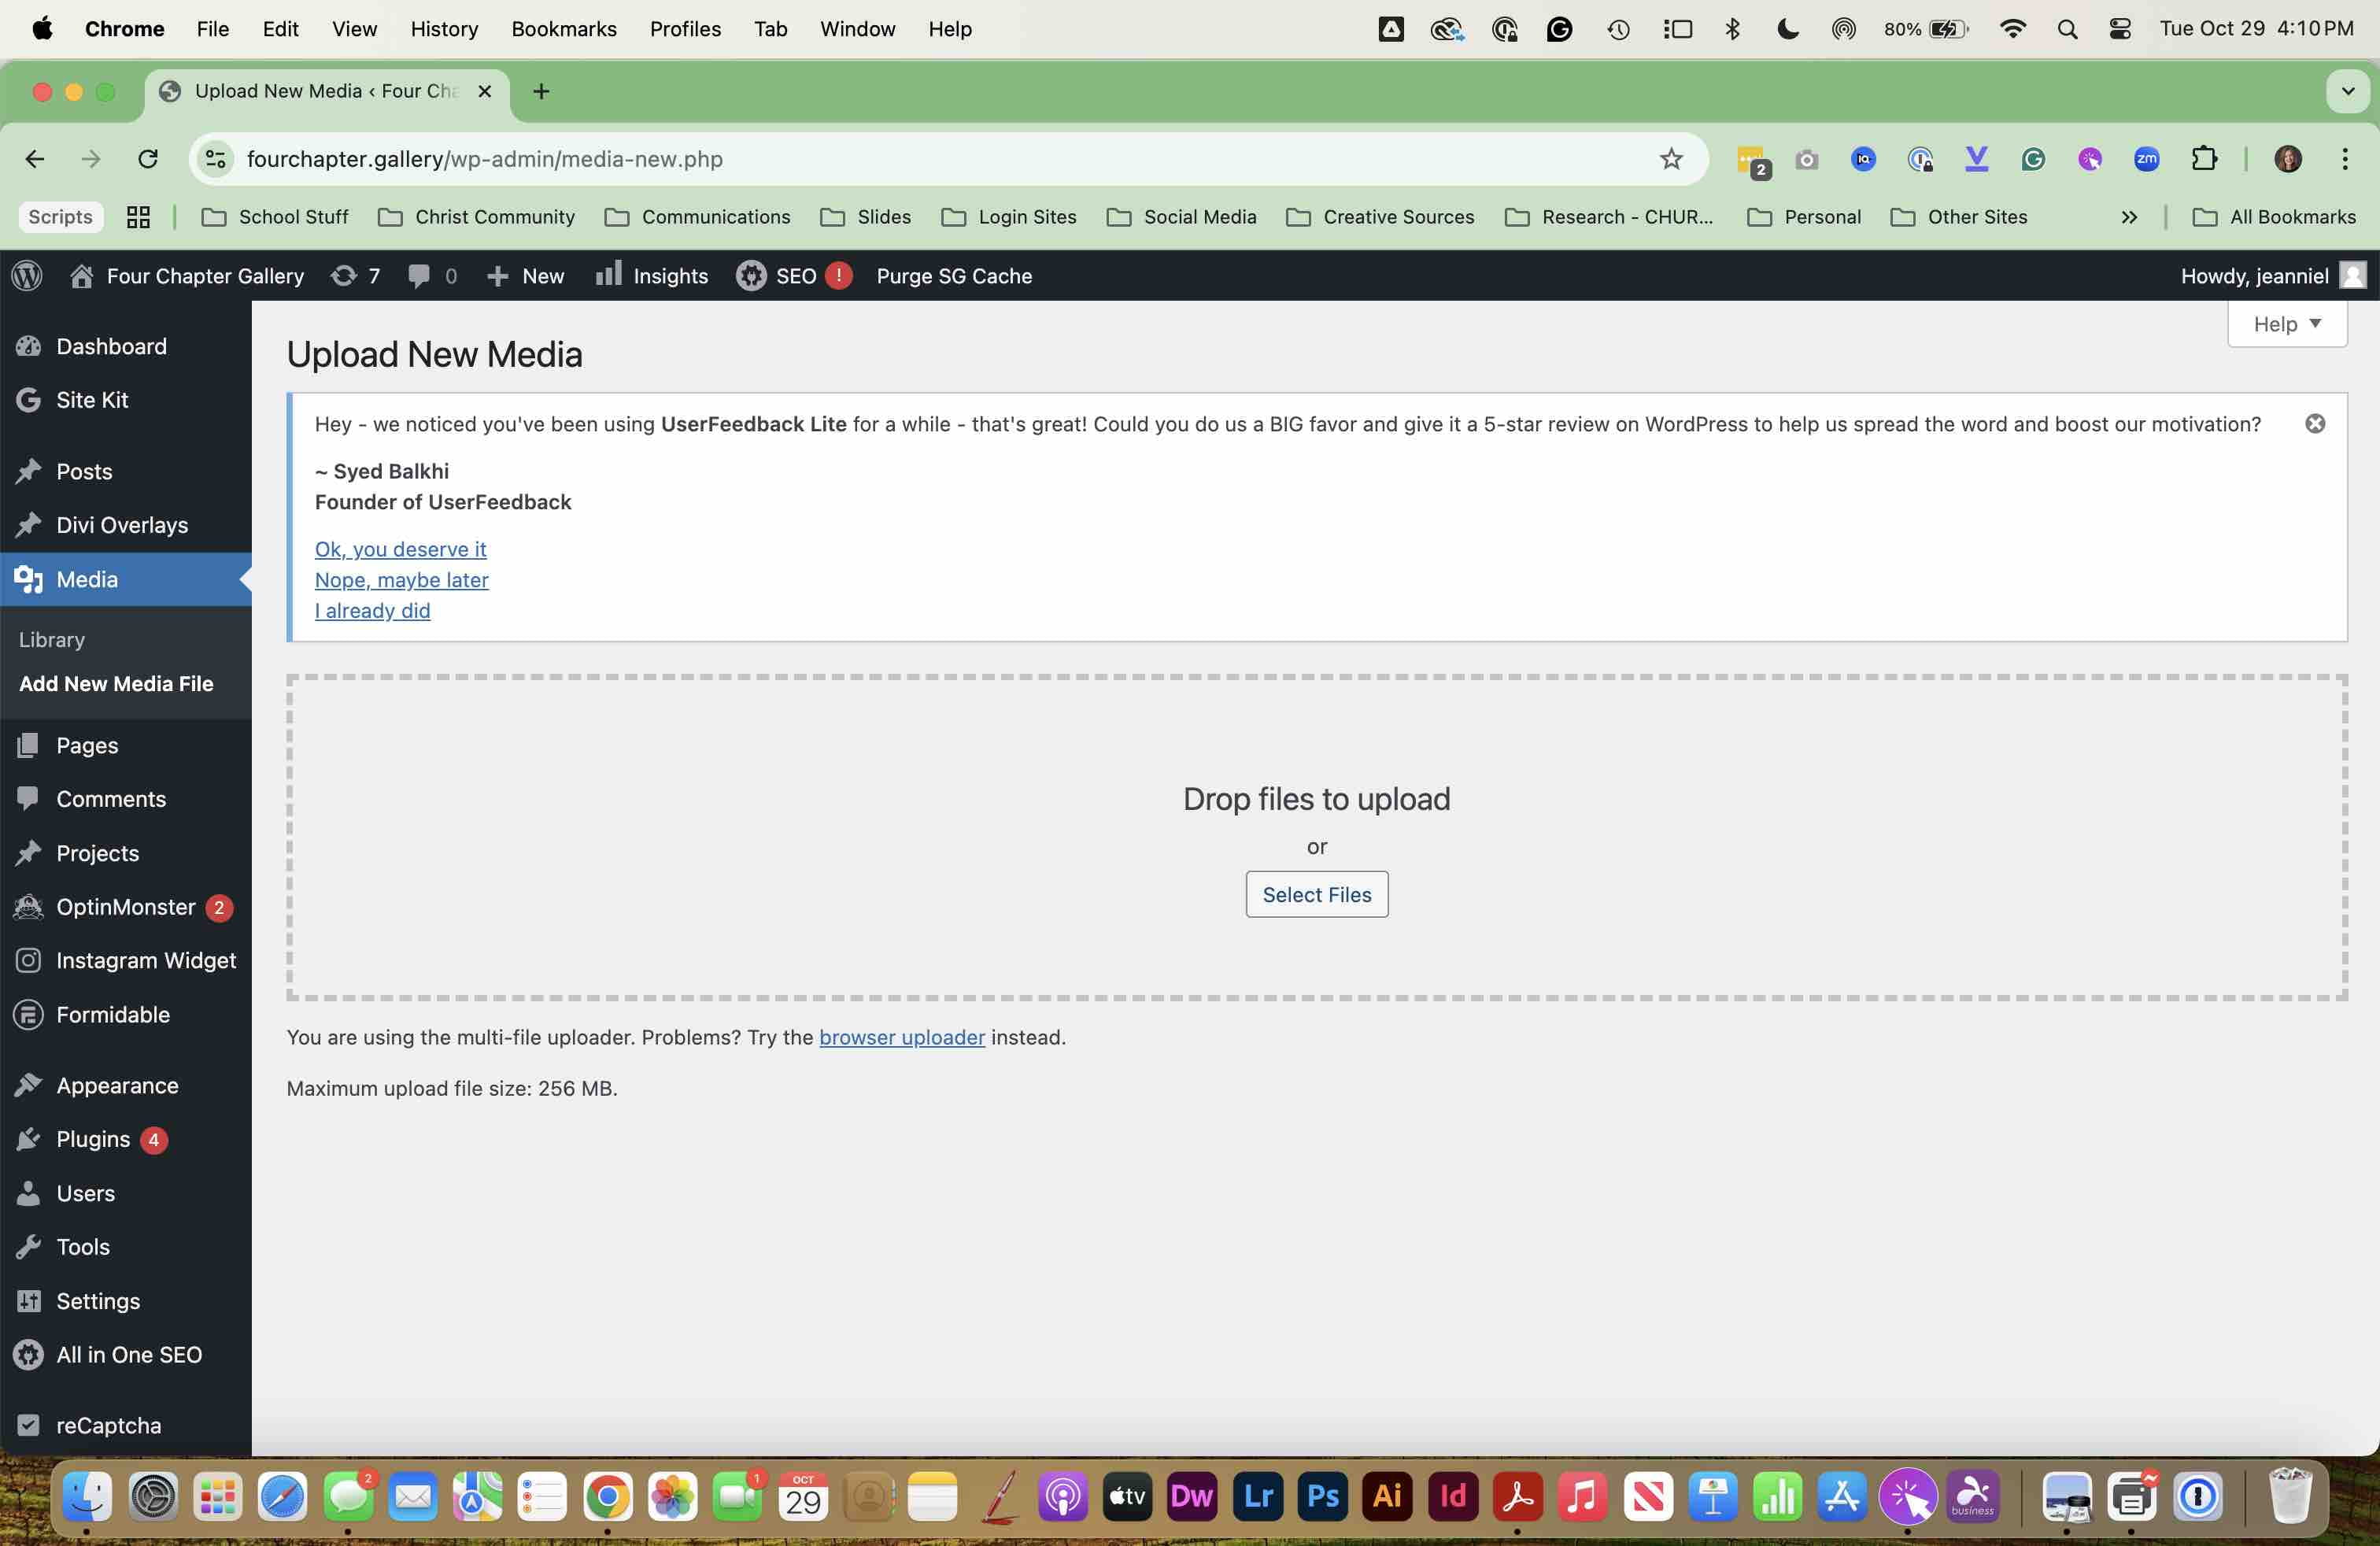
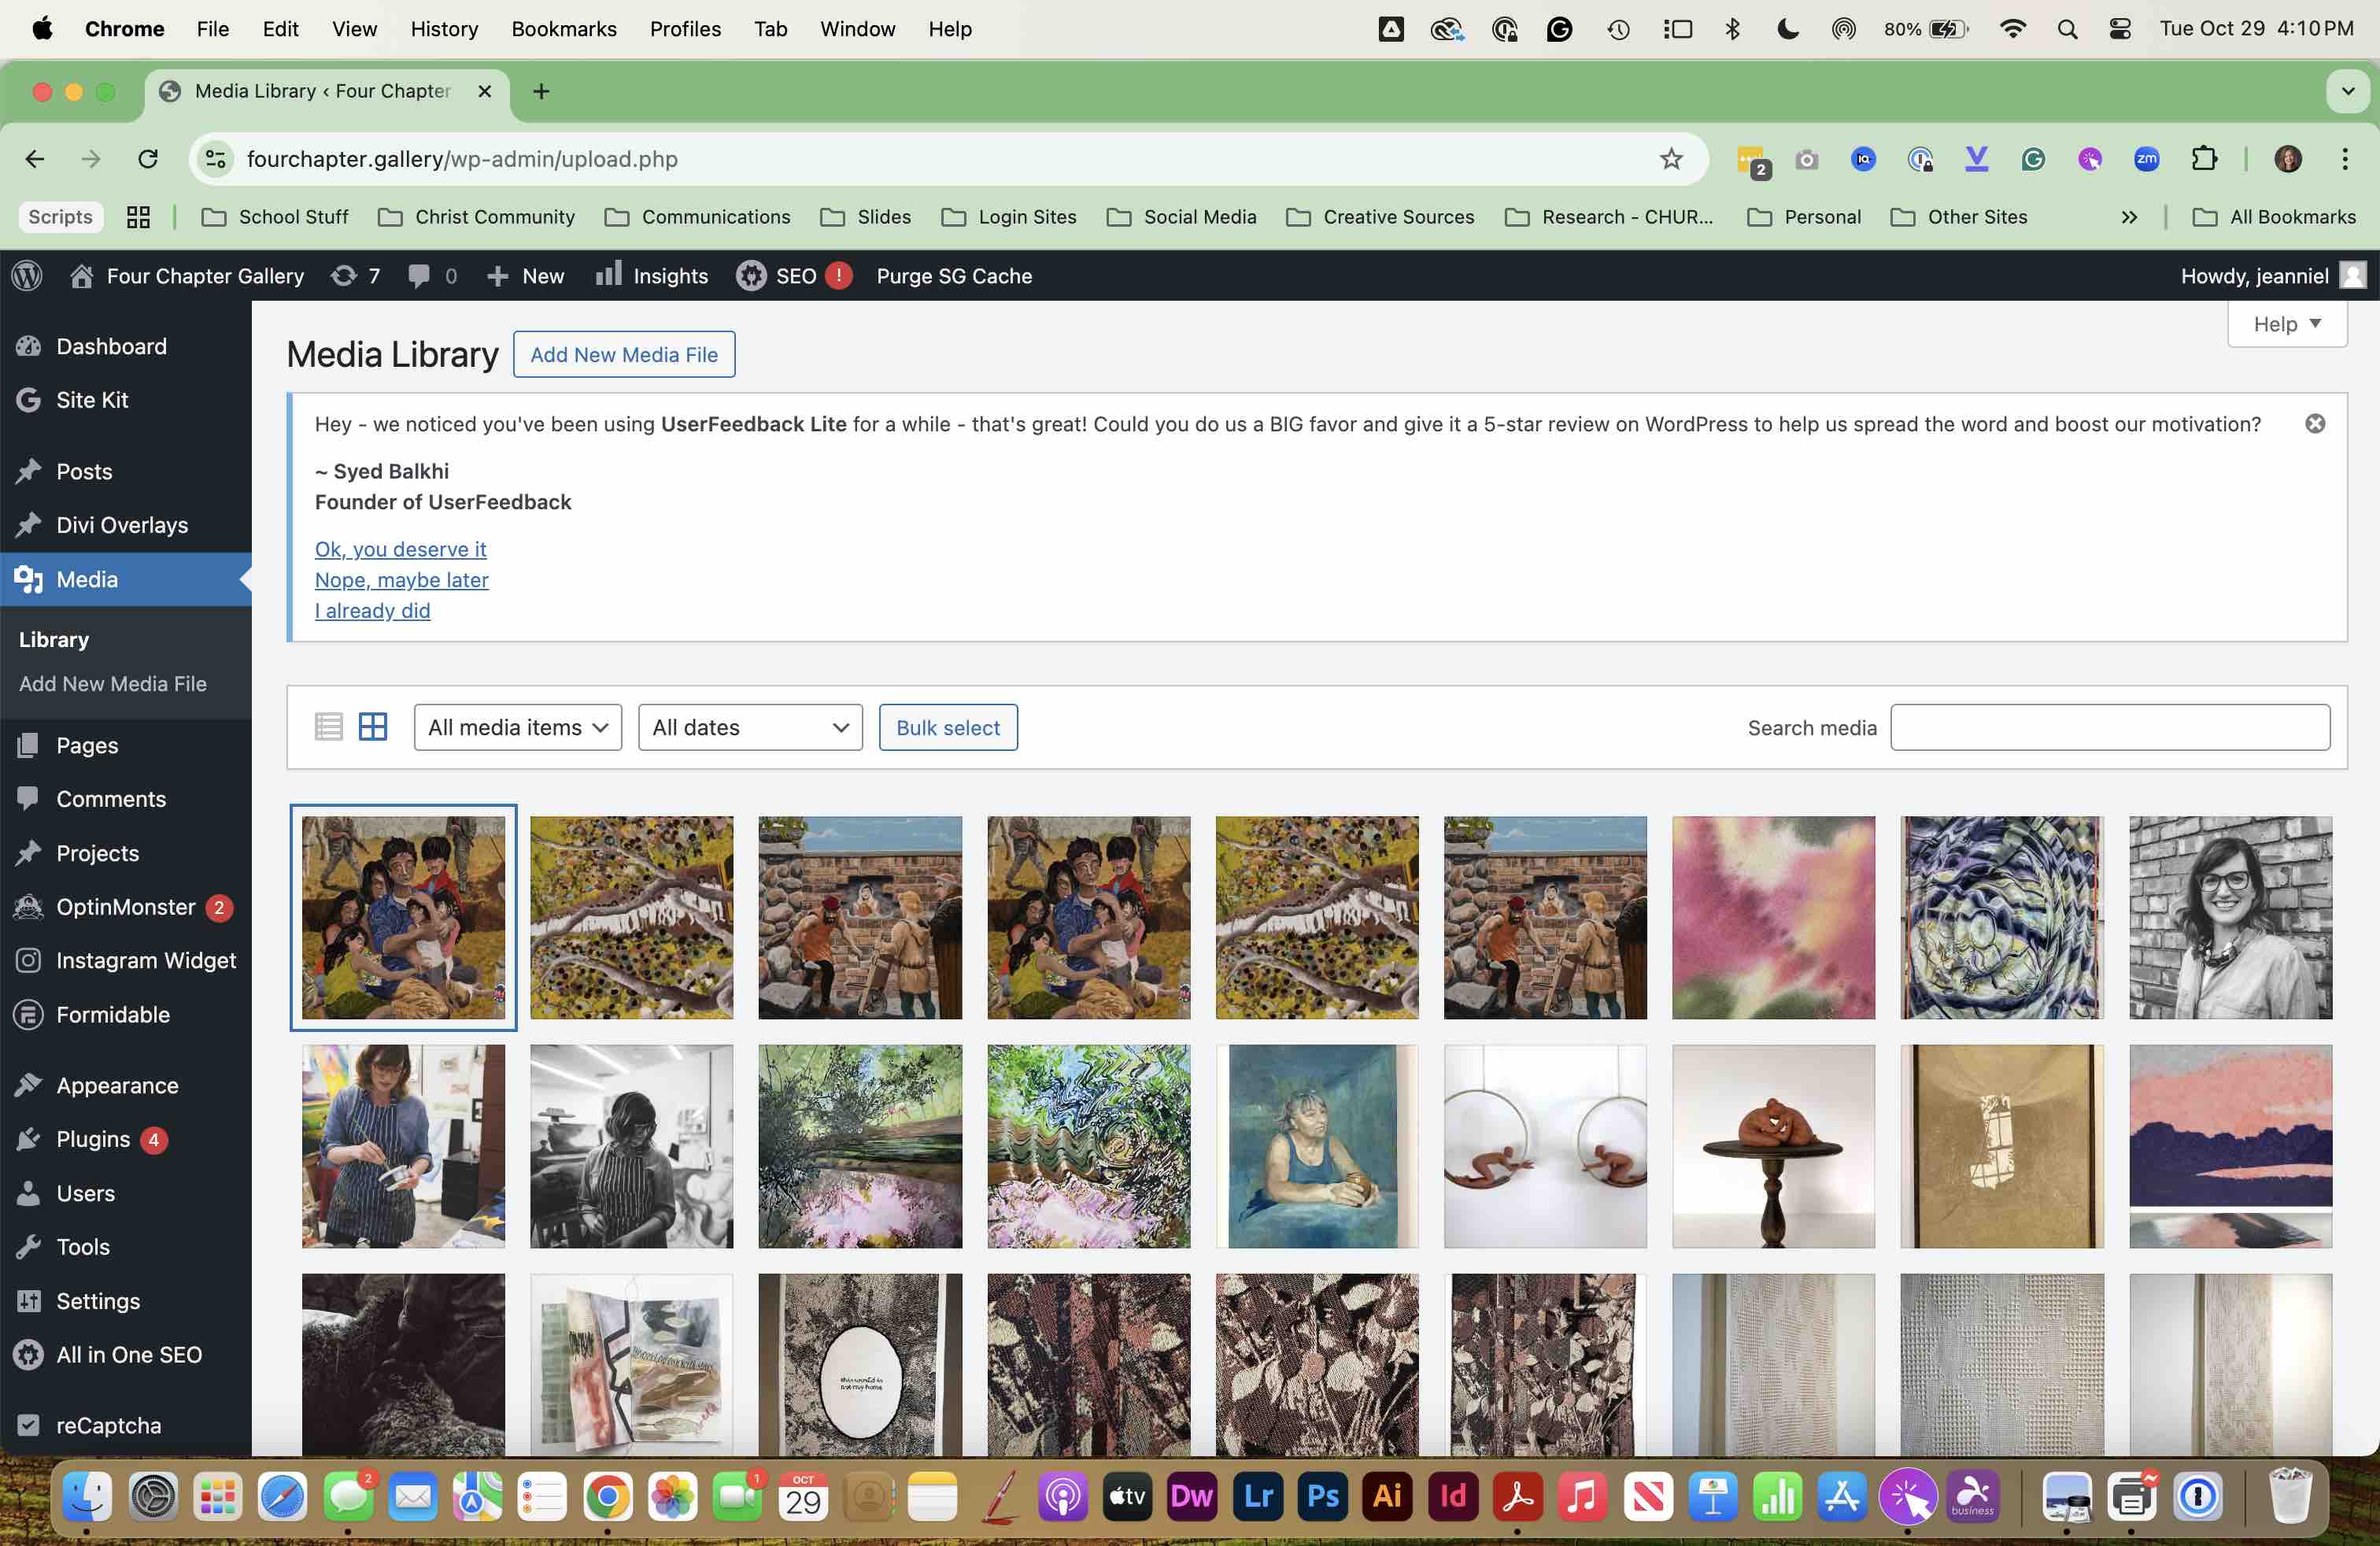
Go to the gallery website and UPLOAD your Exhibit Images into the MEDIA LIBRARY. Make sure the IMAGES are <500K (you probably need to resize them using either Photoshop or PREVIEW. 72 DPI and the longest side should be 1100px or less)
Go to the gallery website and UPLOAD your Exhibit Images into the MEDIA LIBRARY. 
Make sure the IMAGES are <500K (you probably need to resize them using either Photoshop or PREVIEW. 72 DPI and the longest side should be 1100px or less)
2

Upload images to MEDIA library.

Upload images to MEDIA library.
3

Use the COMMUNICATIONS folder (NOT the shortlink folder) to copy and resize your images for the website).
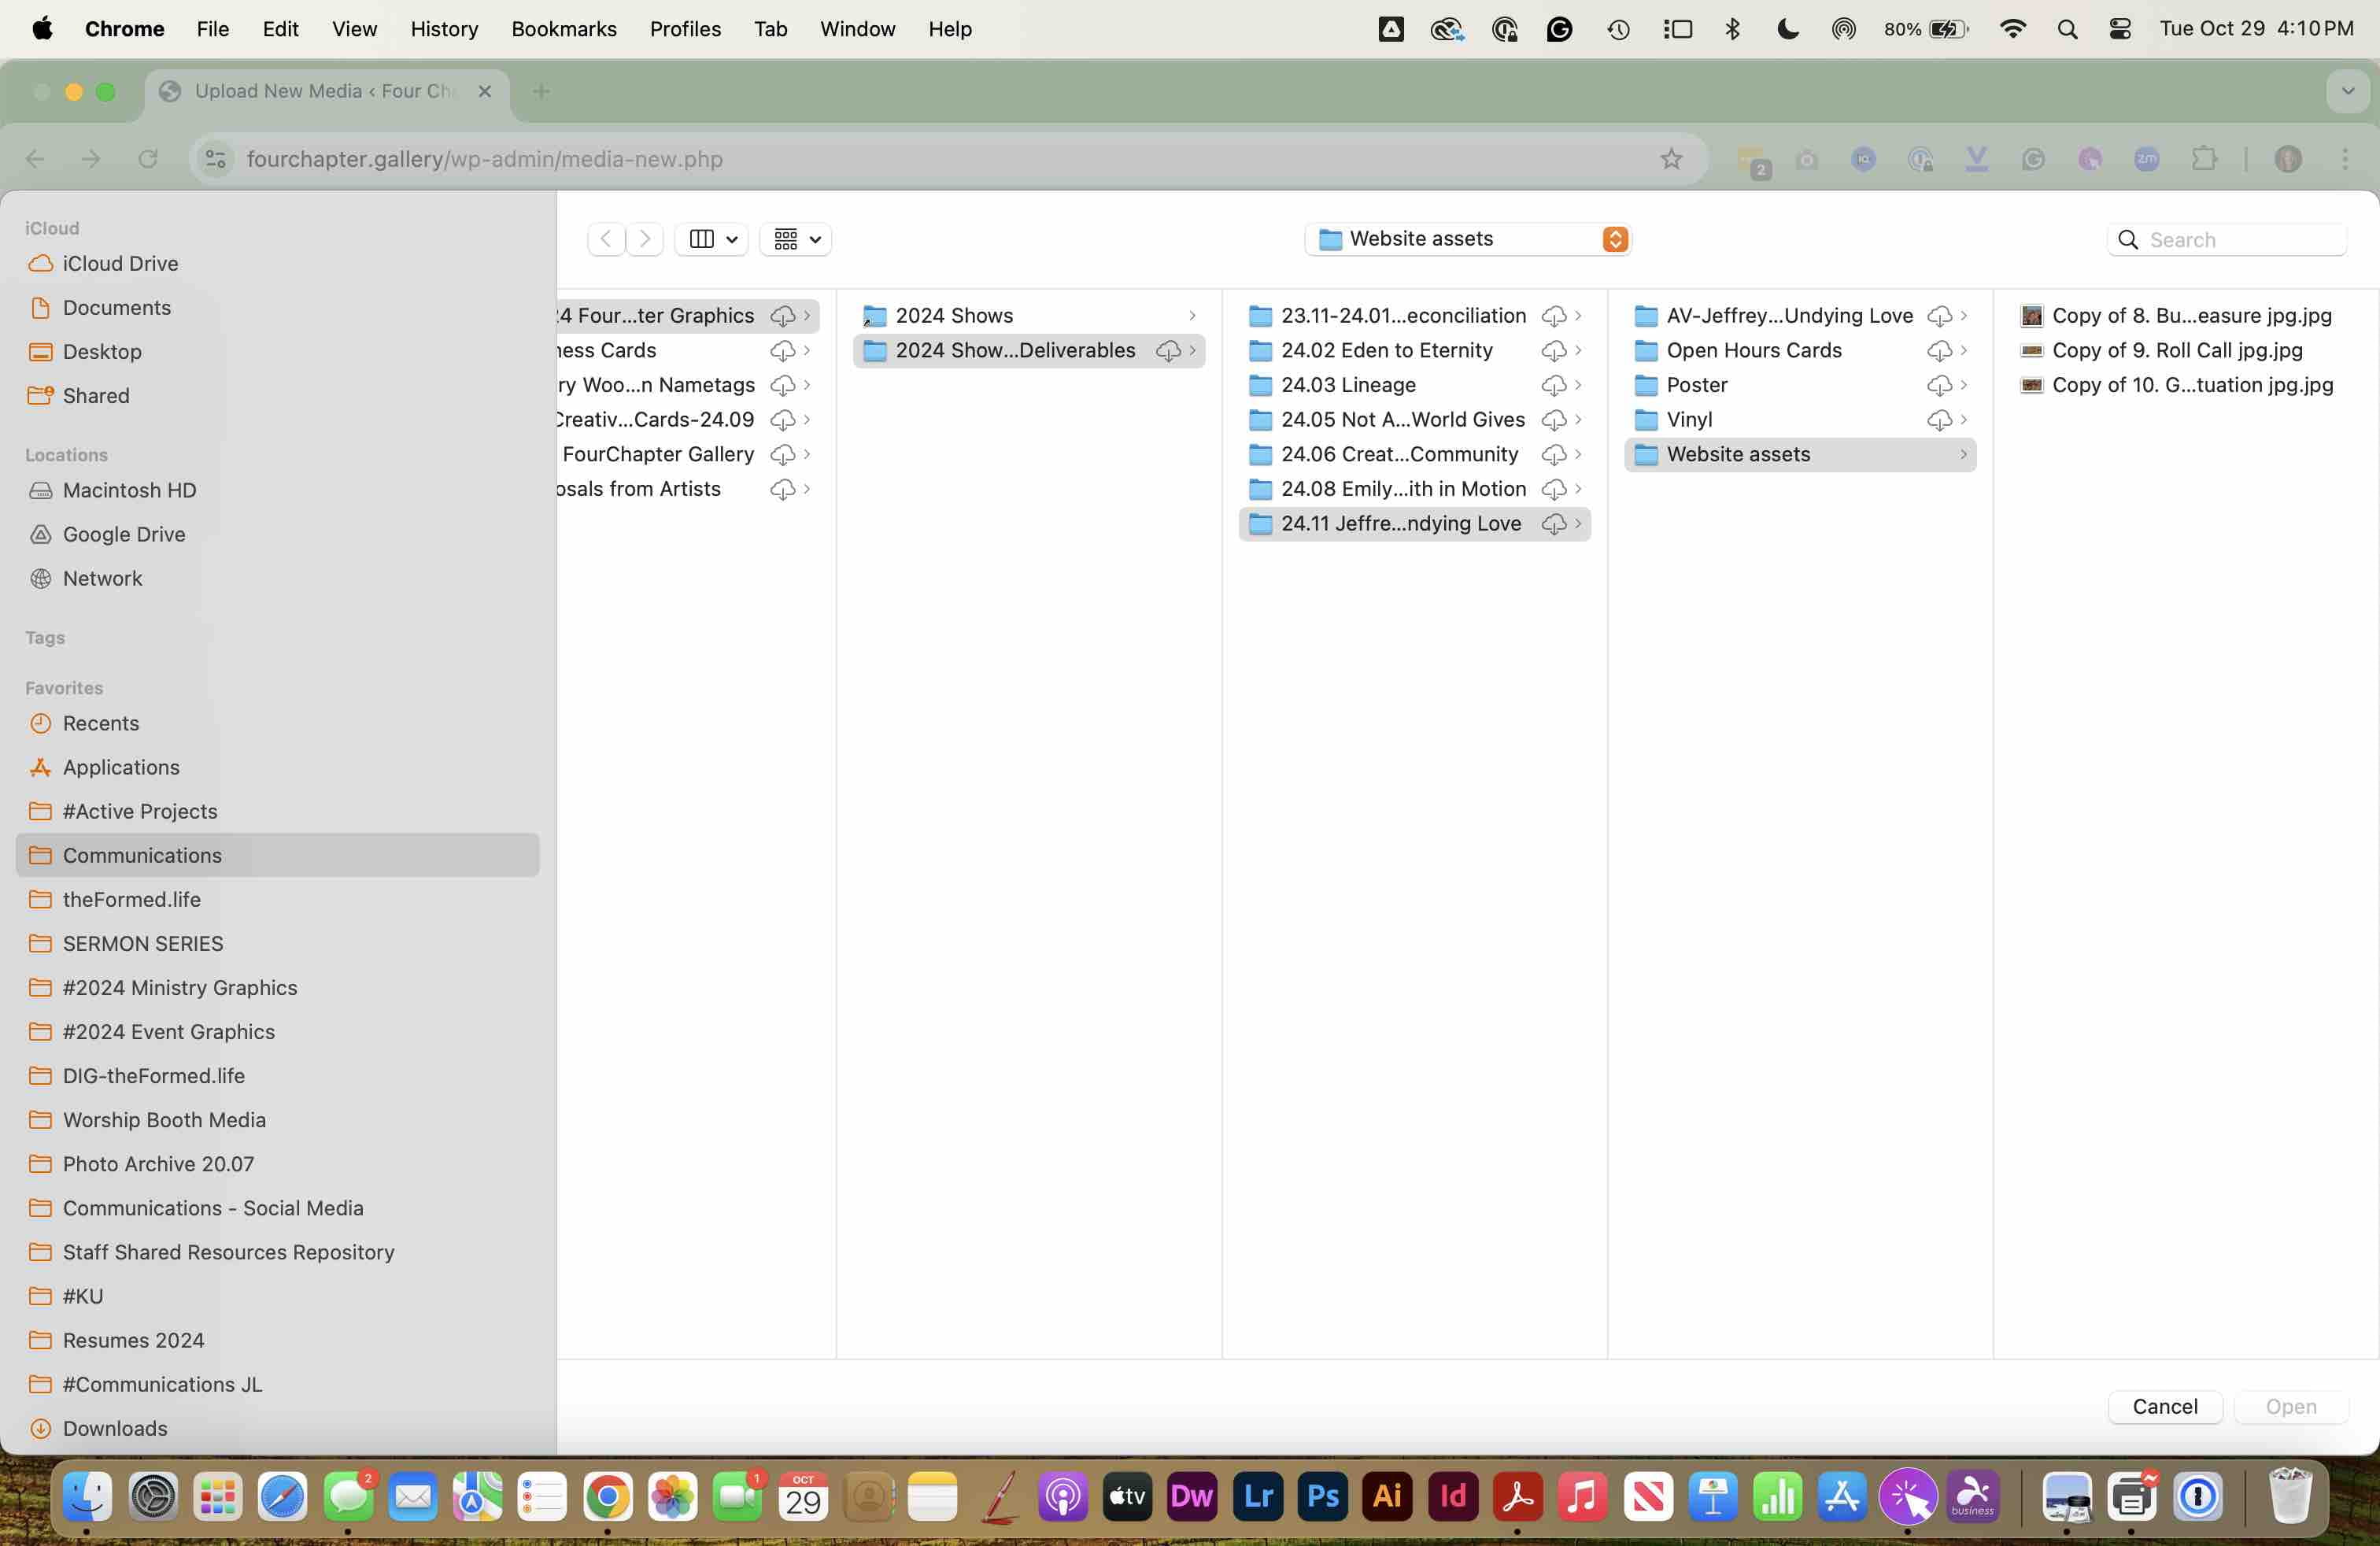
Use the COMMUNICATIONS folder (NOT the shortlink folder) to copy and resize your images for the website).
4

You can check your file sizes here as well.
You can check your file sizes here as well.
5

Image file size should be <500K and the DIMENSIONS should be <1100 px
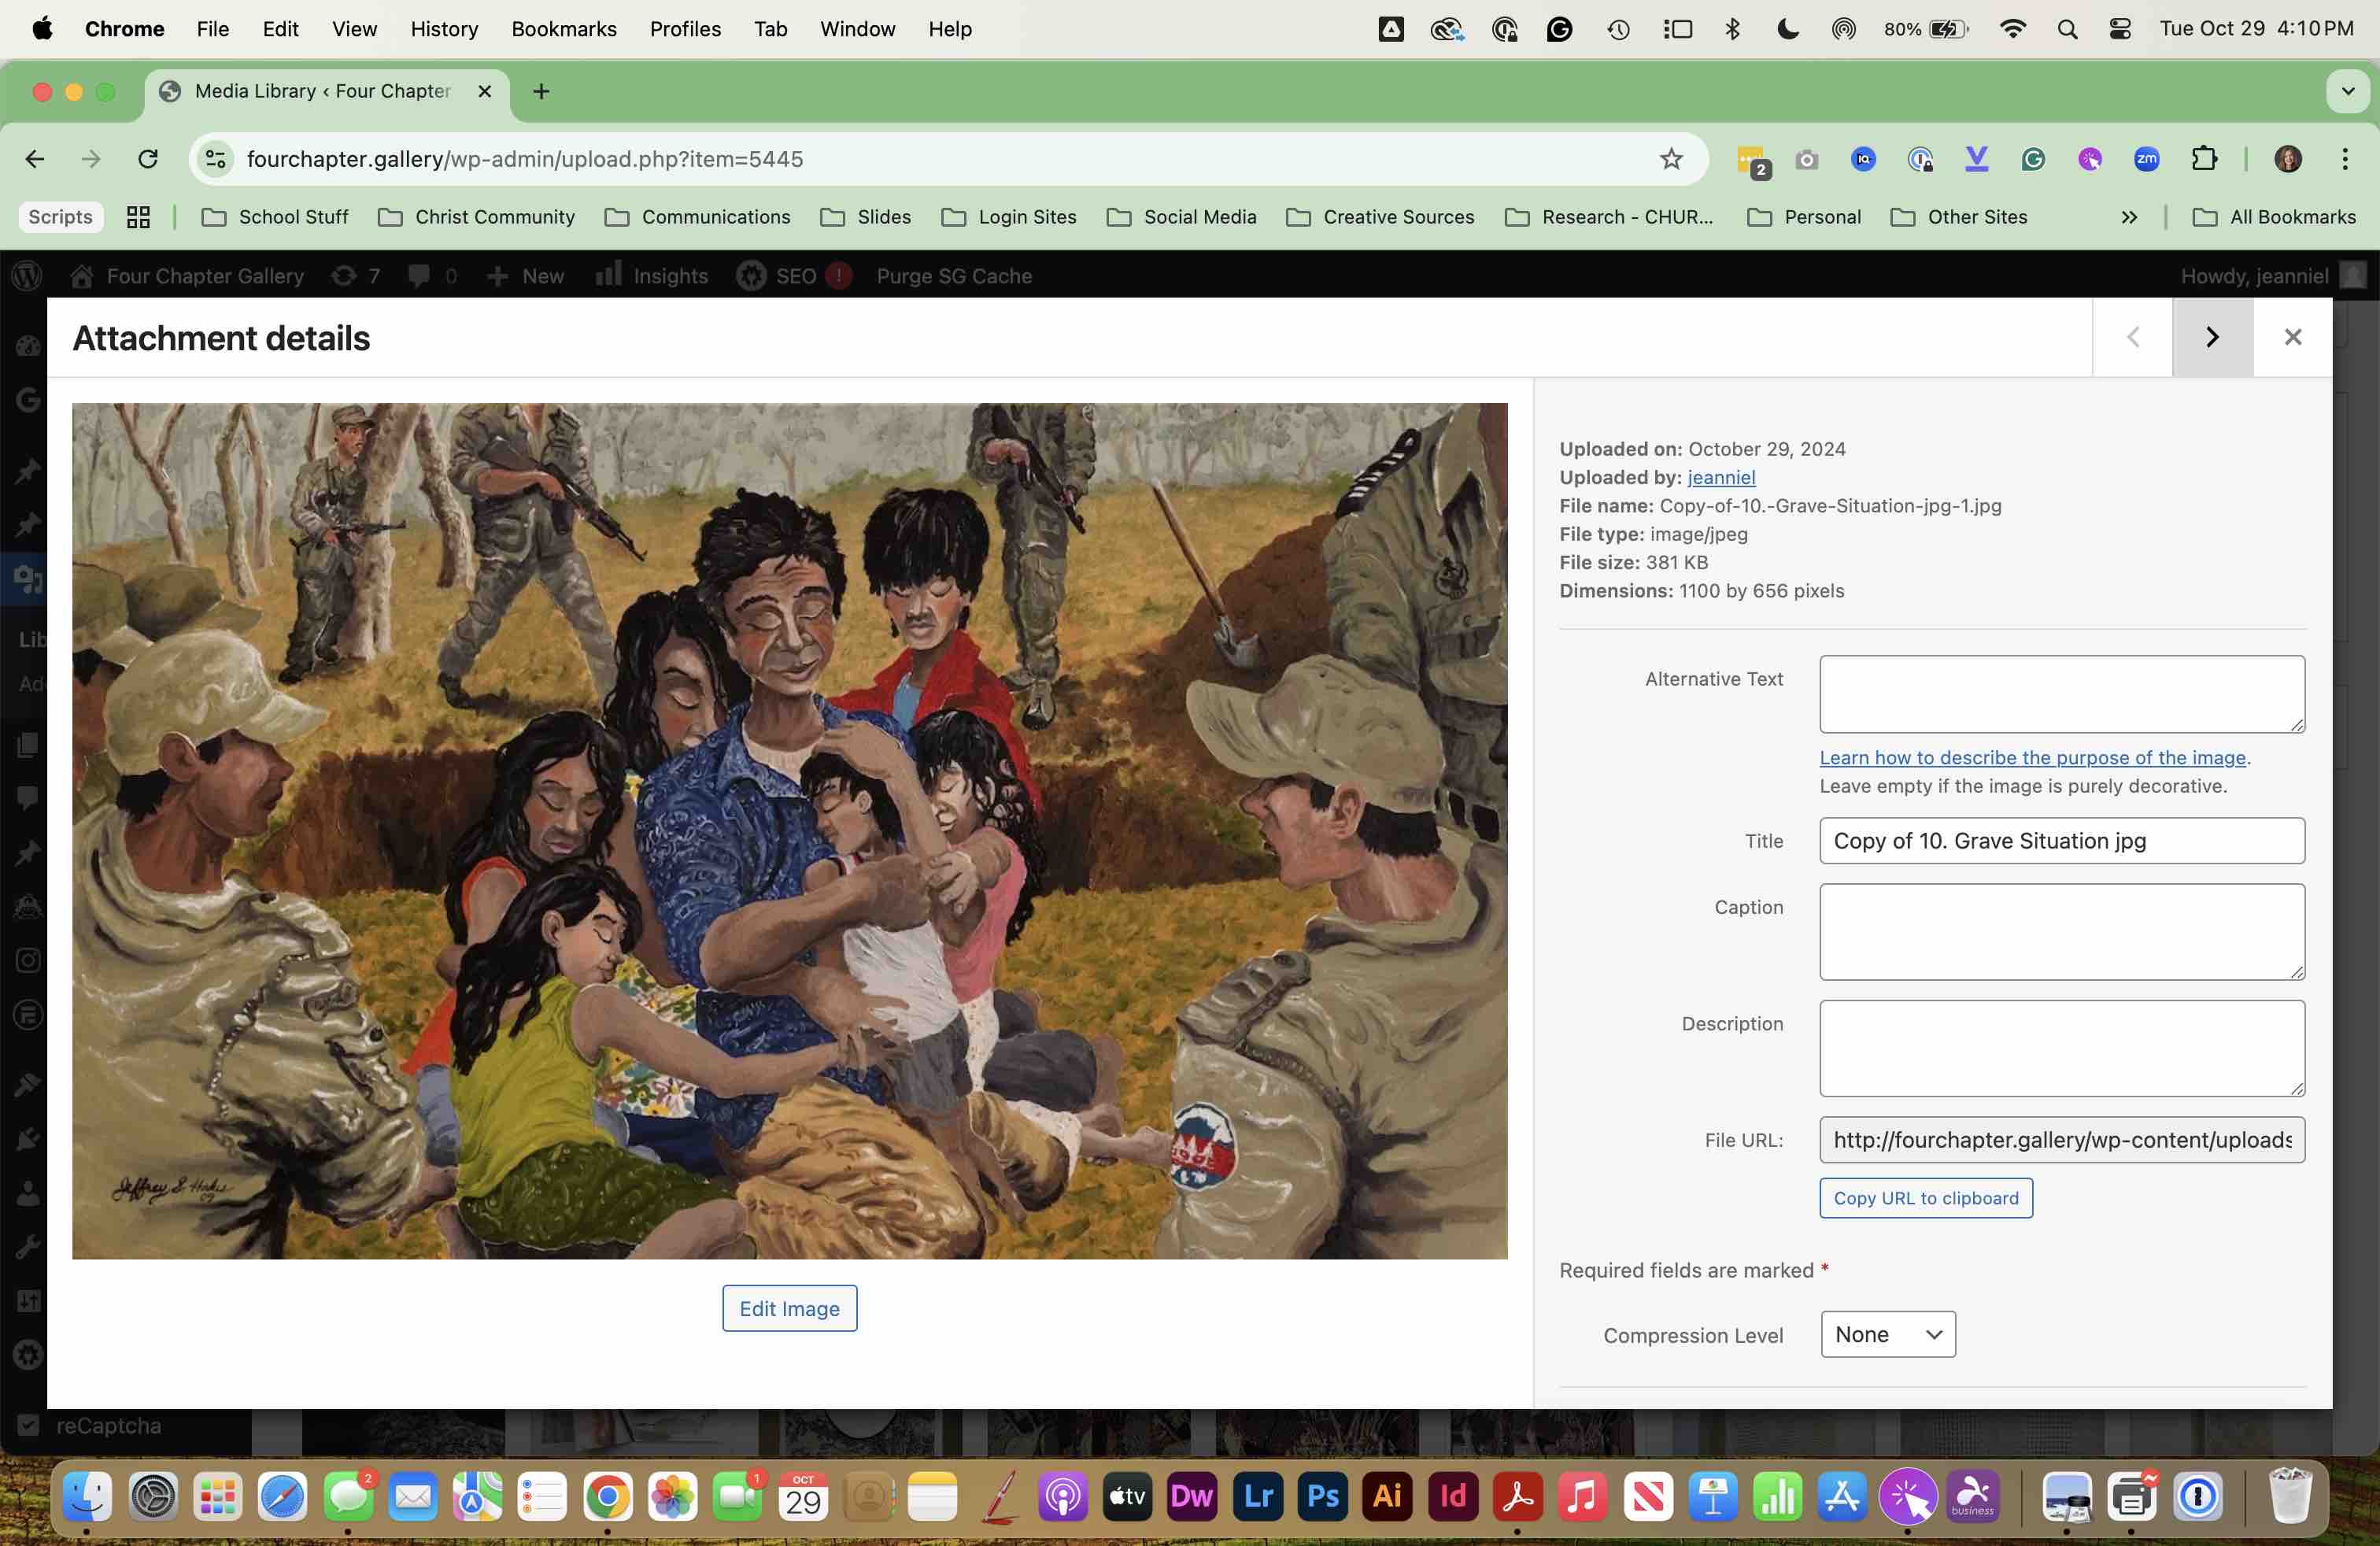
Image file size should be <500K and the DIMENSIONS should be <1100 px
6

Return to the front page of the website and ENABLE VISUAL BUILDER, then scroll to the CURRENT EXHIBIT section.
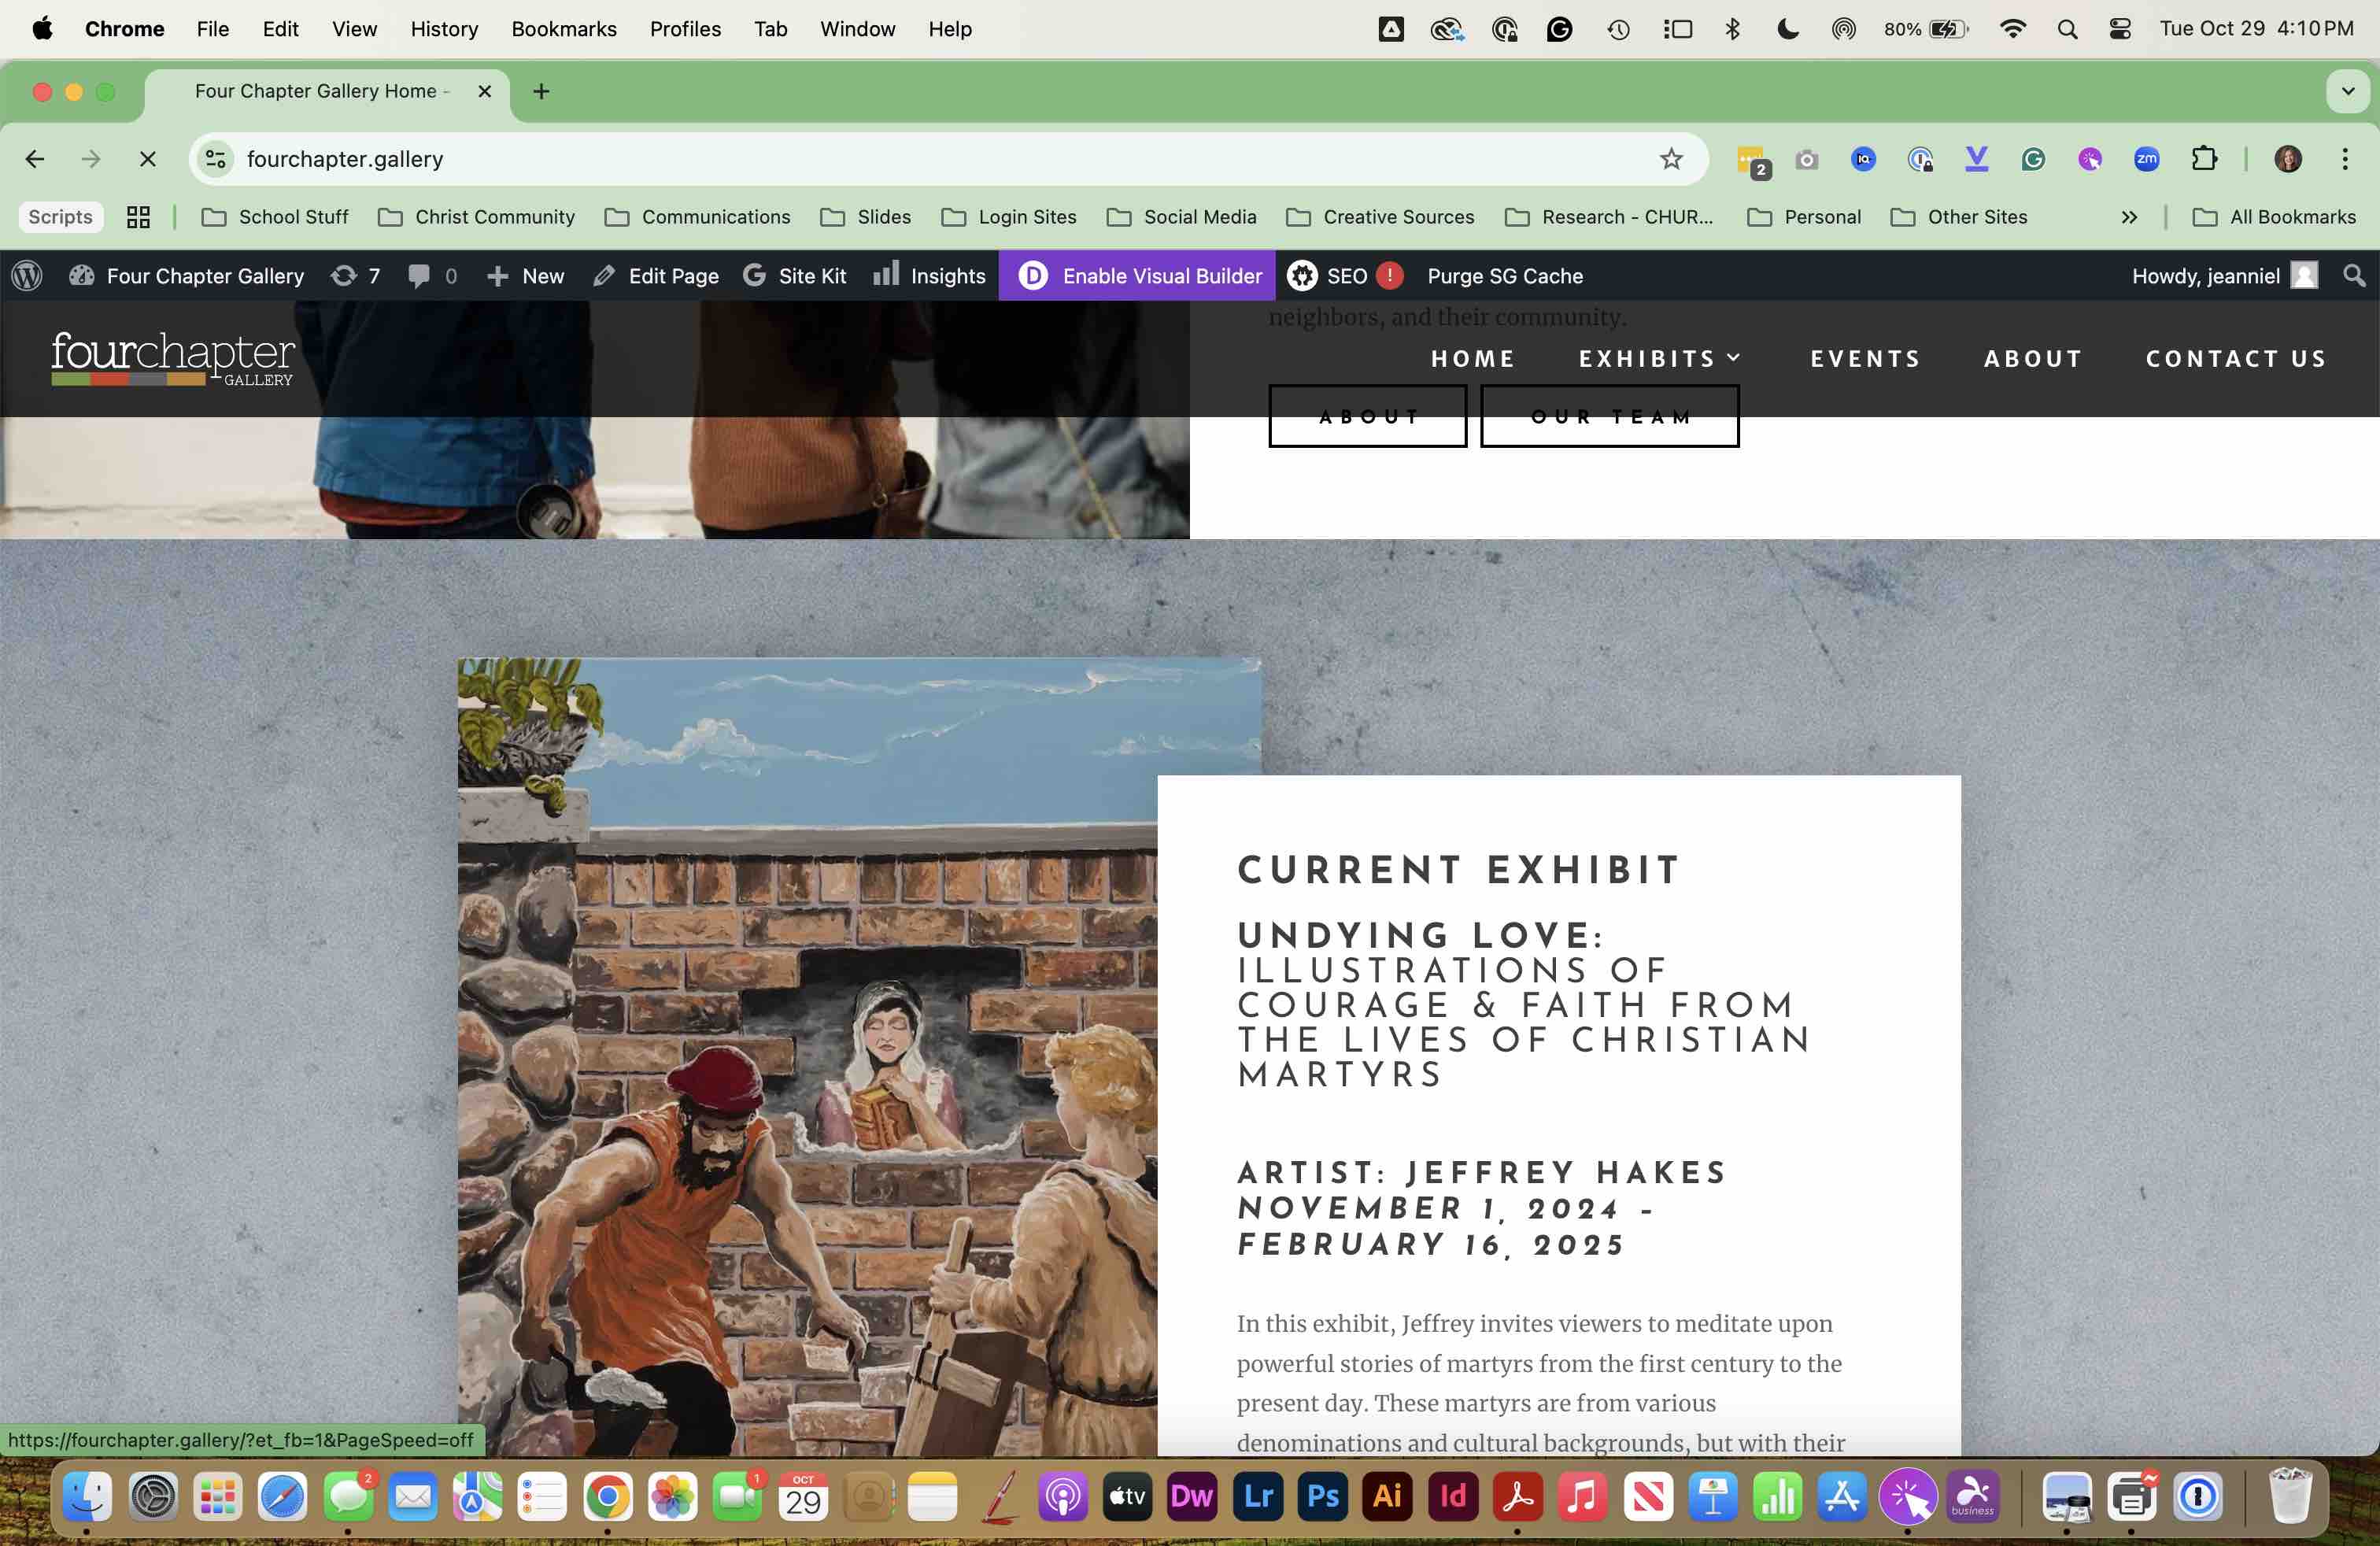
Return to the front page of the website and ENABLE VISUAL BUILDER, then scroll to the CURRENT EXHIBIT section.
7

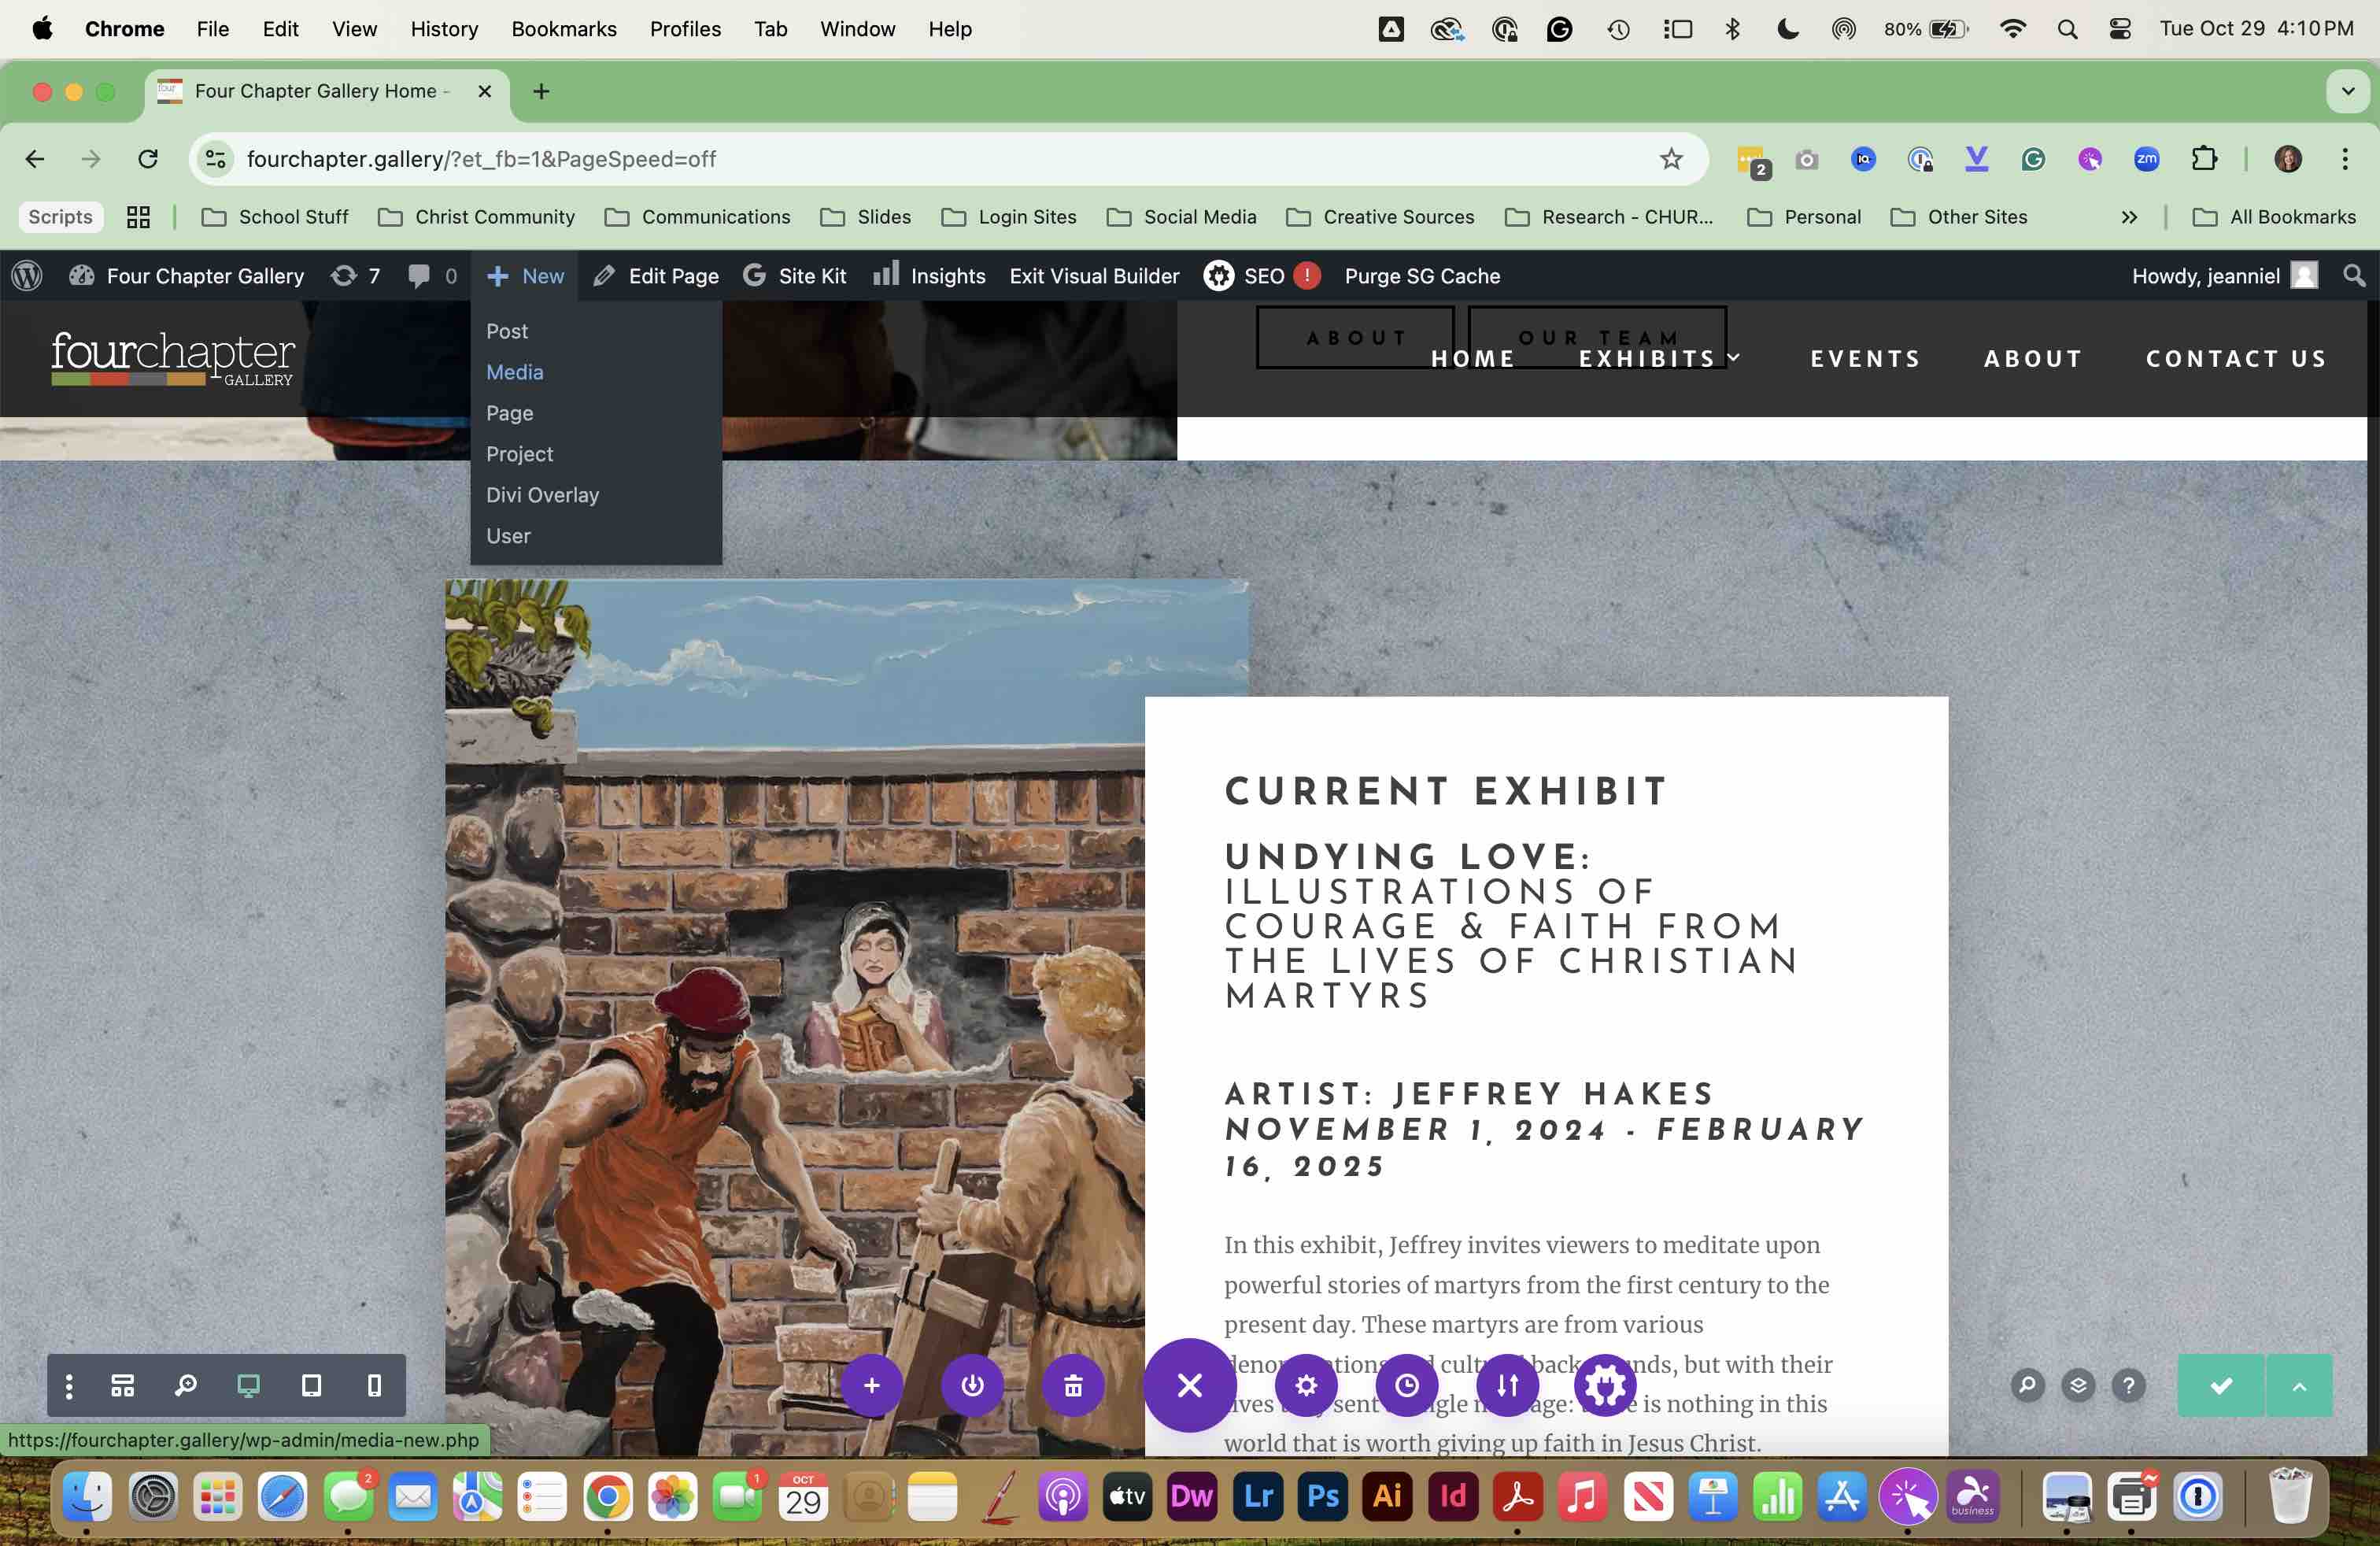
SELECT the GEAR tool on the image to bring up the DIVIDER SETTINGS.
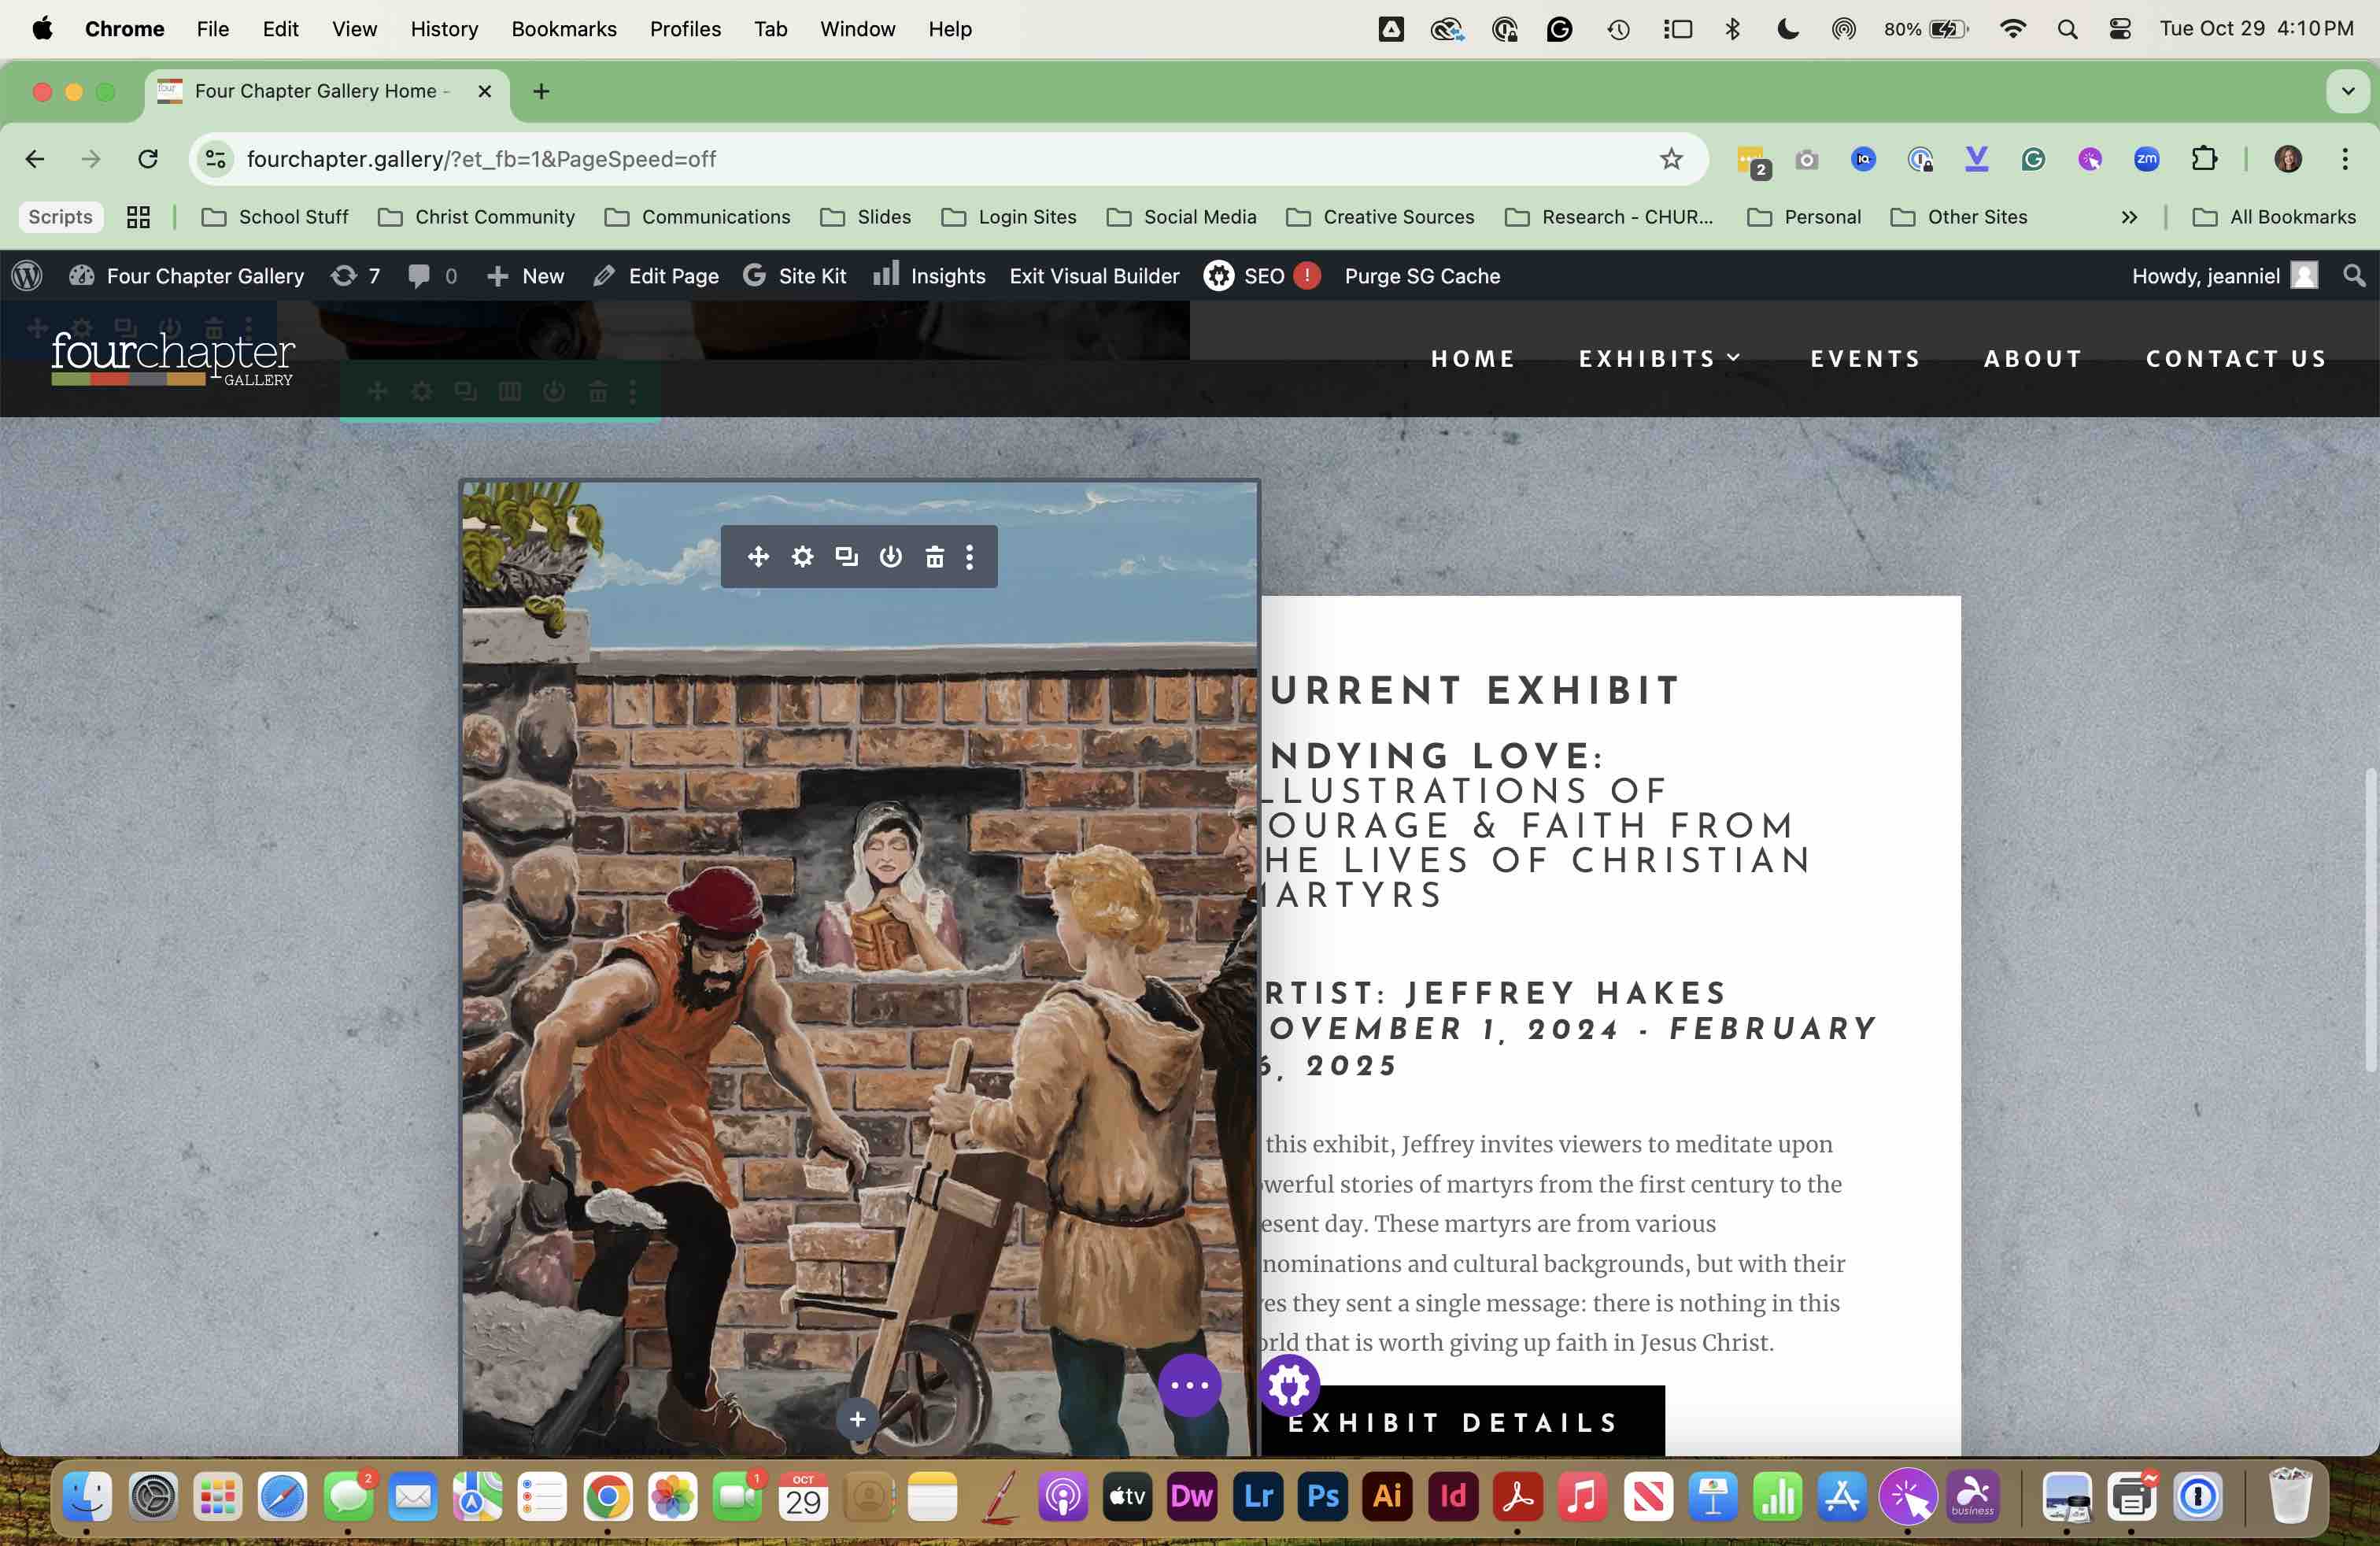
SELECT the GEAR tool on the image to bring up the DIVIDER SETTINGS.
8

In DIVIDER SETTINGS select BACKGROUND
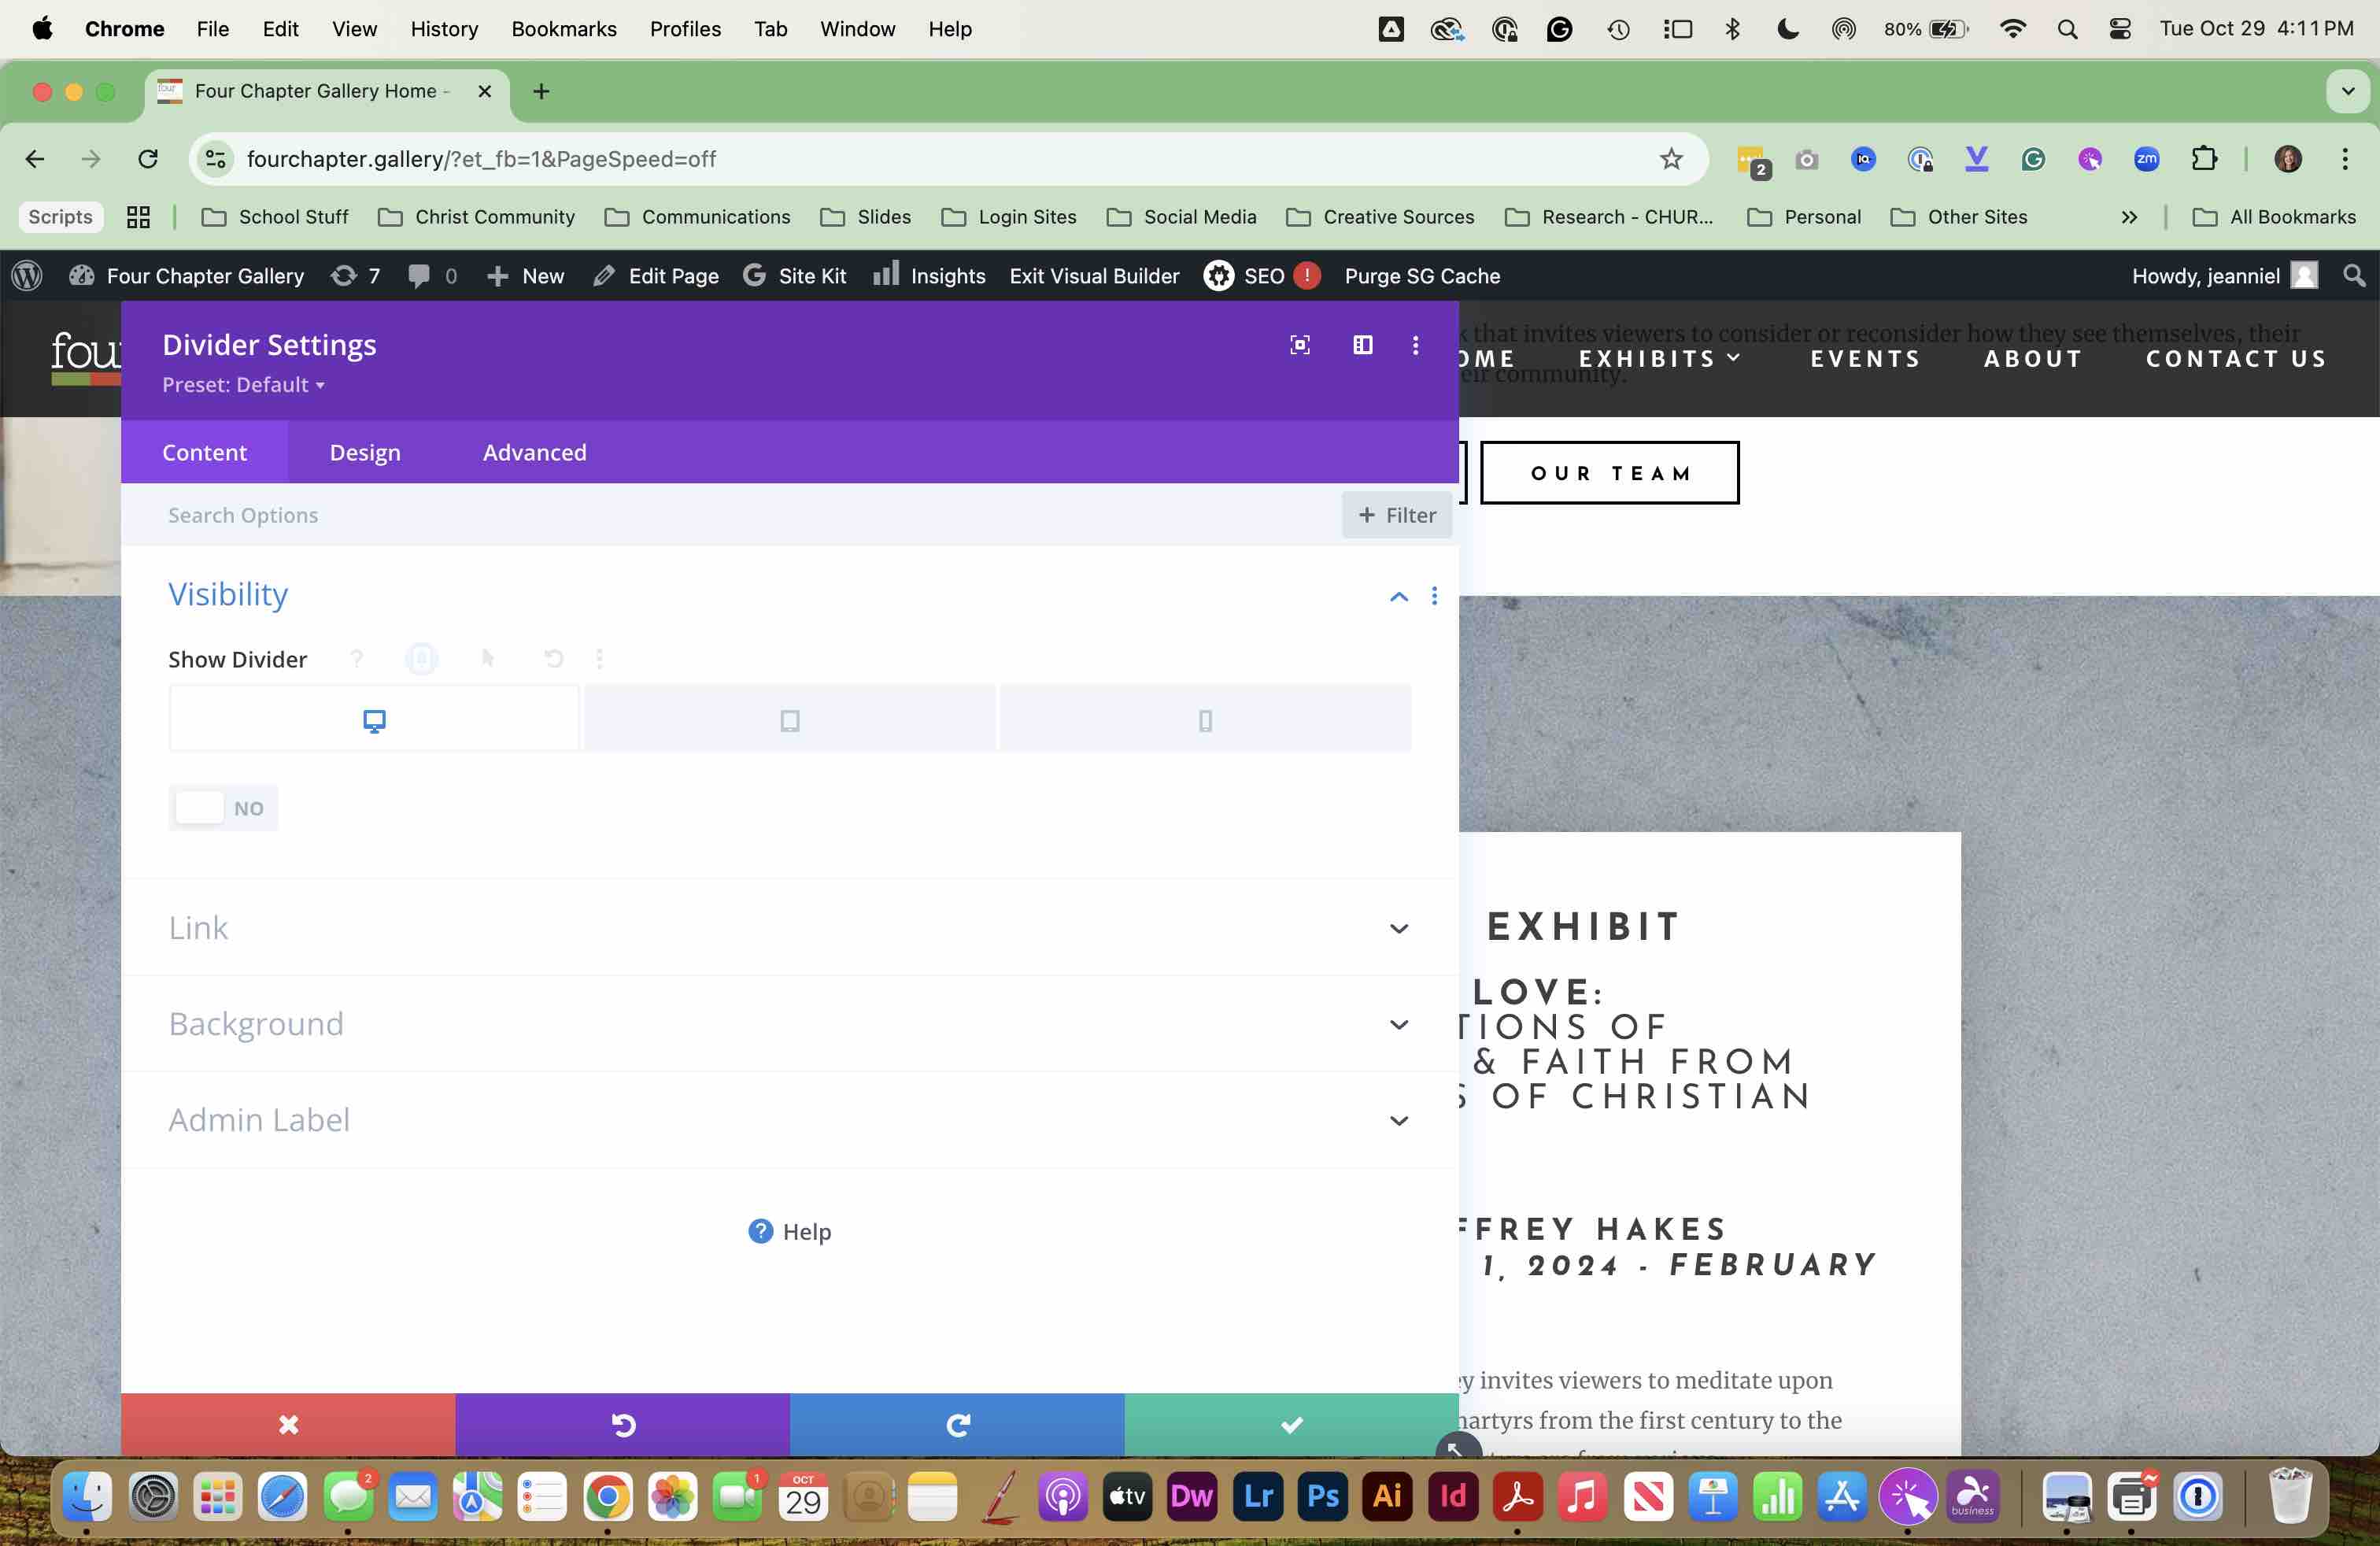
In DIVIDER SETTINGS select BACKGROUND
9

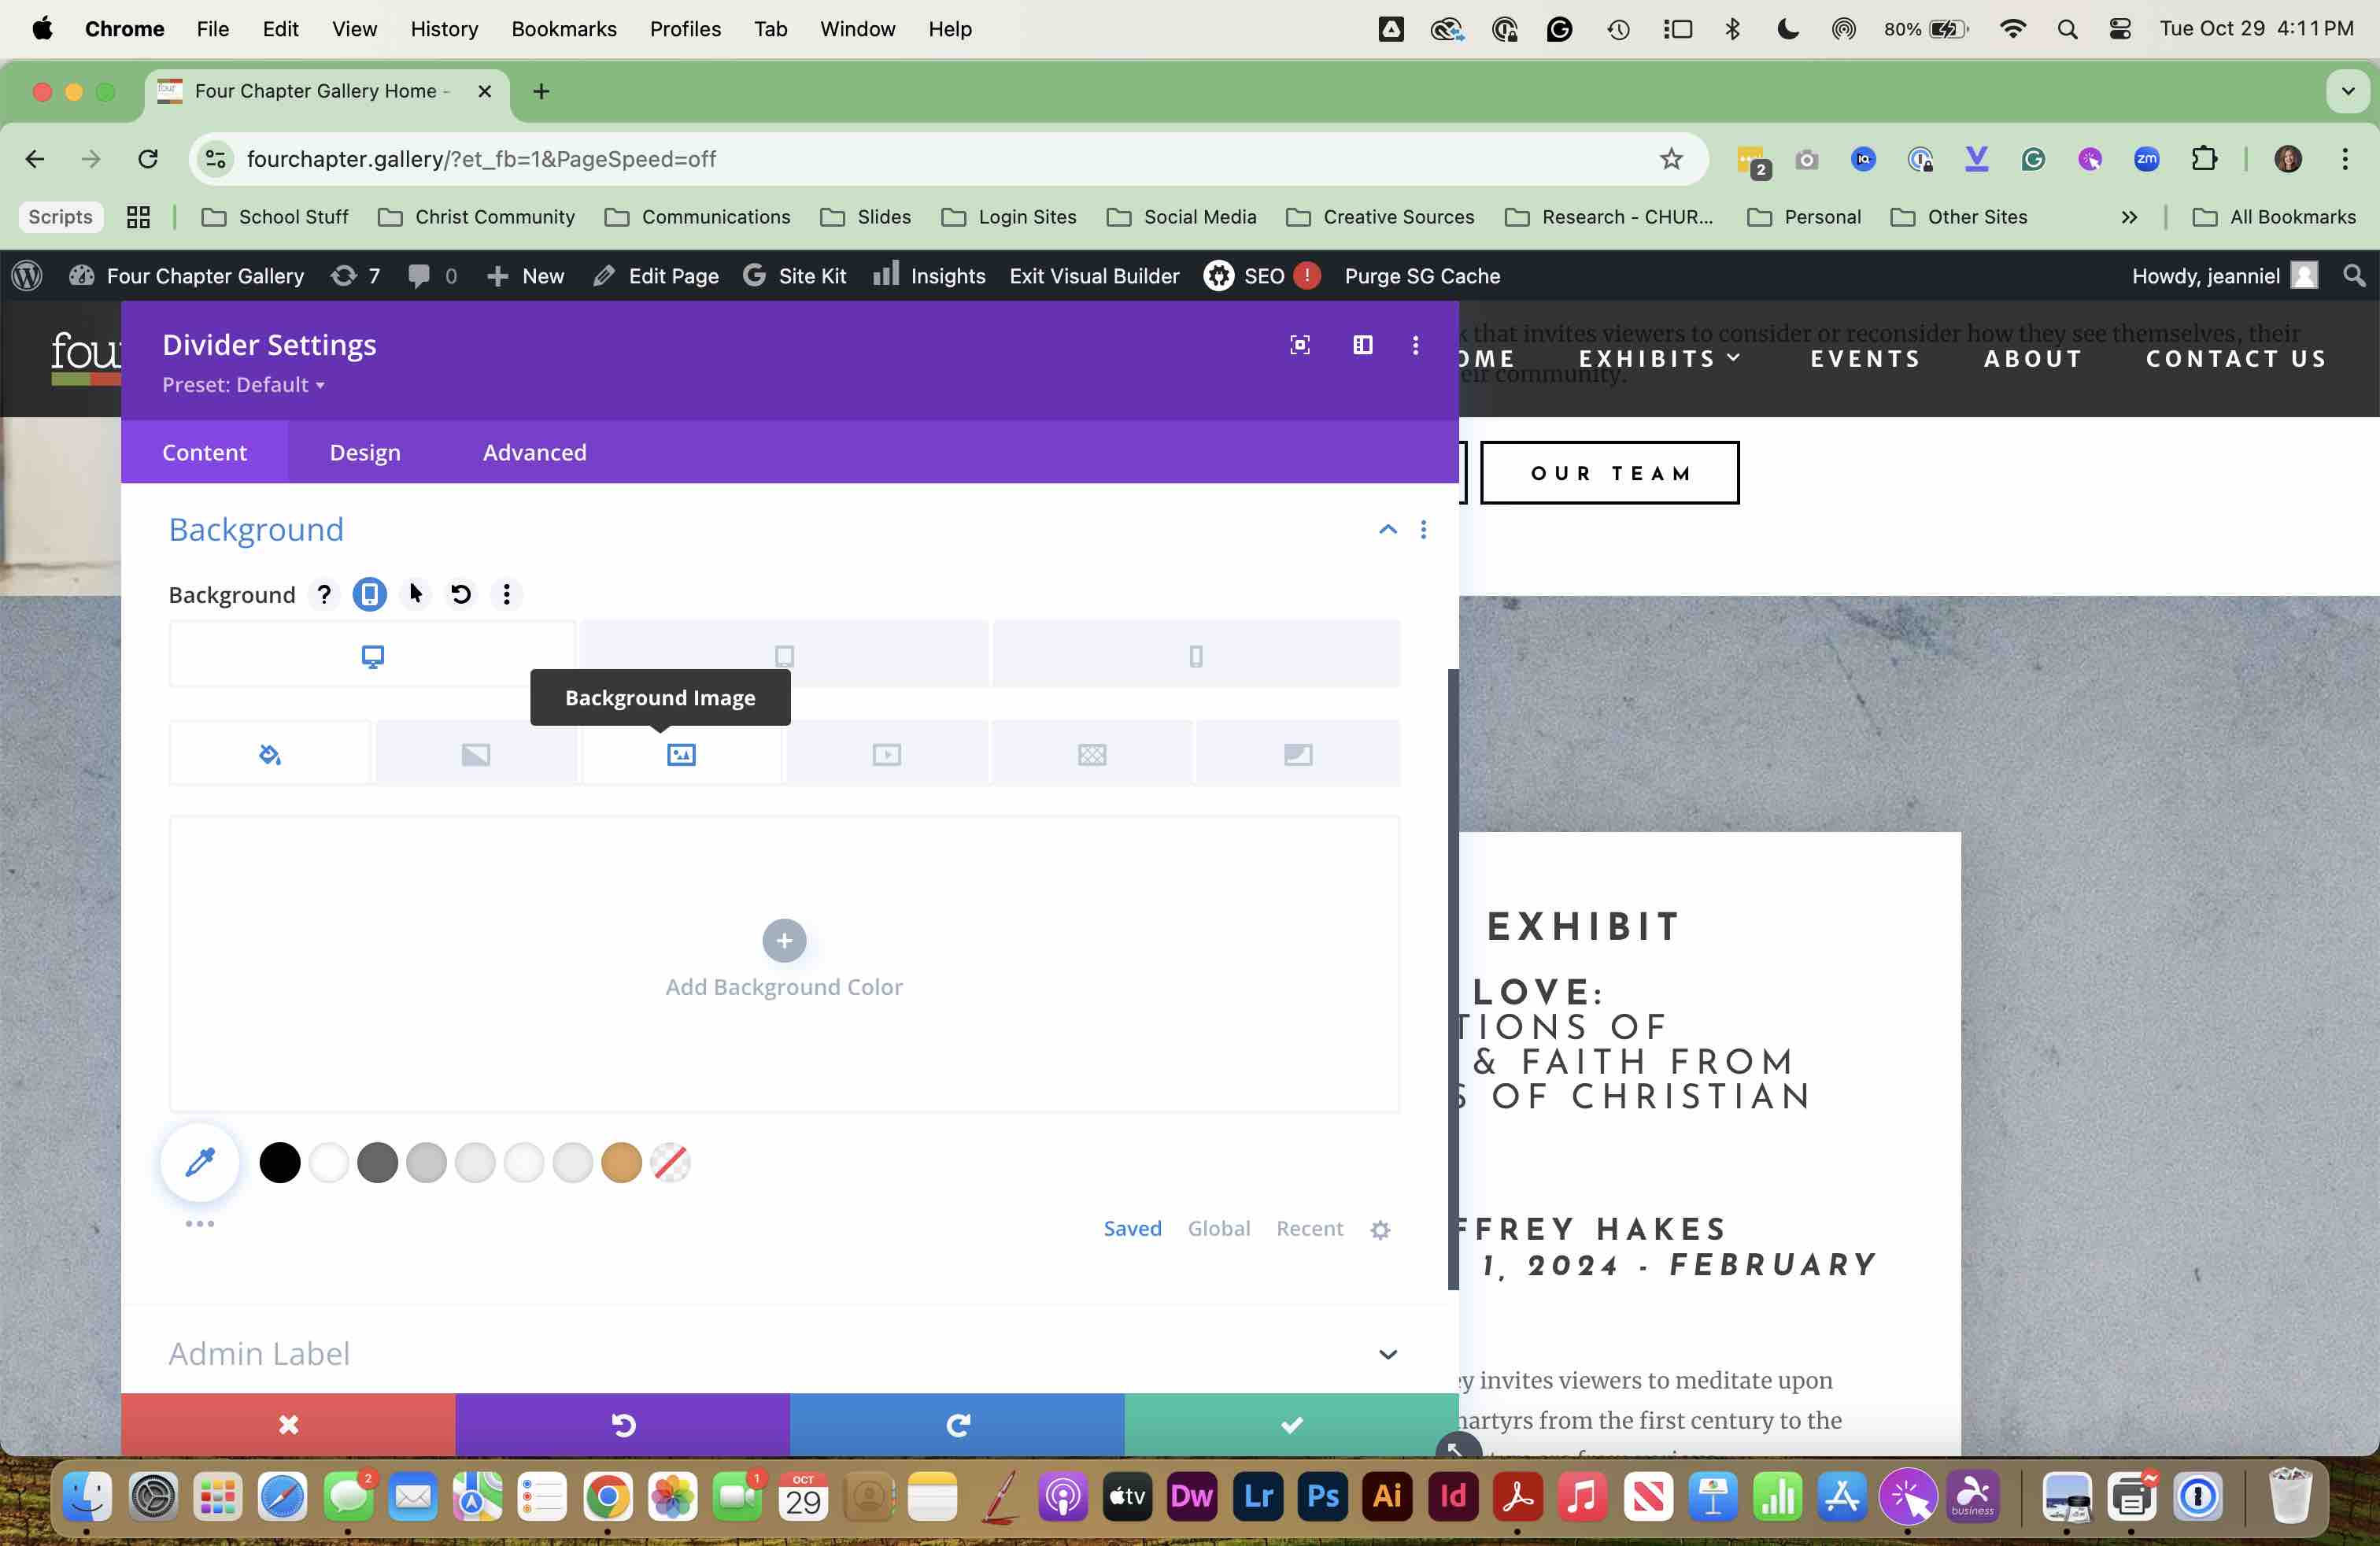
SELECT the BACKGROUND IMAGE tab.

SELECT the BACKGROUND IMAGE tab.
10

CLICK on the IMAGE to choose a new image.
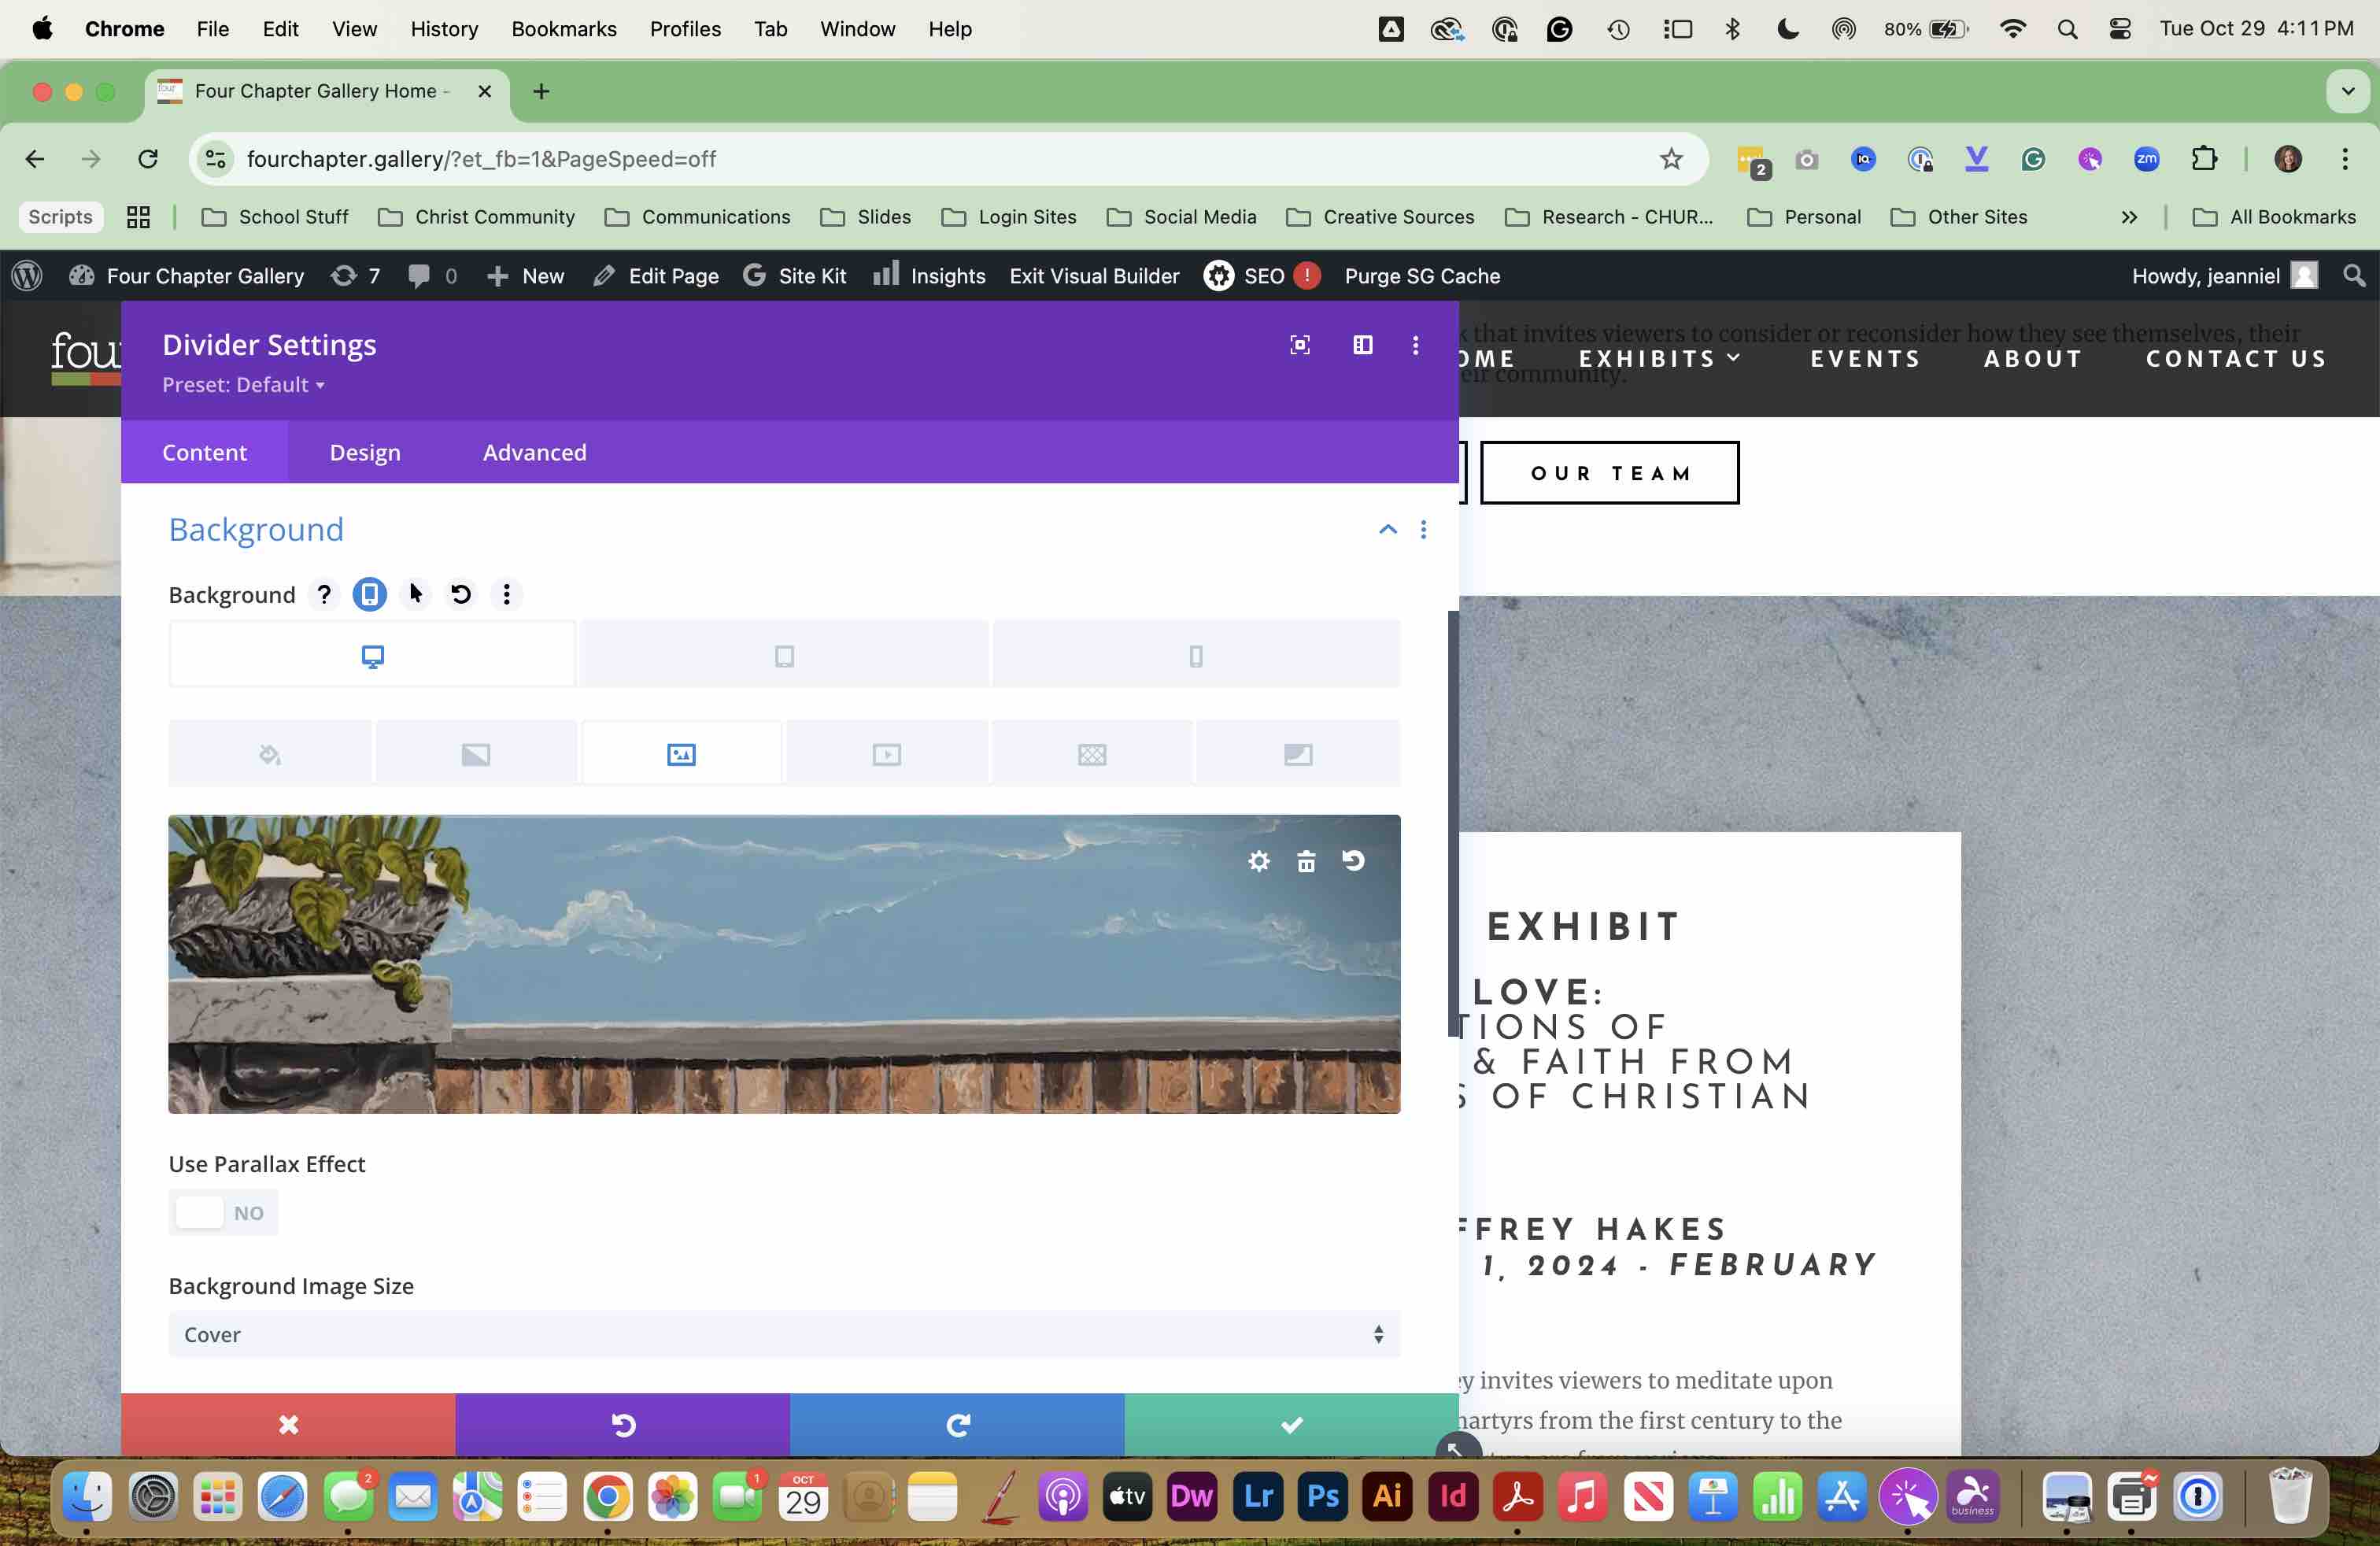
CLICK on the IMAGE to choose a new image.
11

SELECT the image you want to use. This homepage image should be more square or tall (not horizontal) to work best in this space.
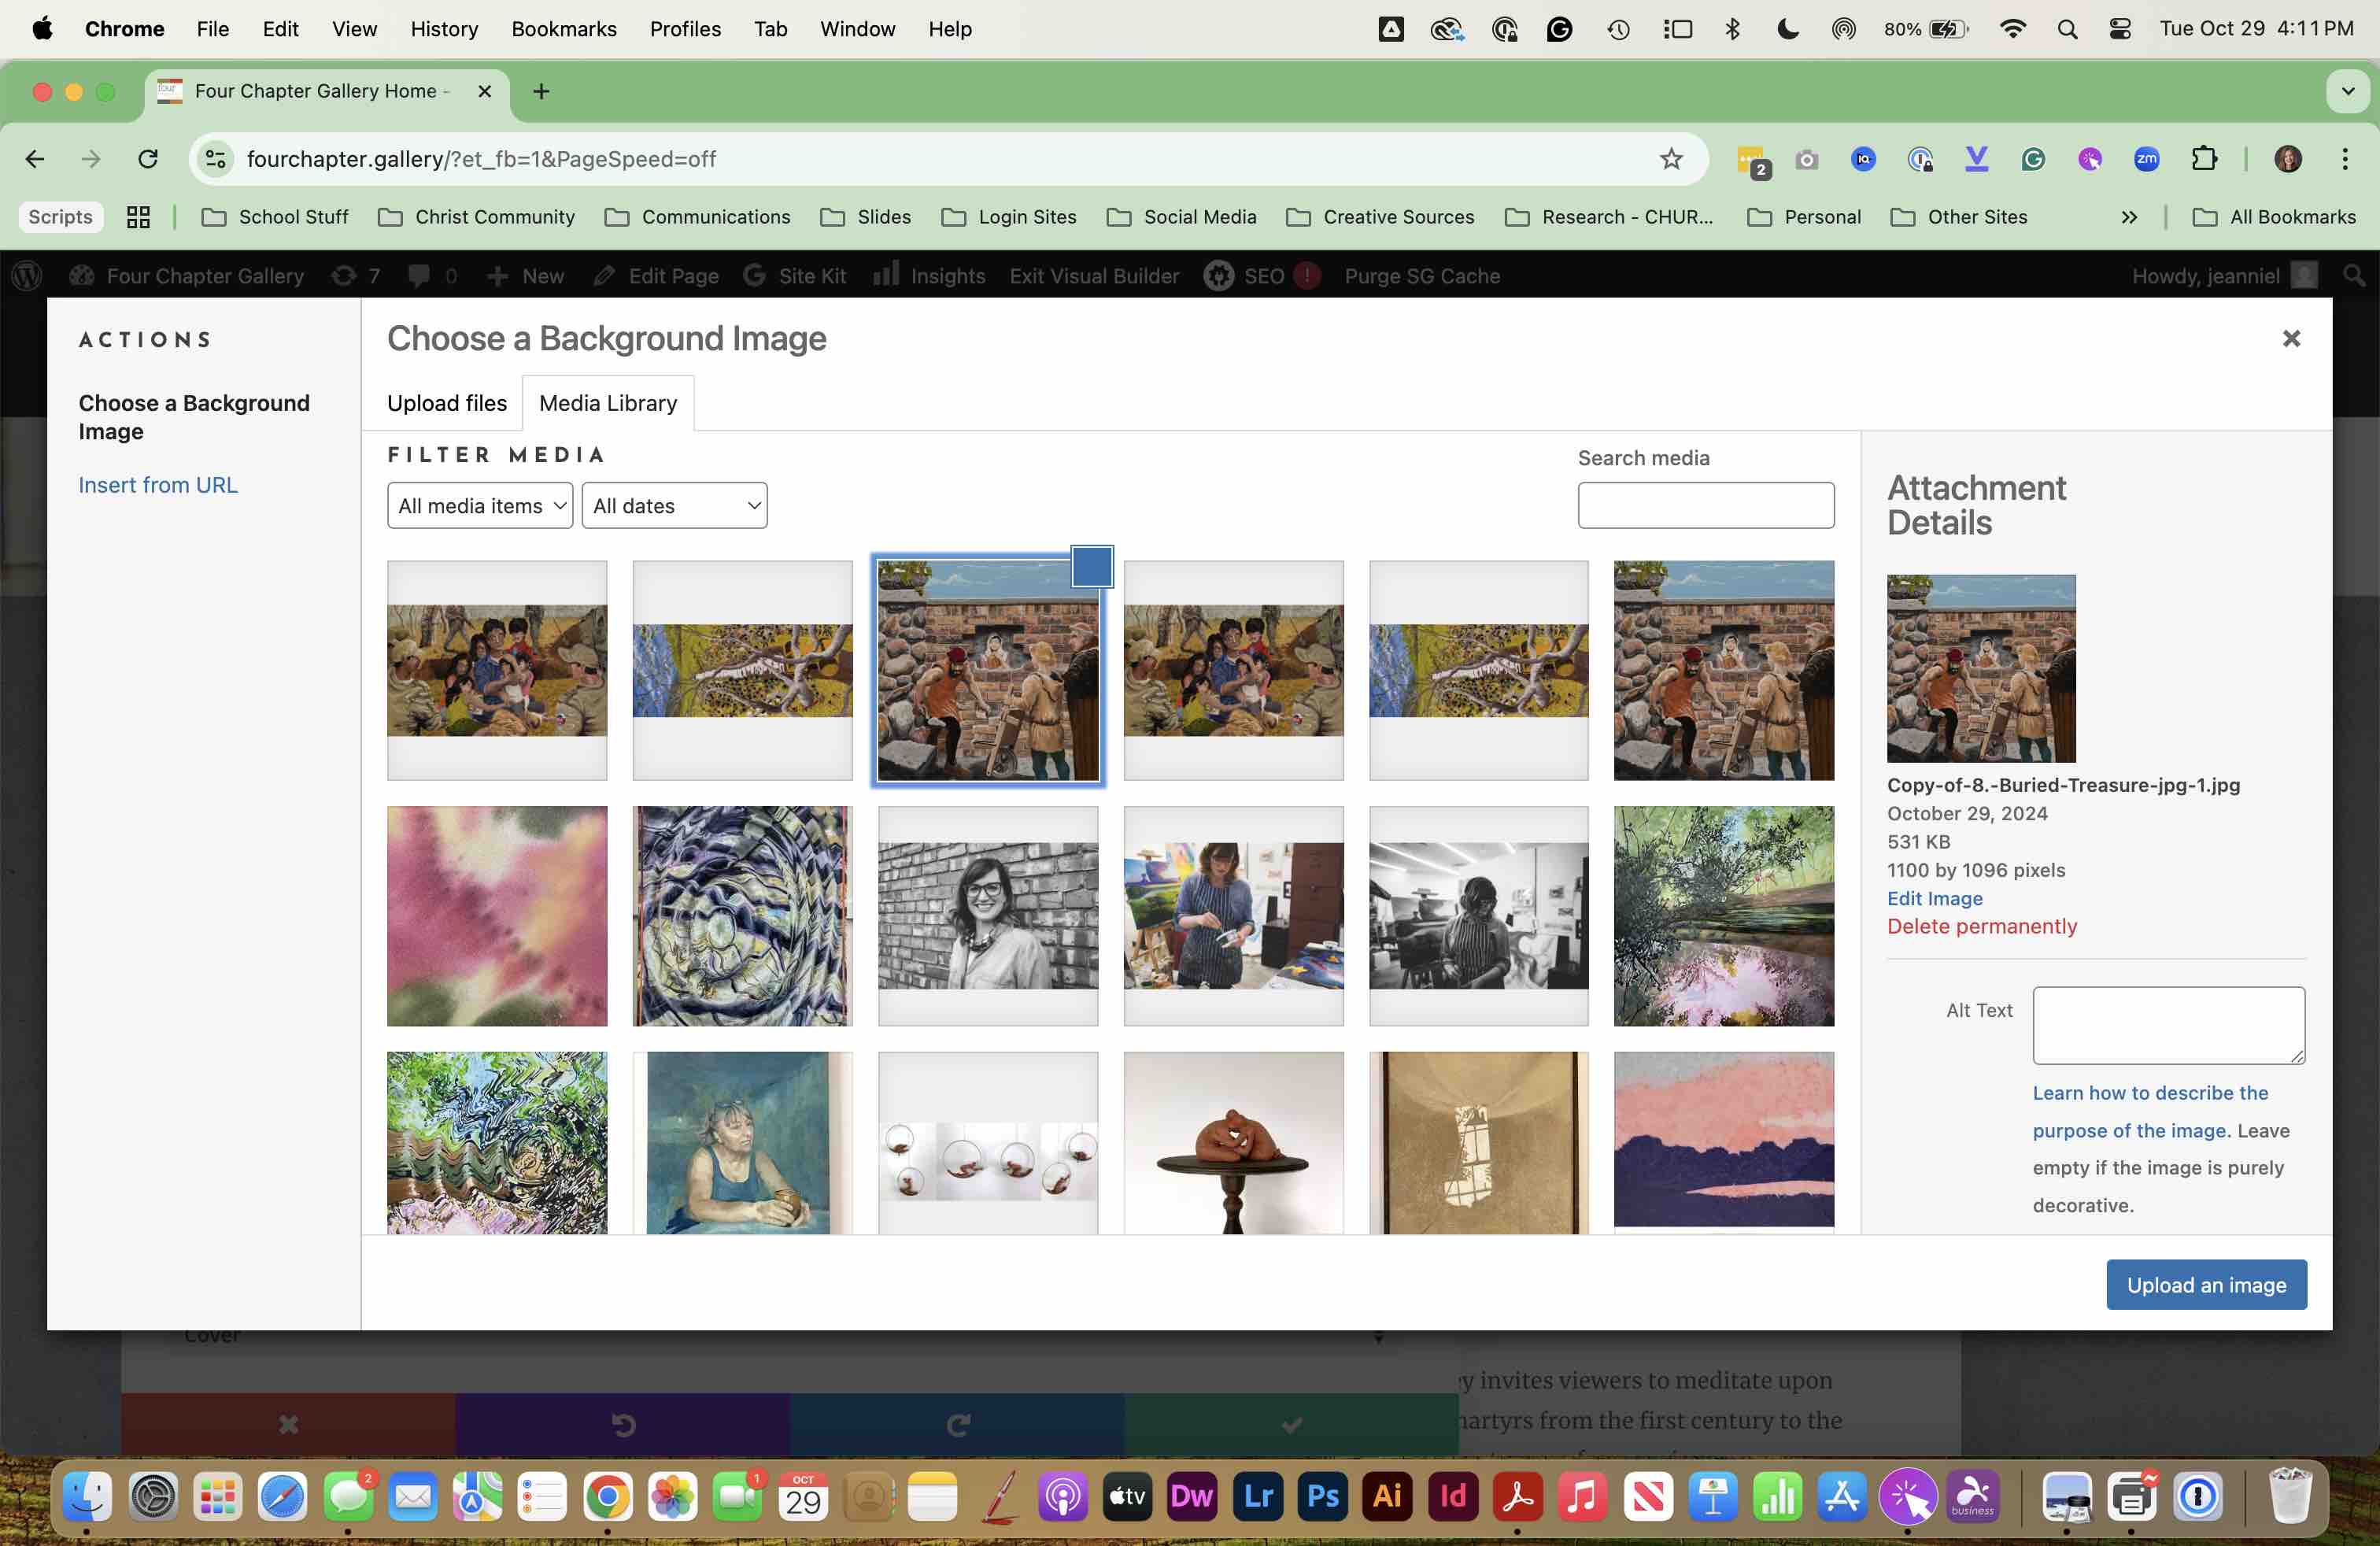
SELECT the image you want to use. This homepage image should be more square or tall (not horizontal) to work best in this space.
12

SELECT the check mark to OKAY the image.
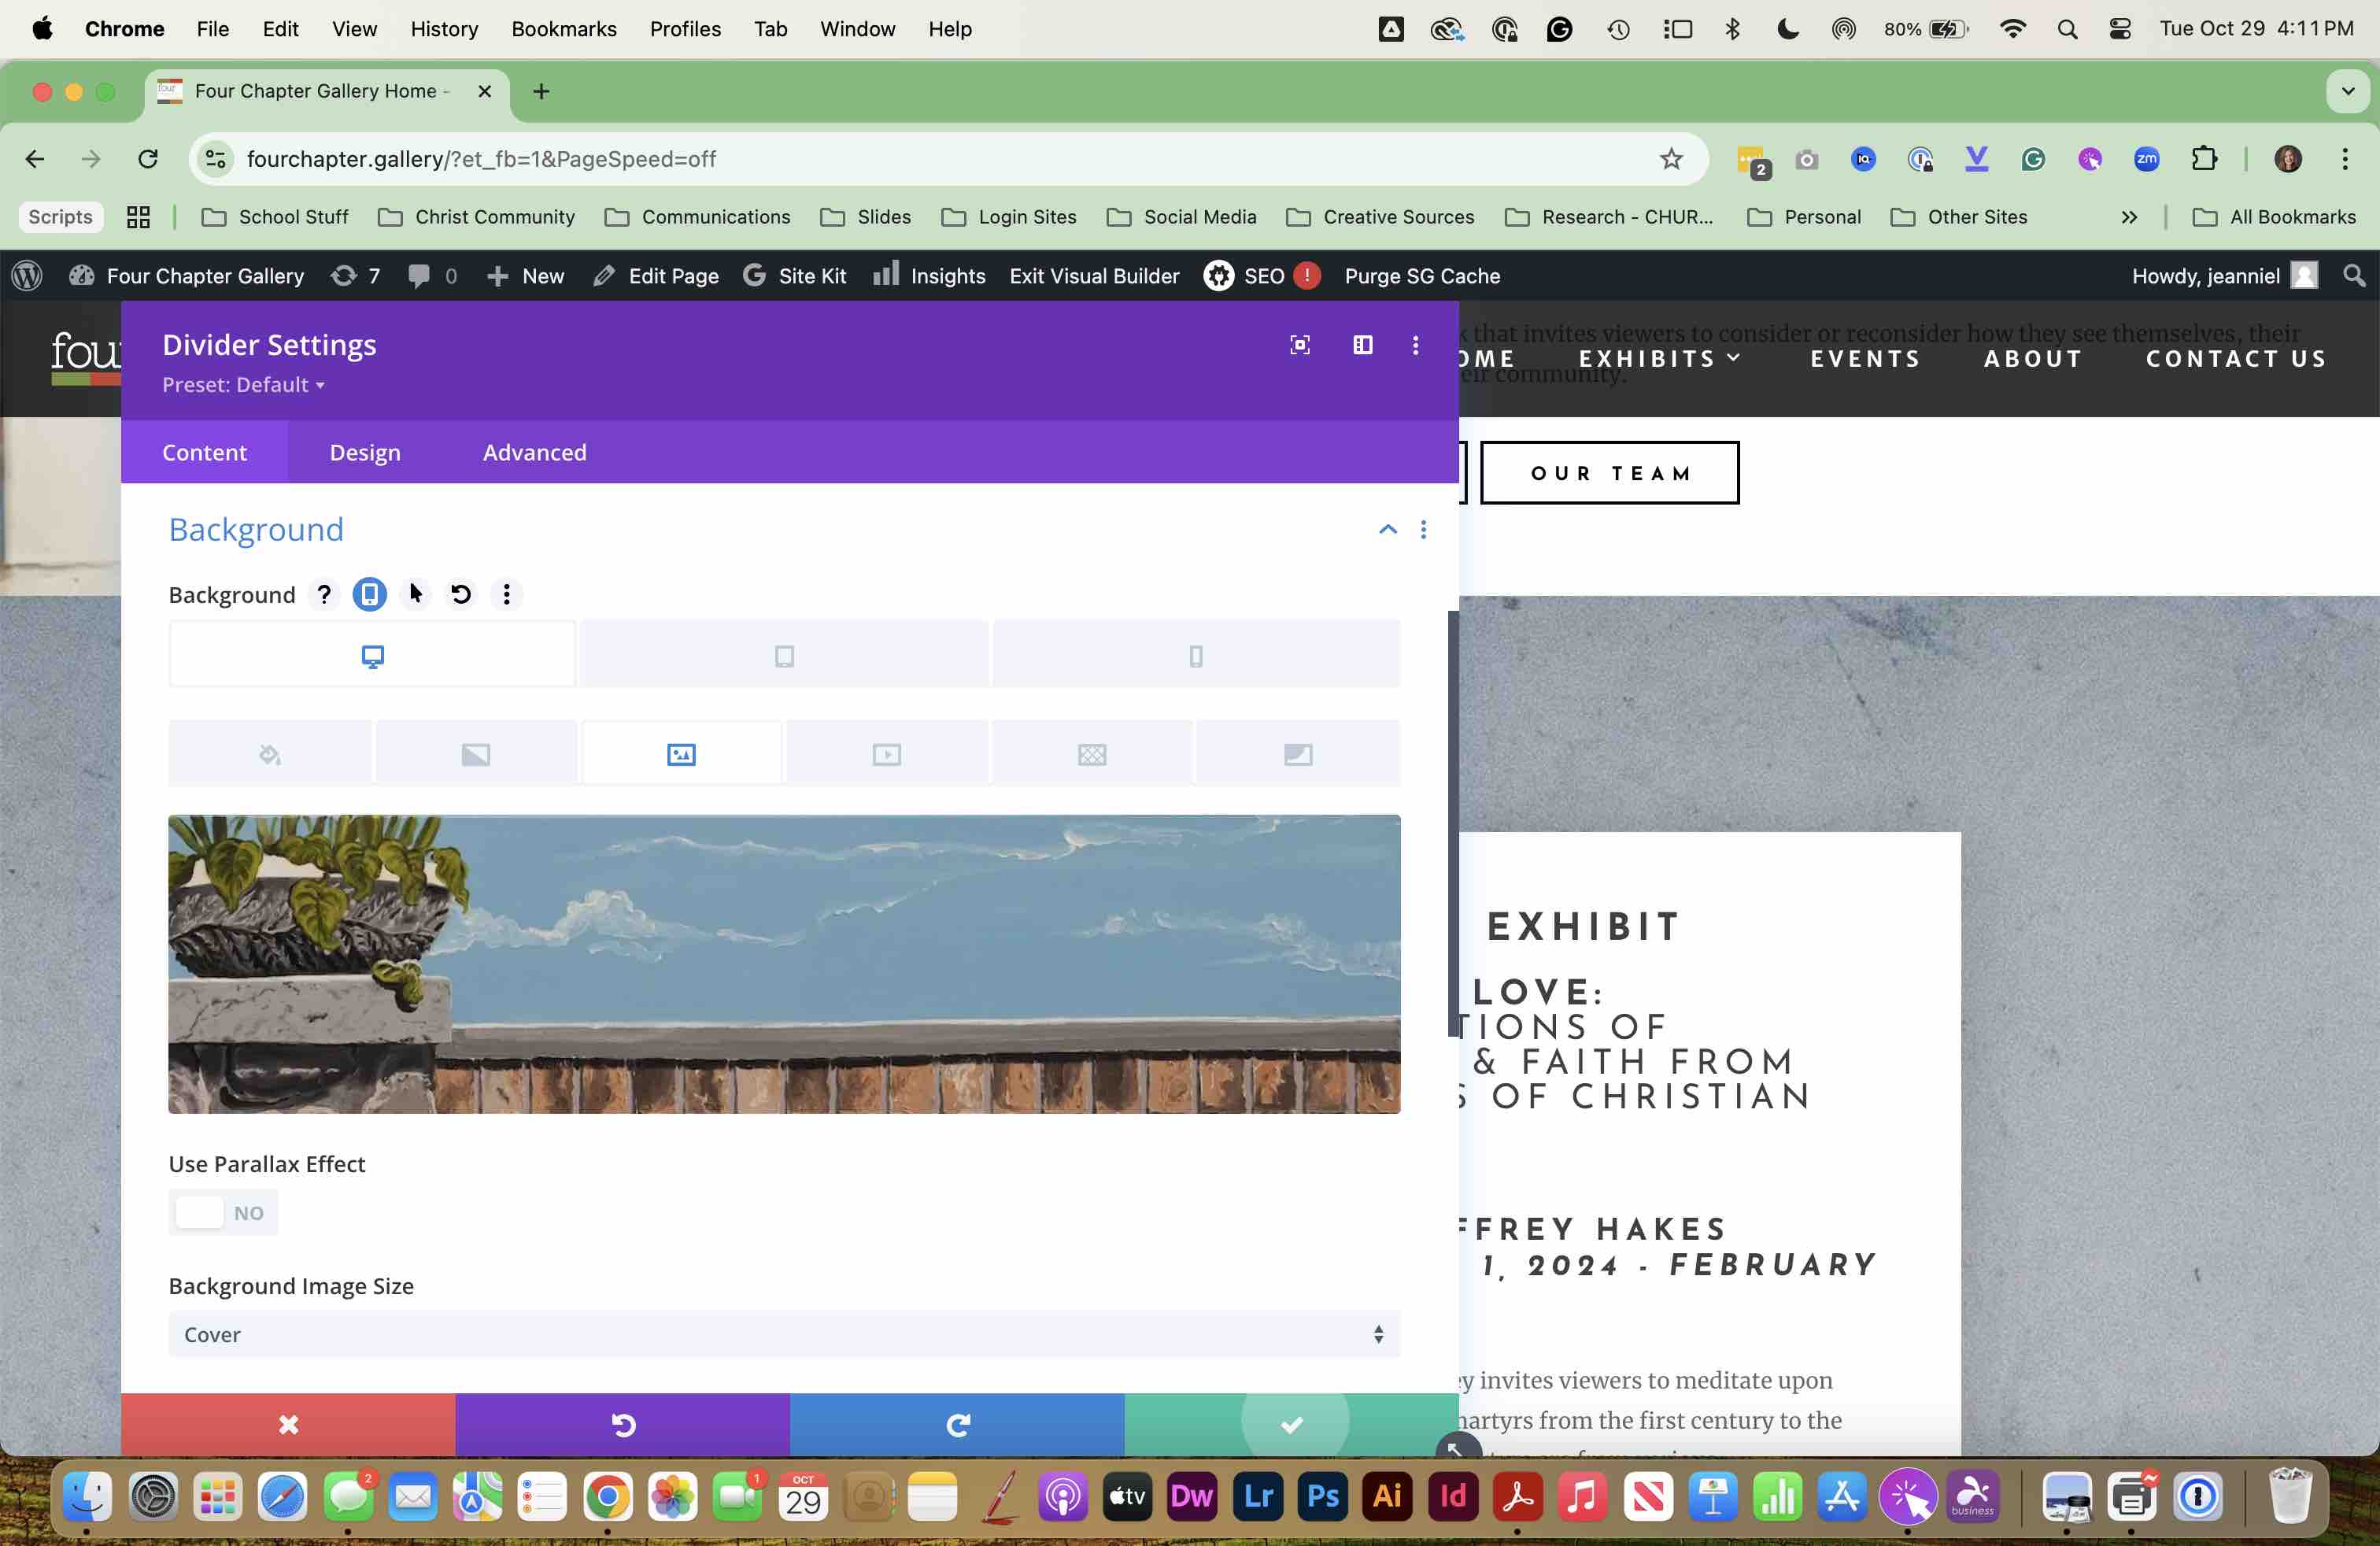
SELECT the check mark to OKAY the image.
13

SELECT the text box under CURRENT EXHIBIT an update the EXHIBIT information with text from the supplied document.
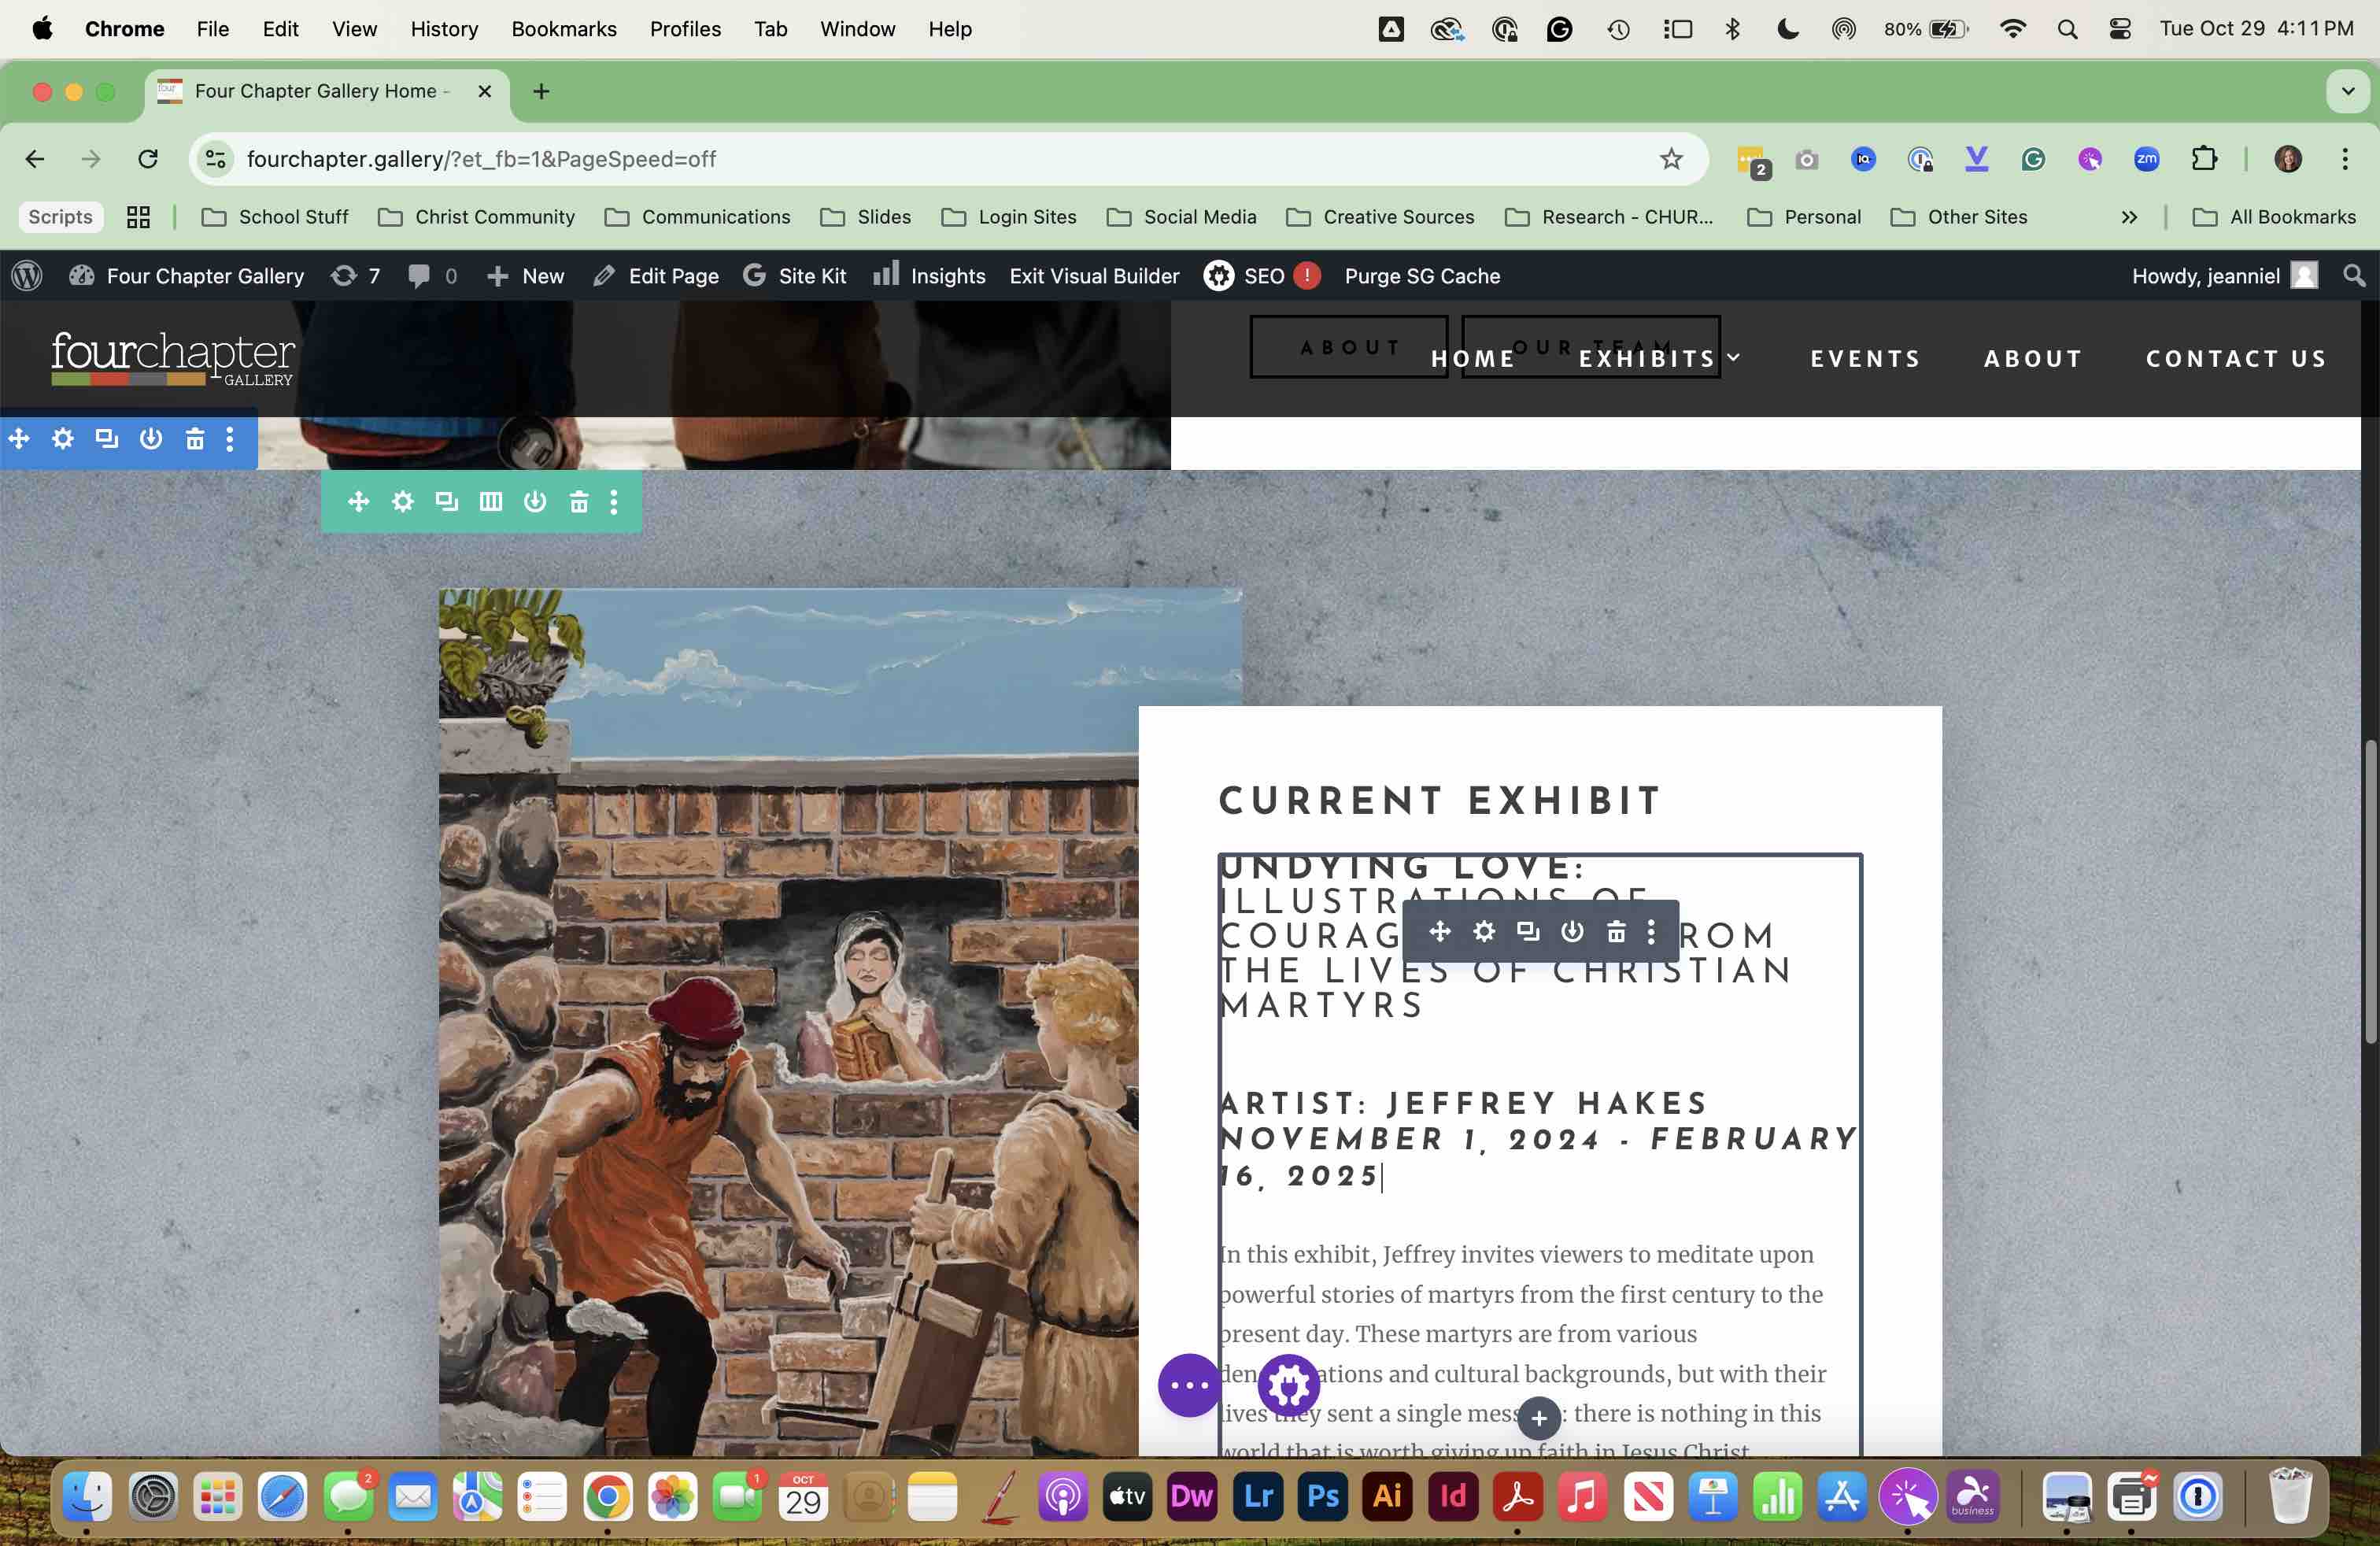
SELECT the text box under CURRENT EXHIBIT an update the EXHIBIT information with text from the supplied document.
14

When finished updated the CURRENT EXHIBIT, SCROLL to the ADDITIONAL EXHIBIT DATES and update the text in this area.
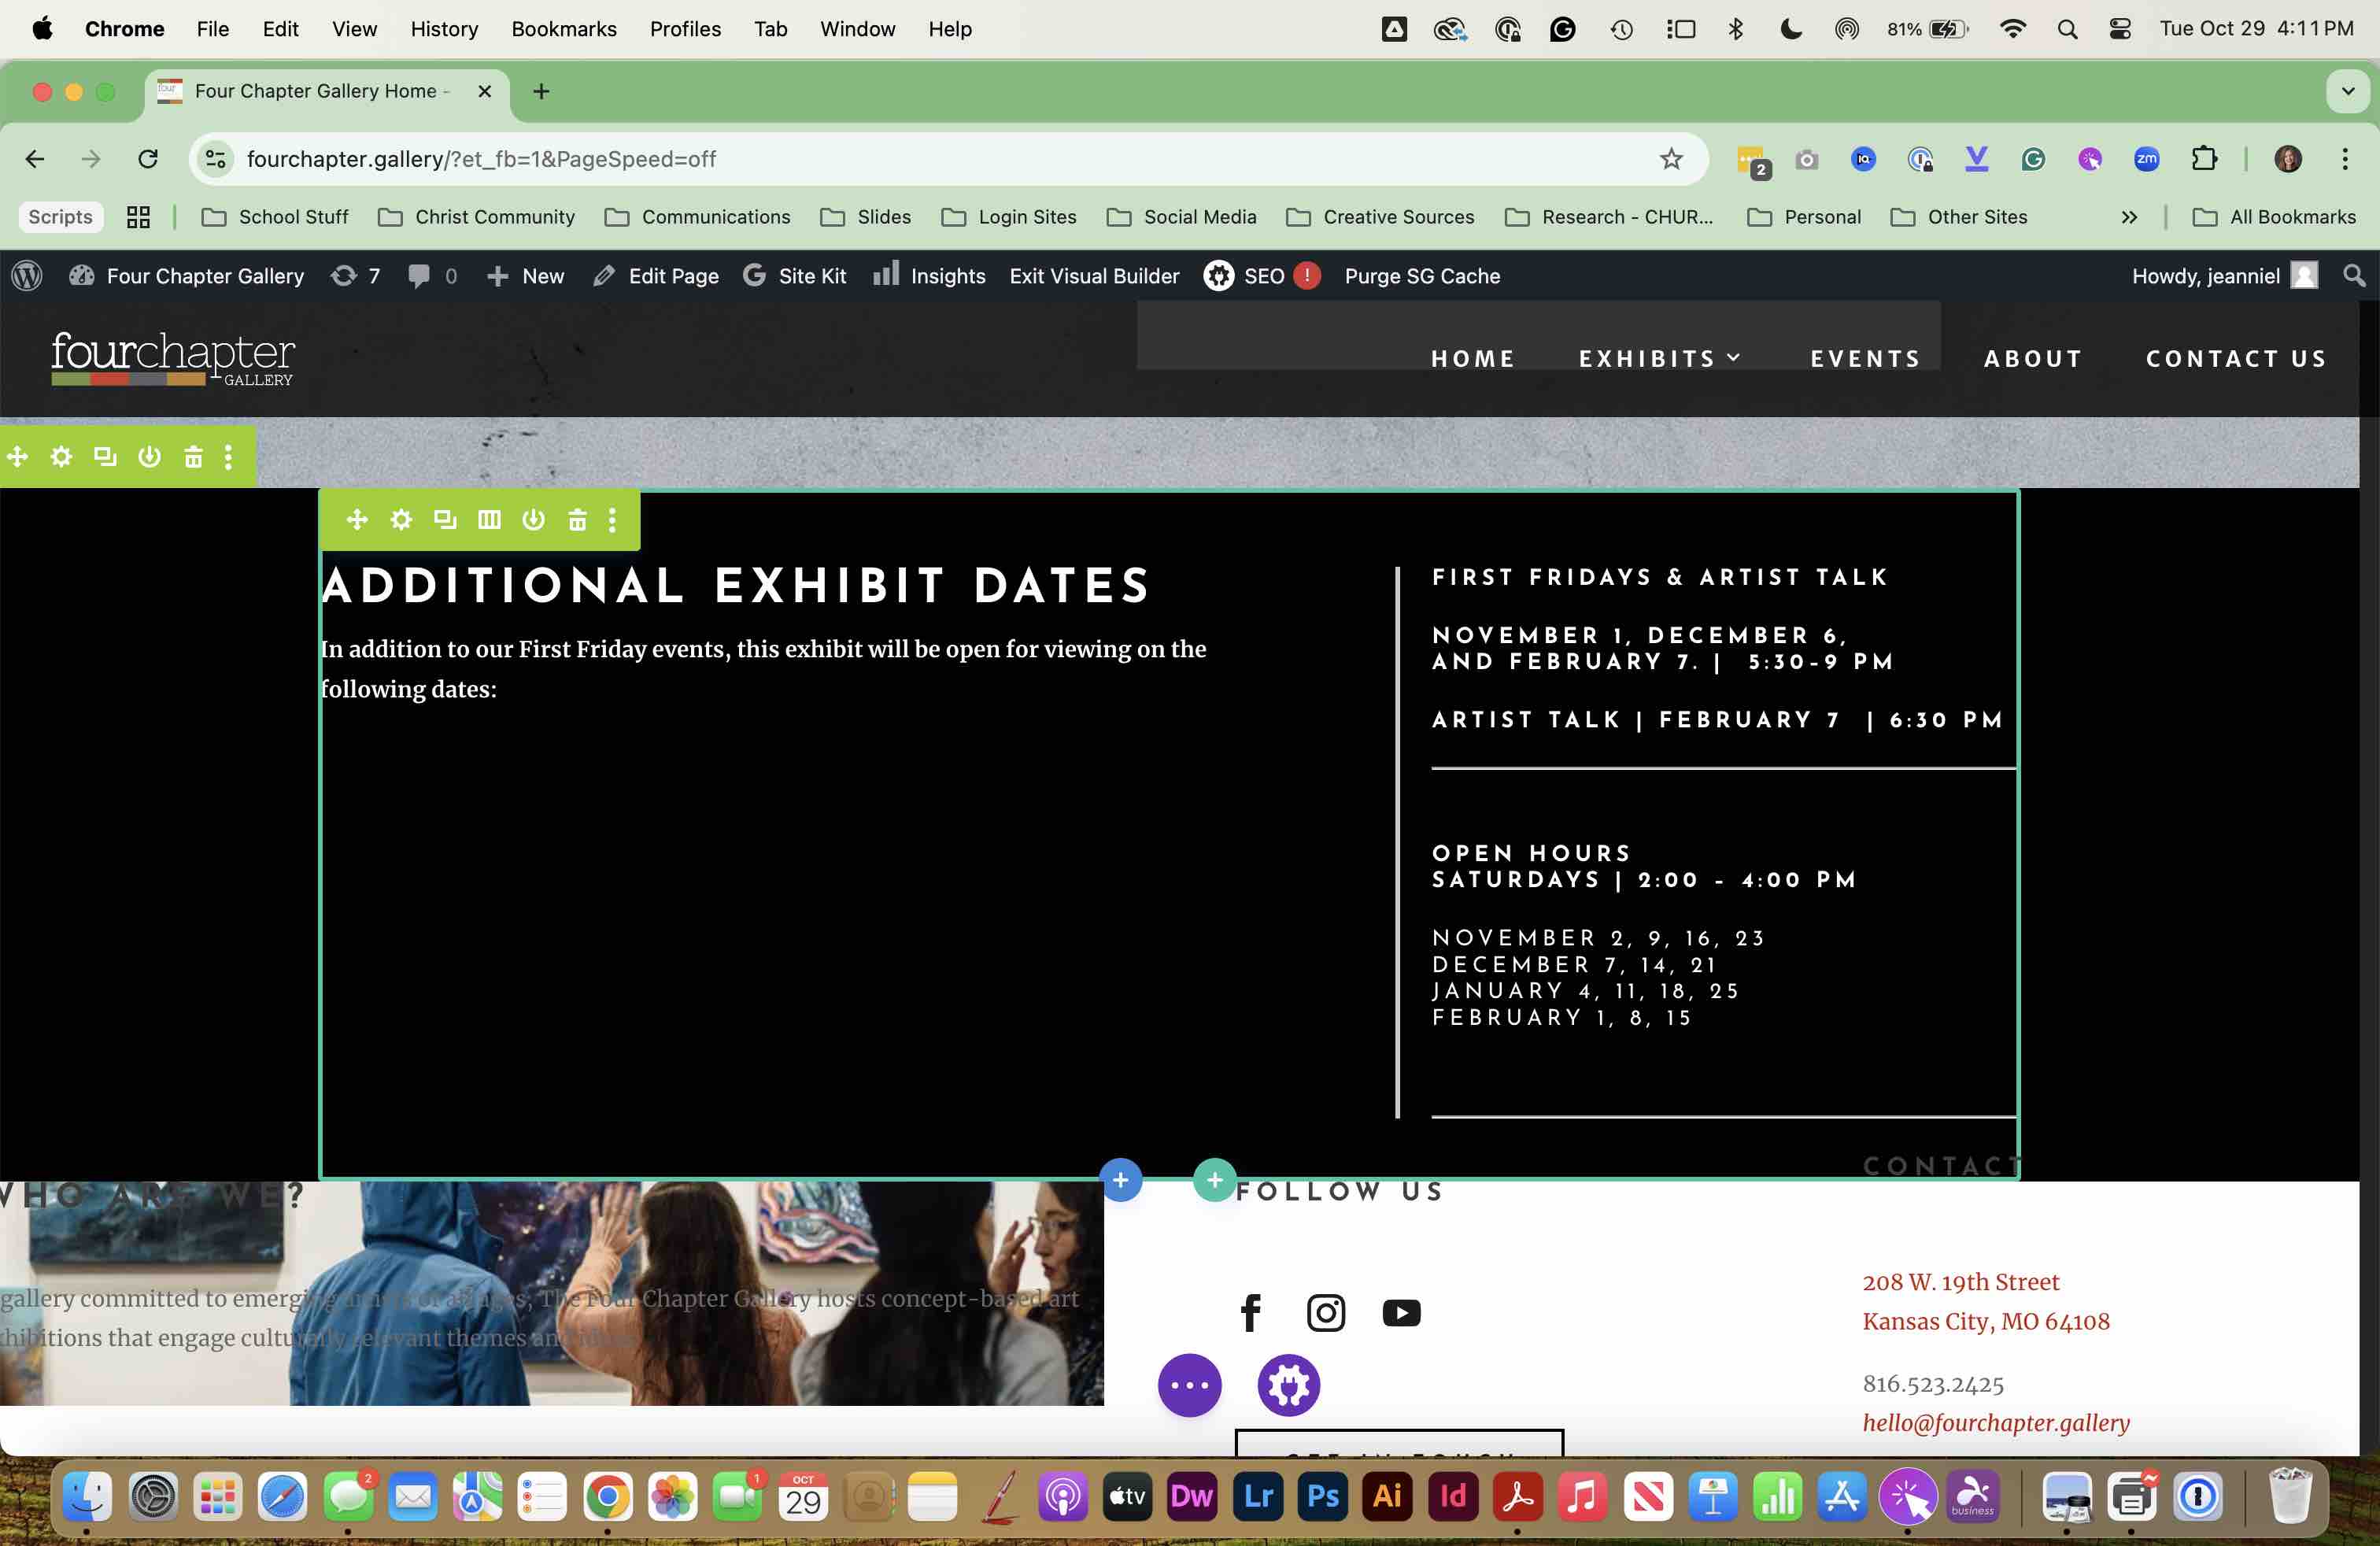
When finished updated the CURRENT EXHIBIT, SCROLL to the ADDITIONAL EXHIBIT DATES and update the text in this area.
15

SAVE. You have finished STEP ONE. MOVE on to STEP TWO, creating a new exhibit page.
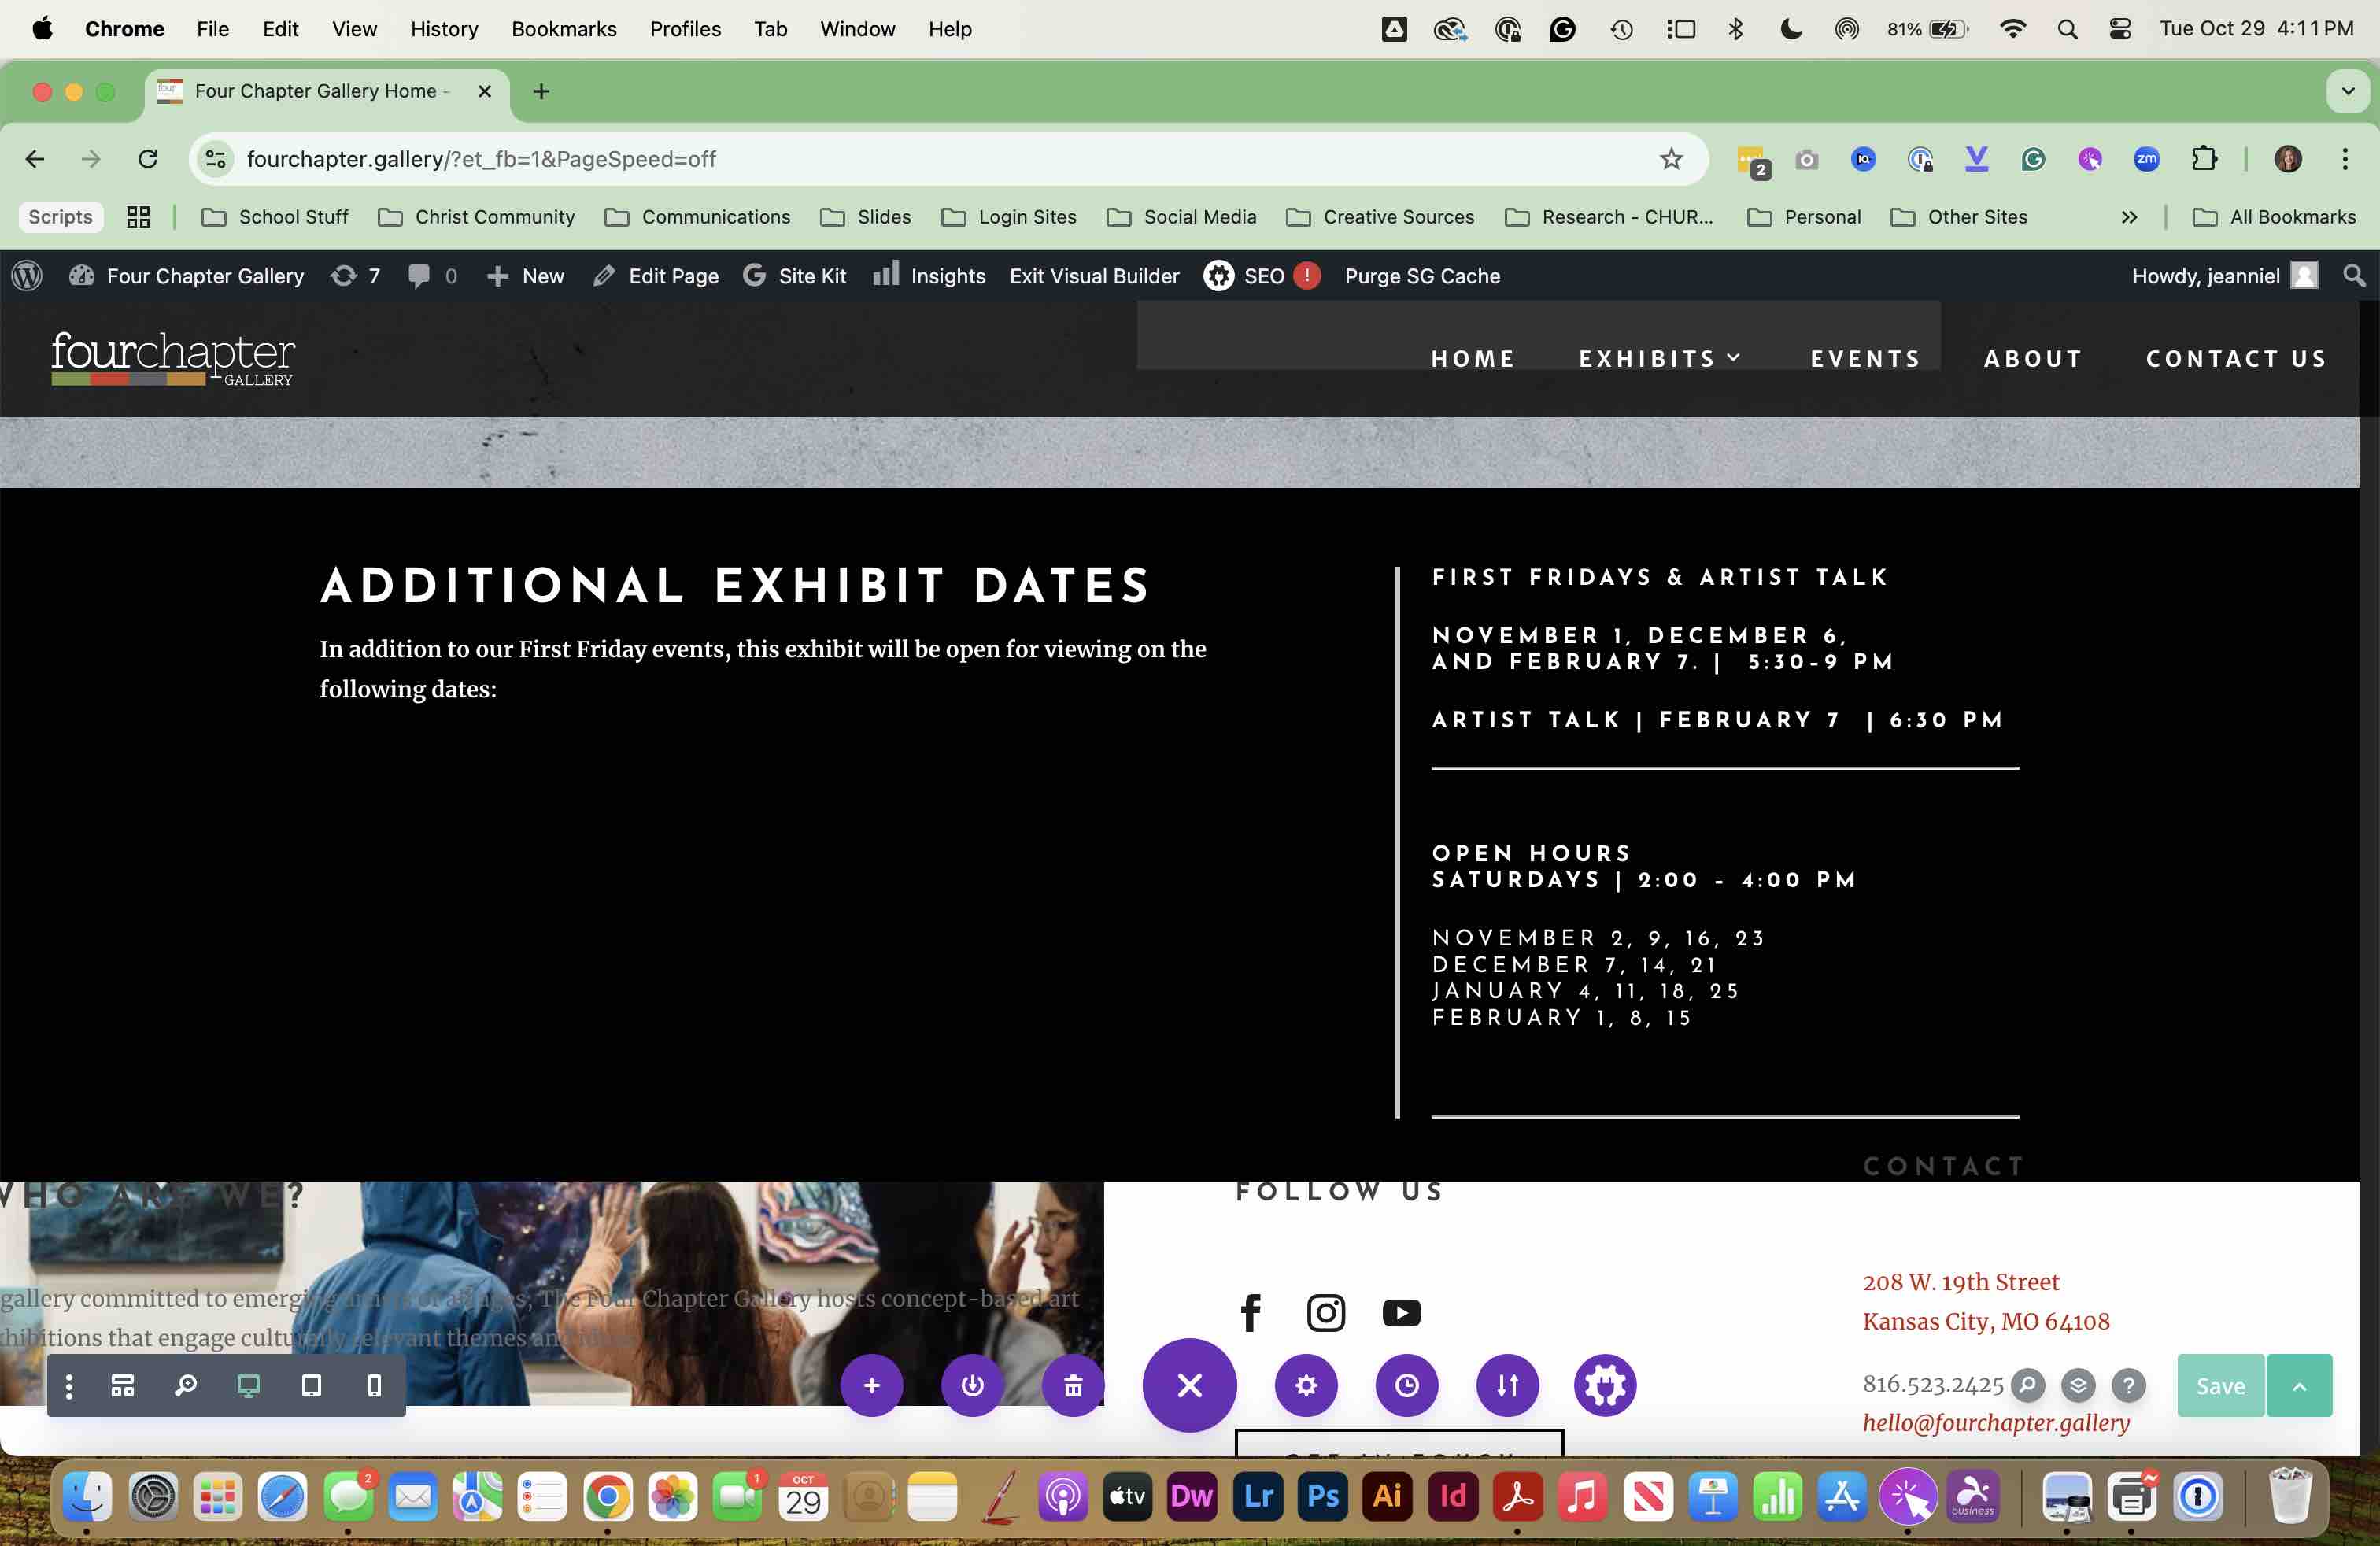
SAVE. You have finished STEP ONE.
MOVE on to STEP TWO, creating a new exhibit page.