FourChapter.gallery–Create a NEW EXHIBIT Web Page: STEP TWO
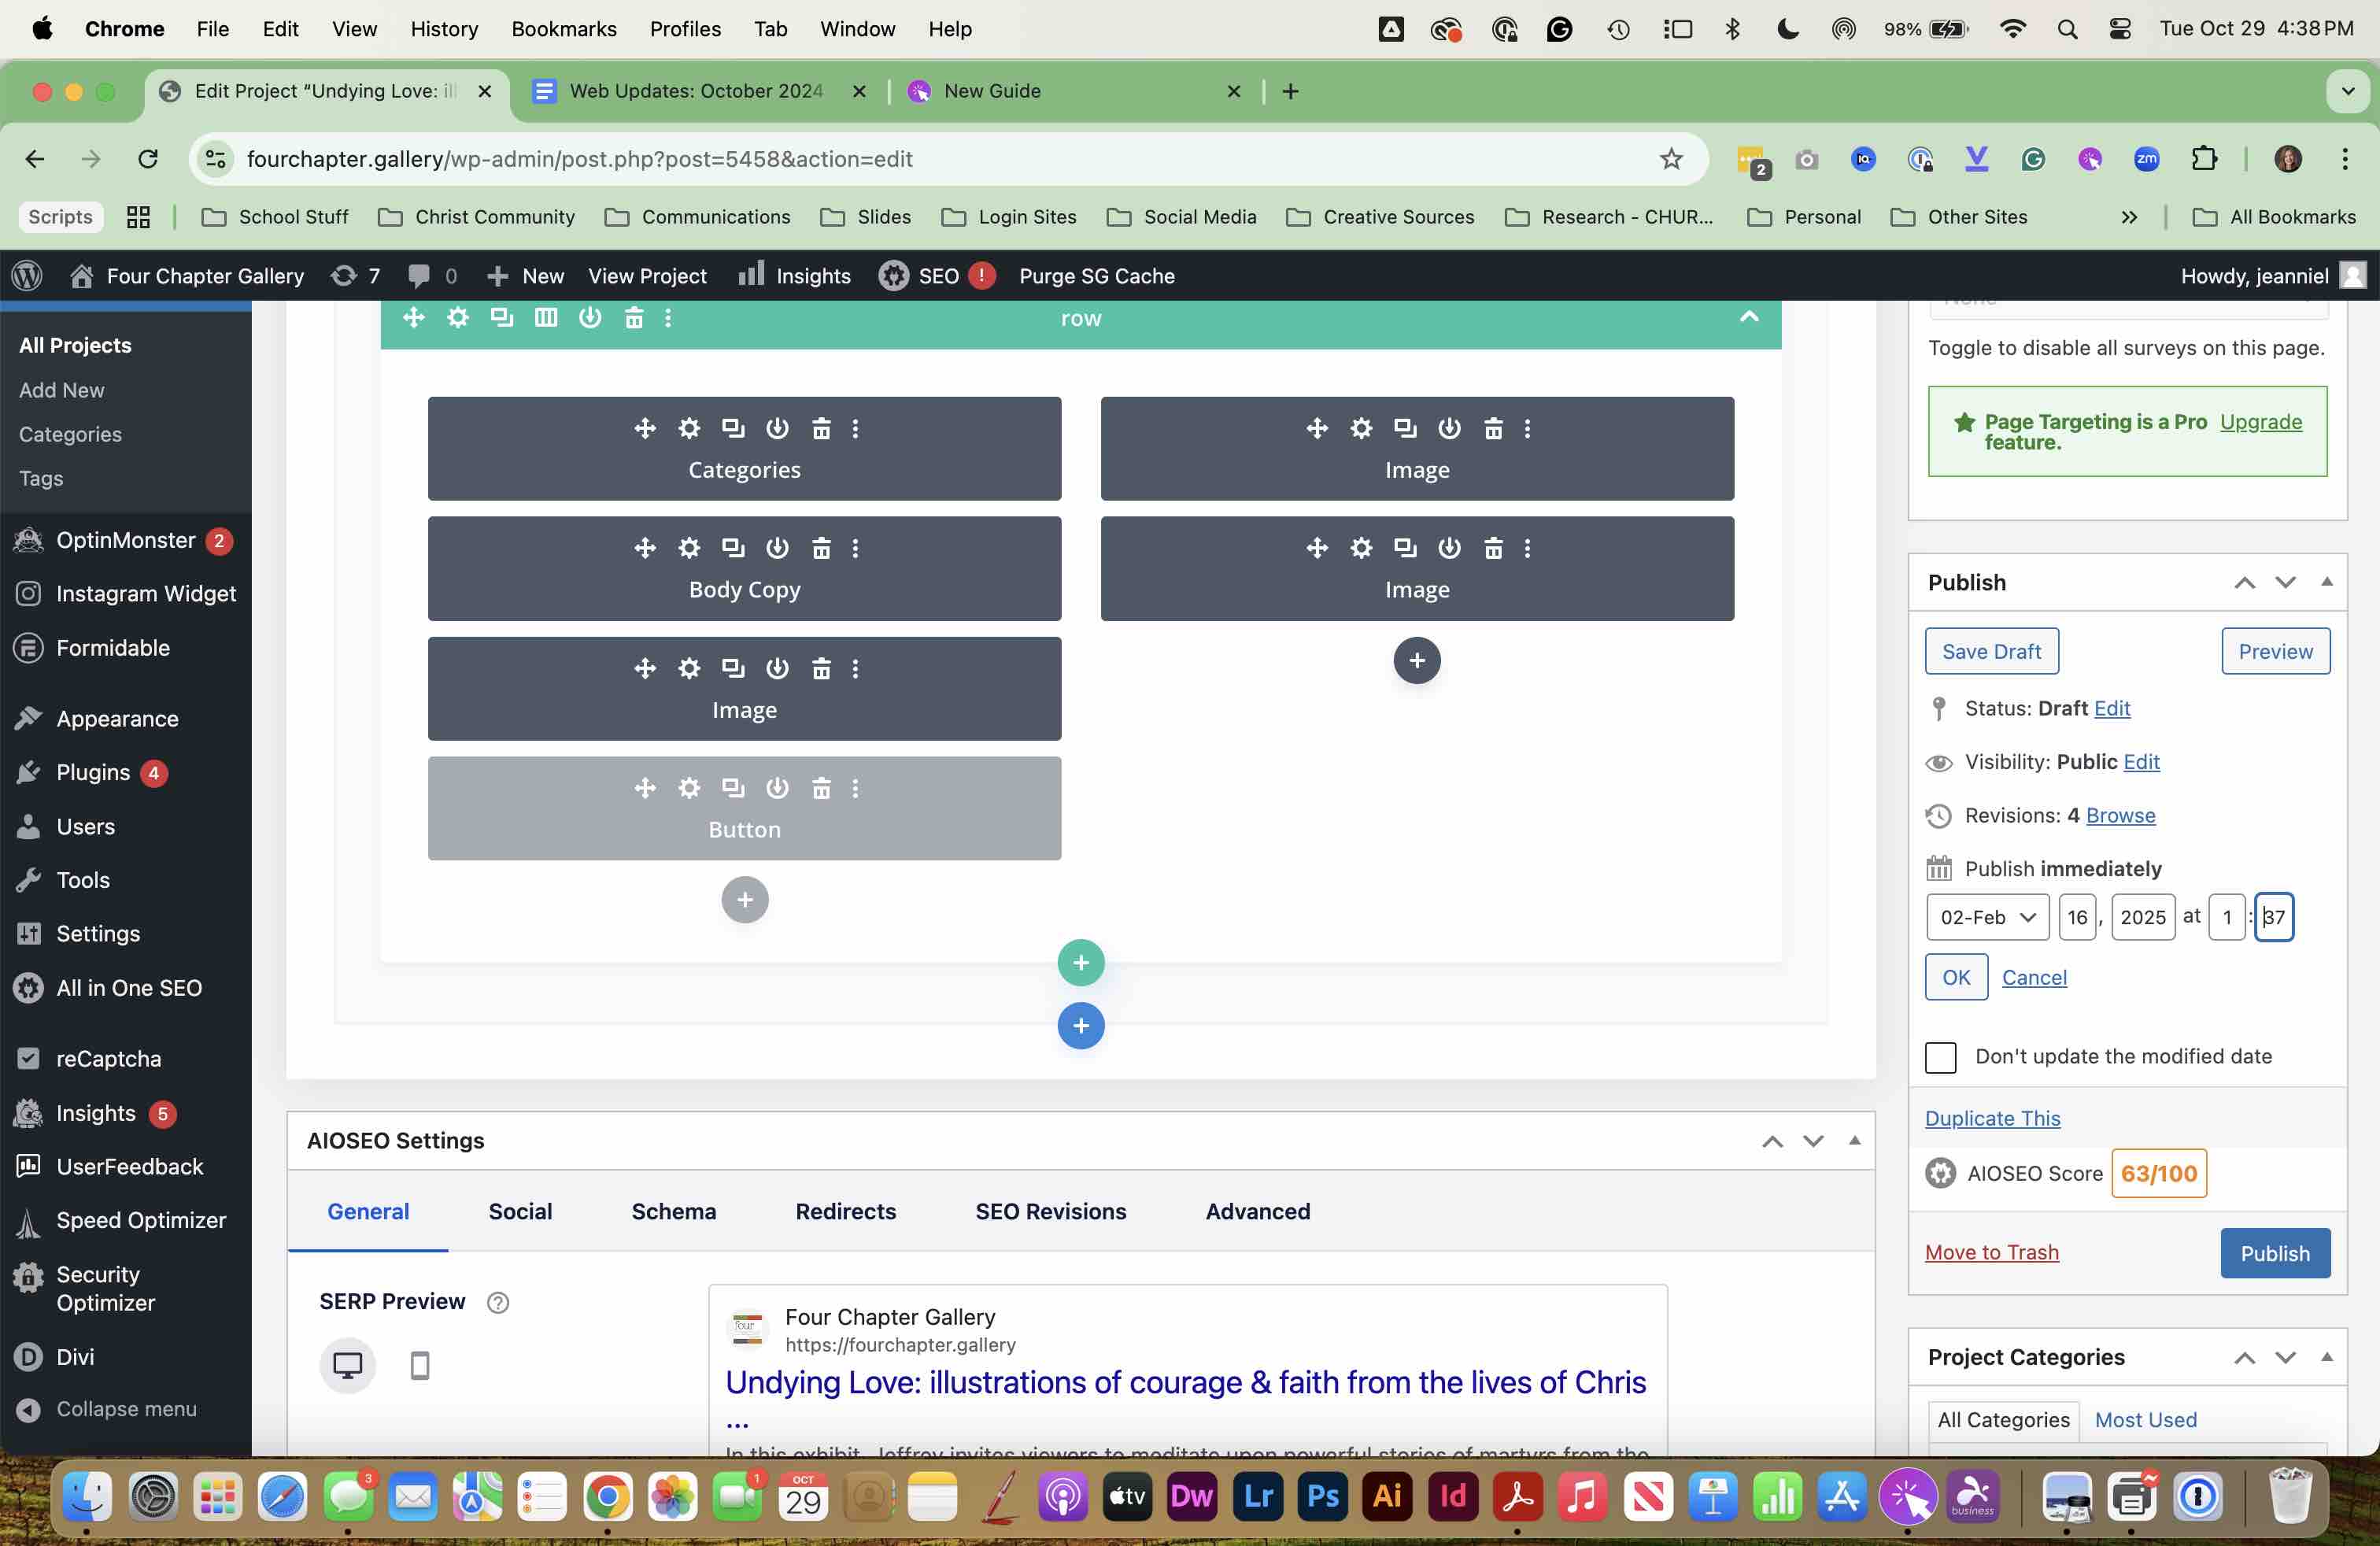
In the FourChapter.gallery website, go to PROJECTS to create a new exhibit page.
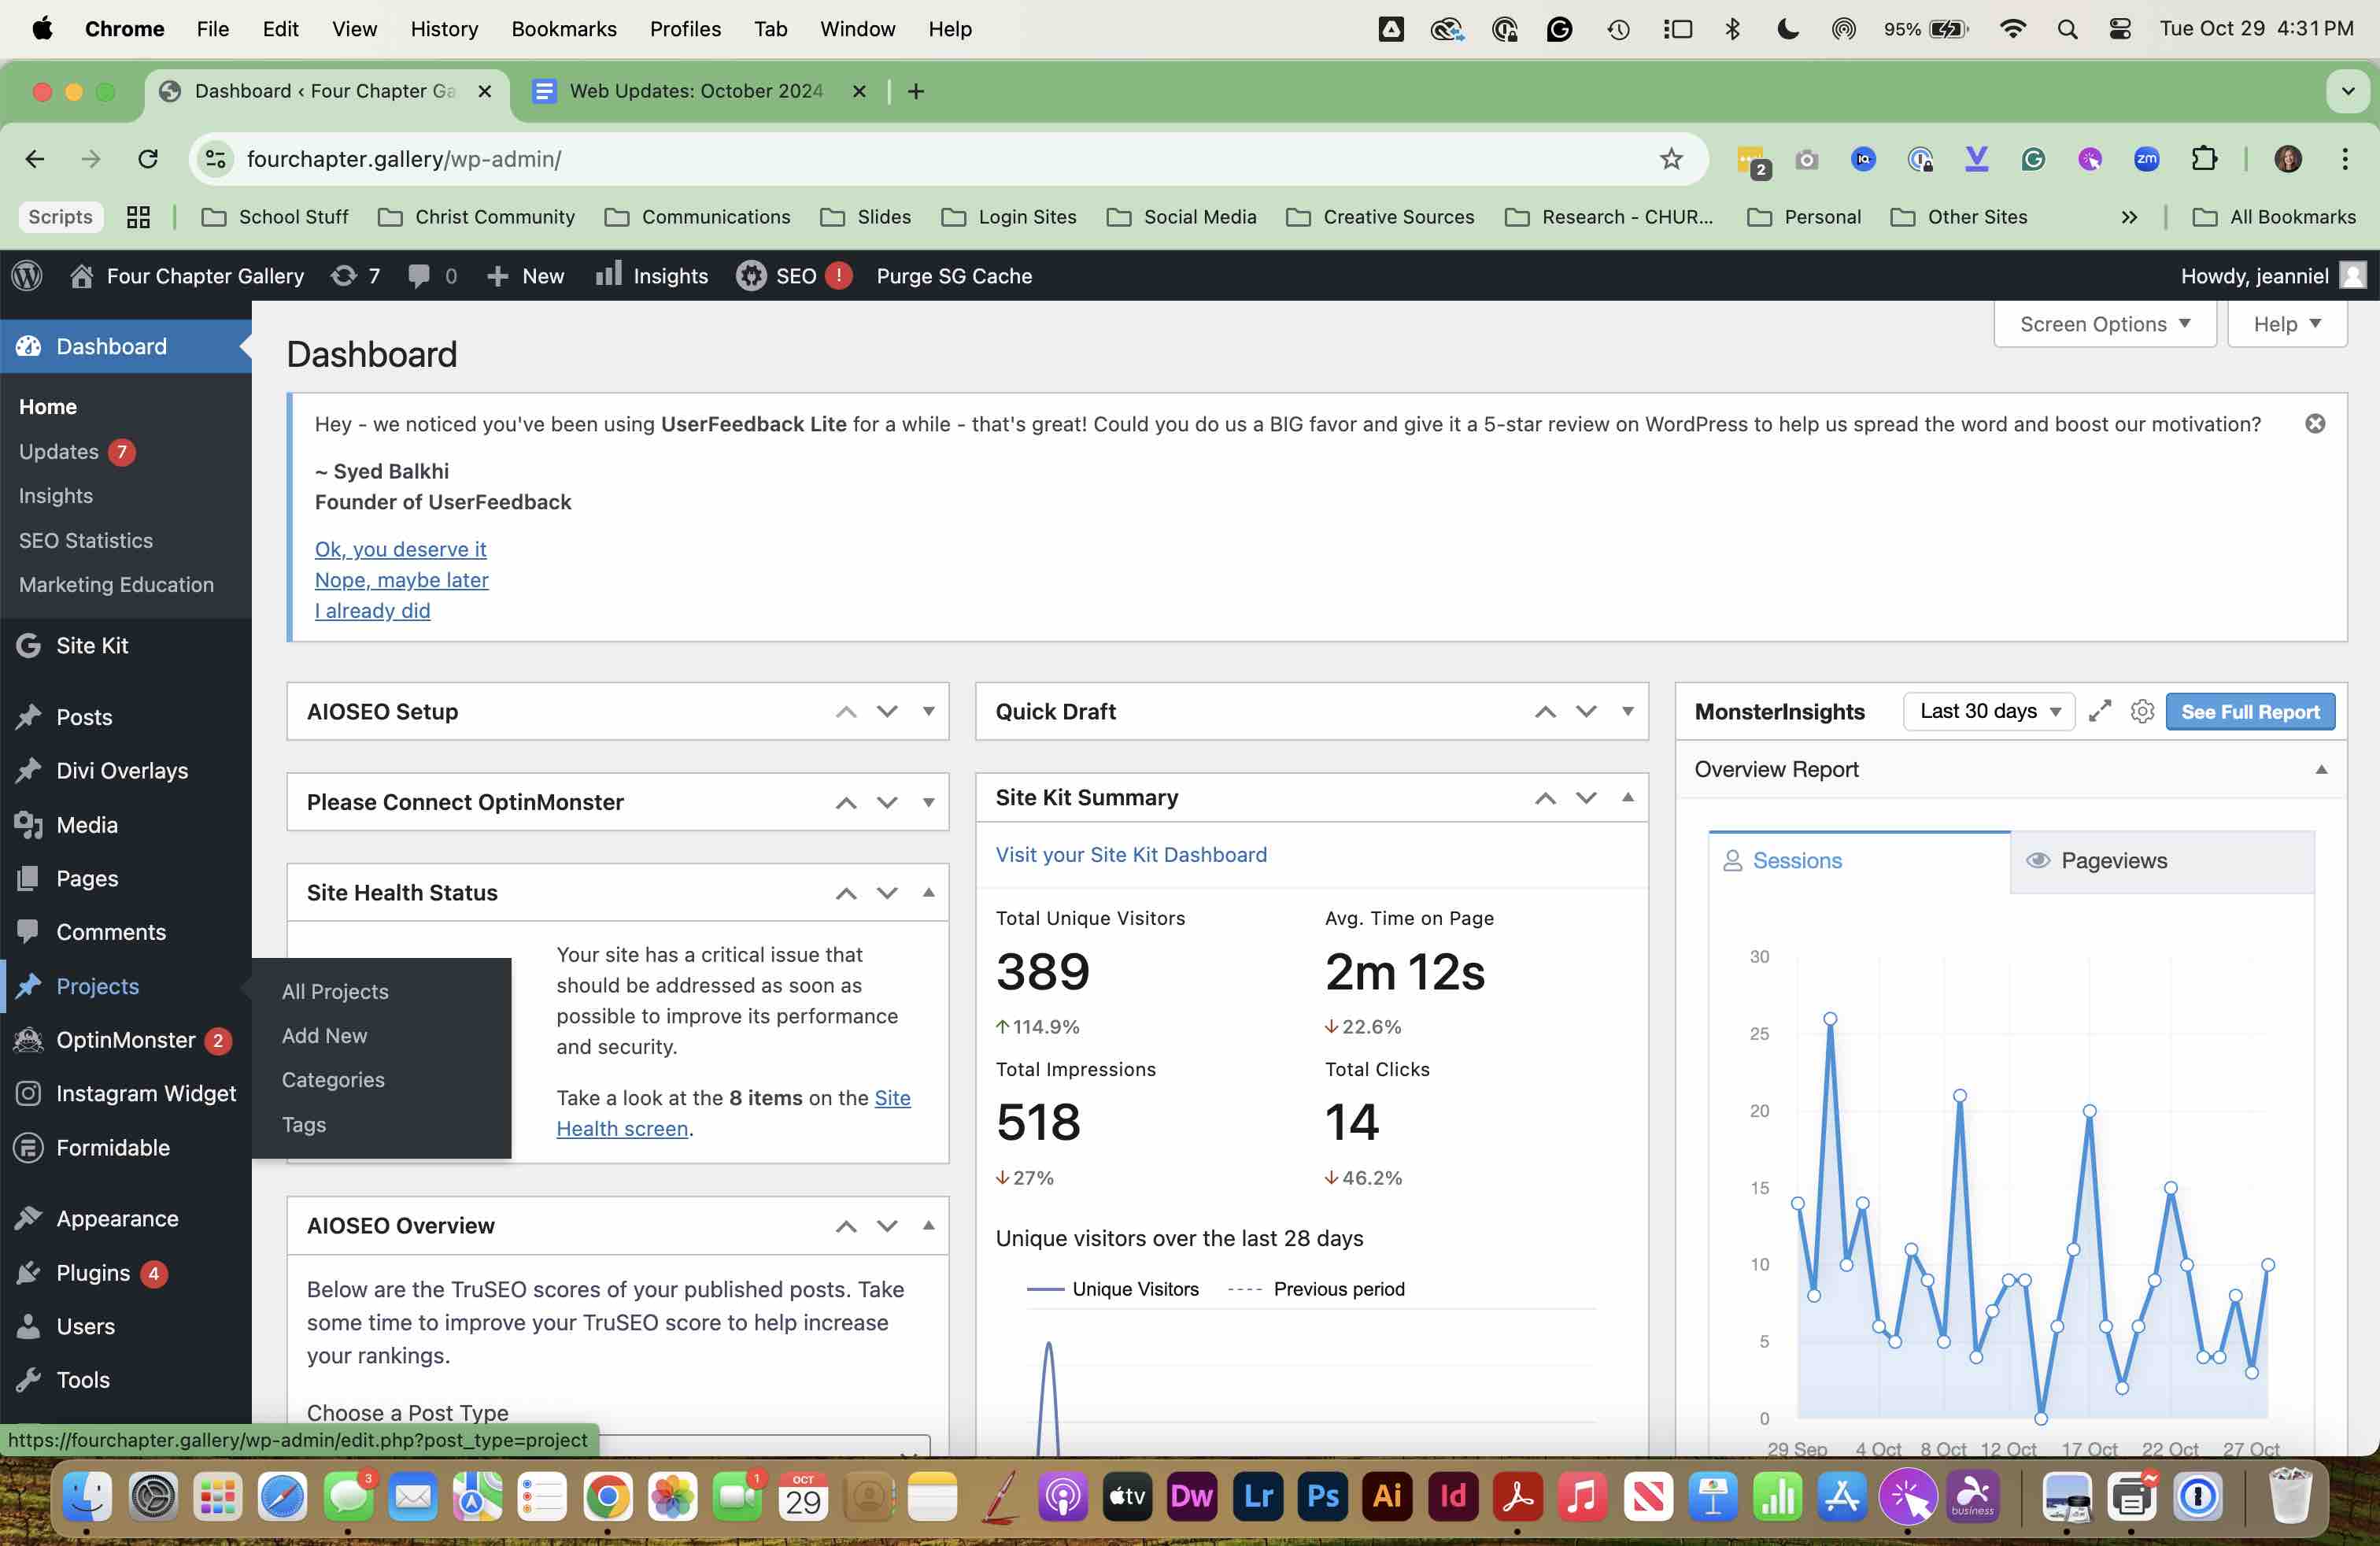
SELECT and exisitng project and DUPLICATE THIS page.
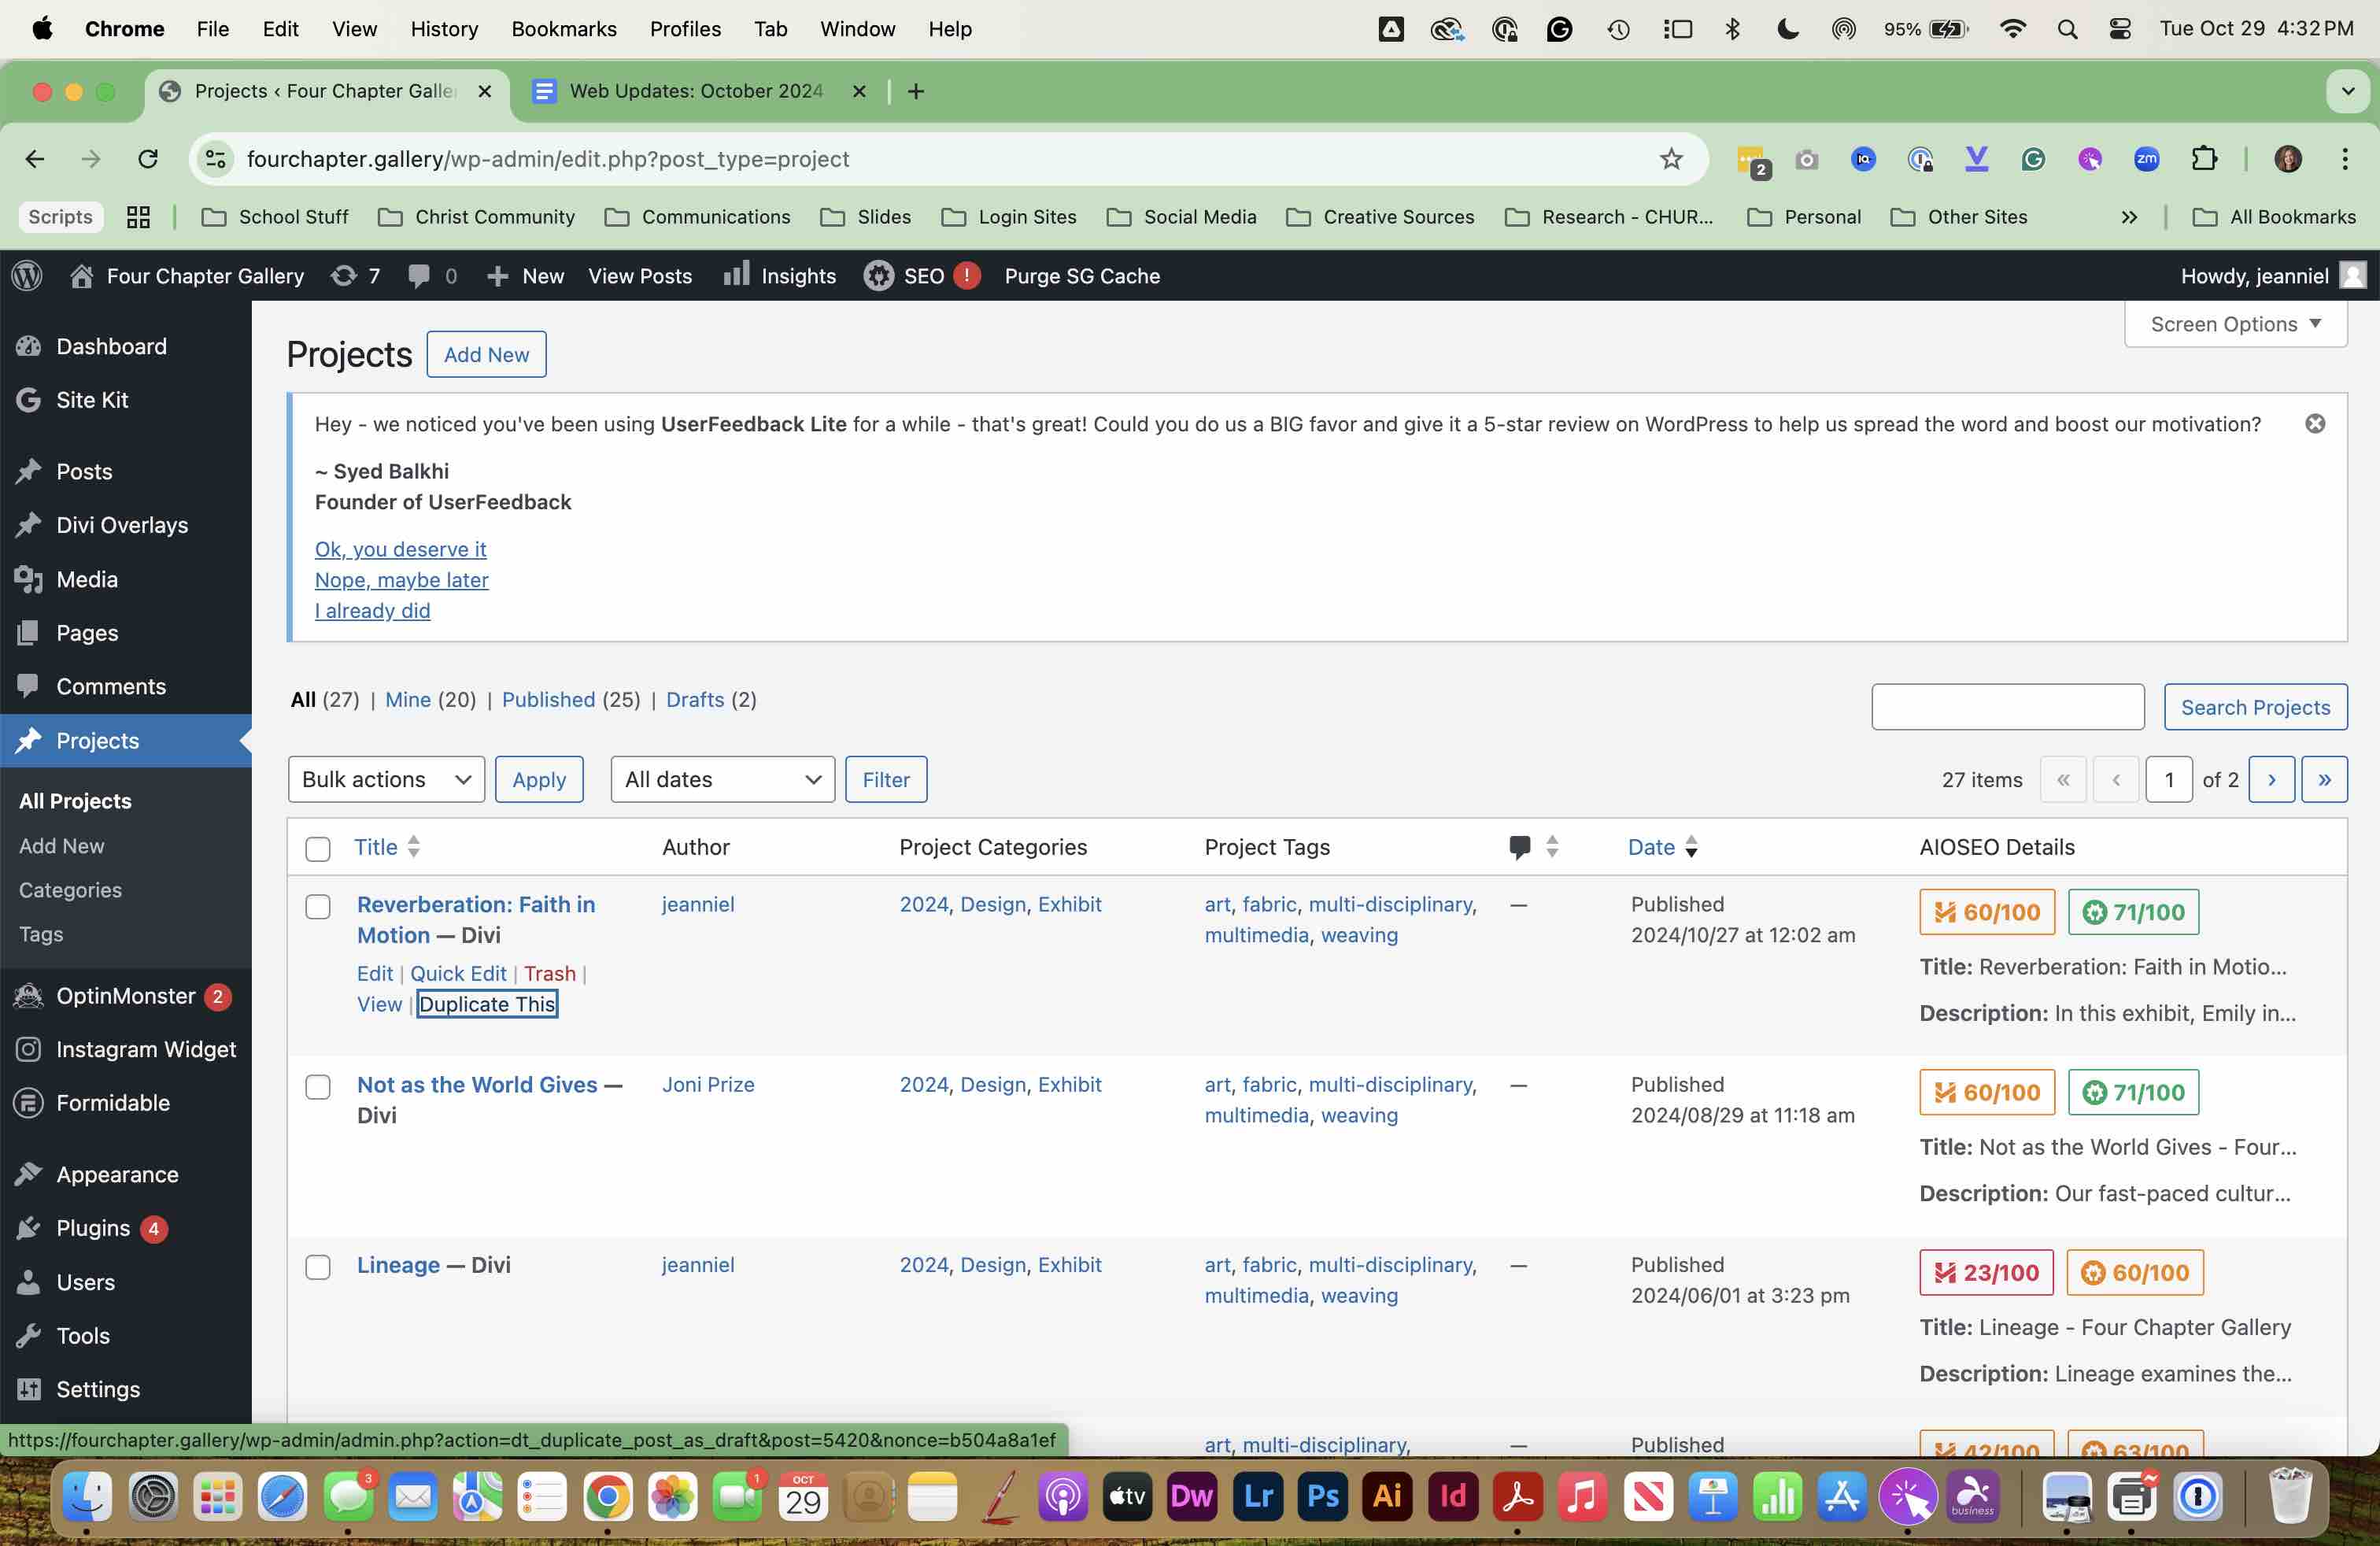
SELECT the duplicated project to edit and update it.
You will want to have your GOOGLE DOC with the available exhibit information to cut and paste information.
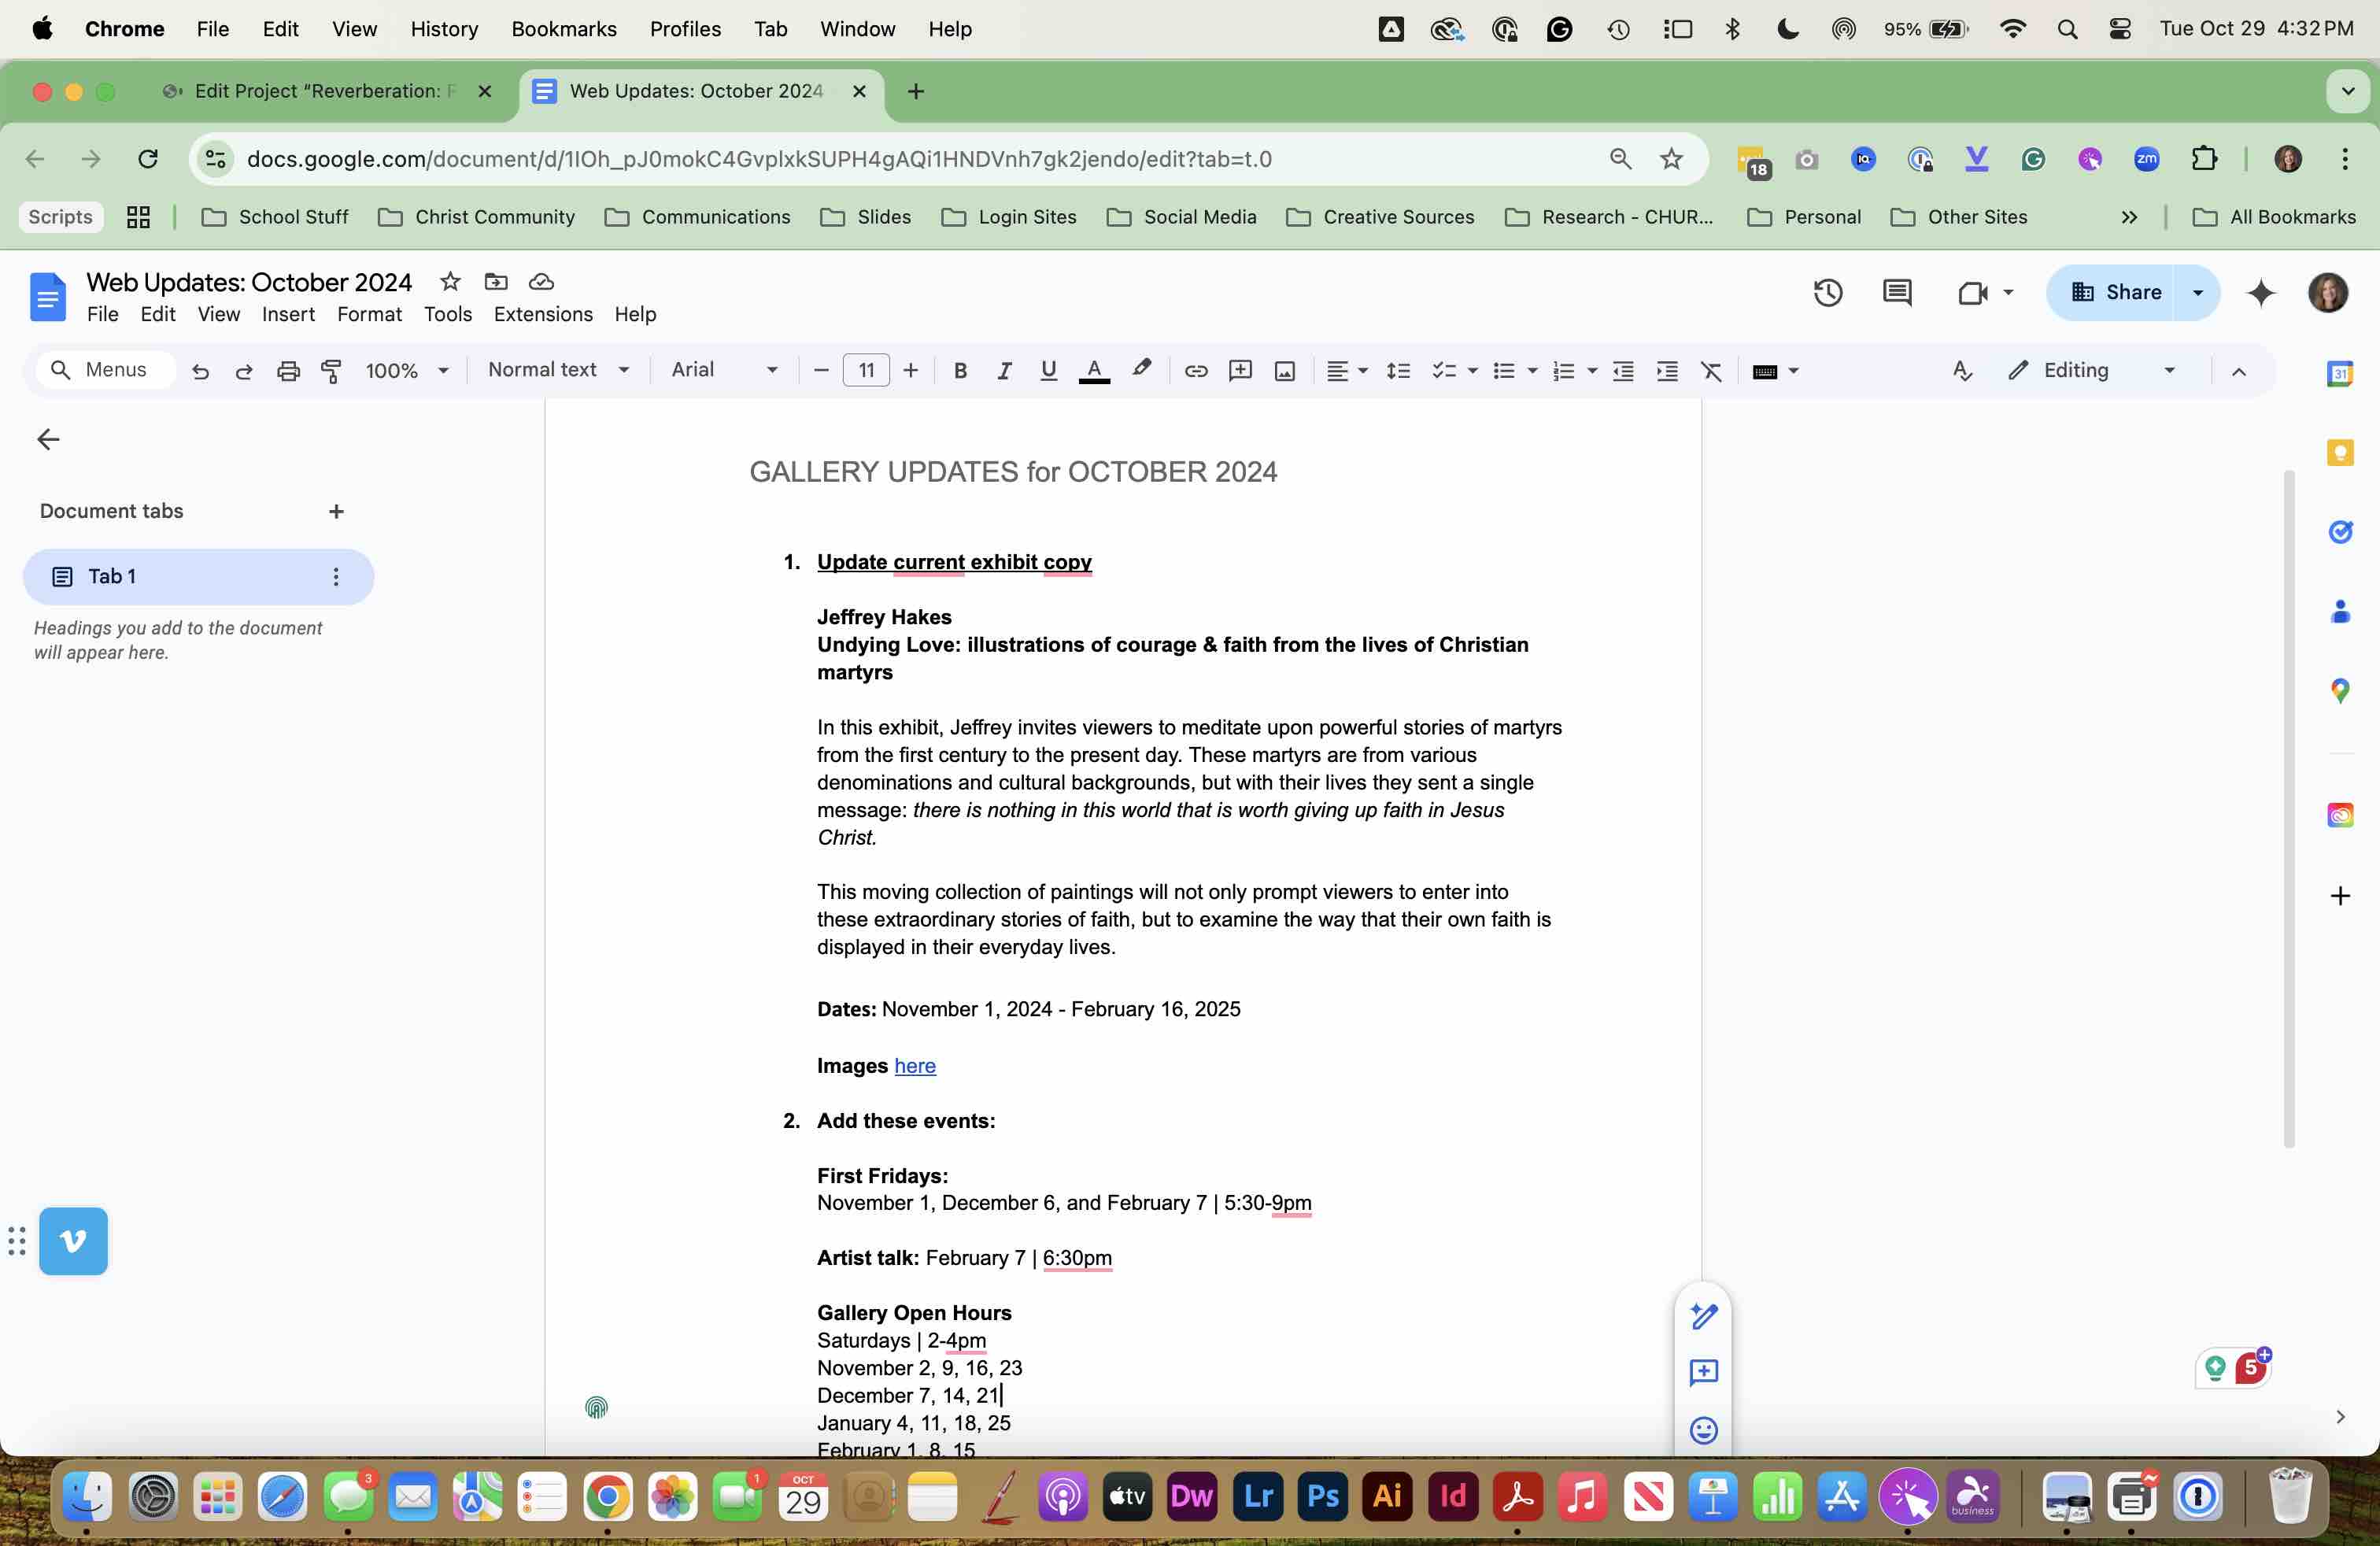
Starting at the top, UPDATE the TITLE with the new exhibit title.
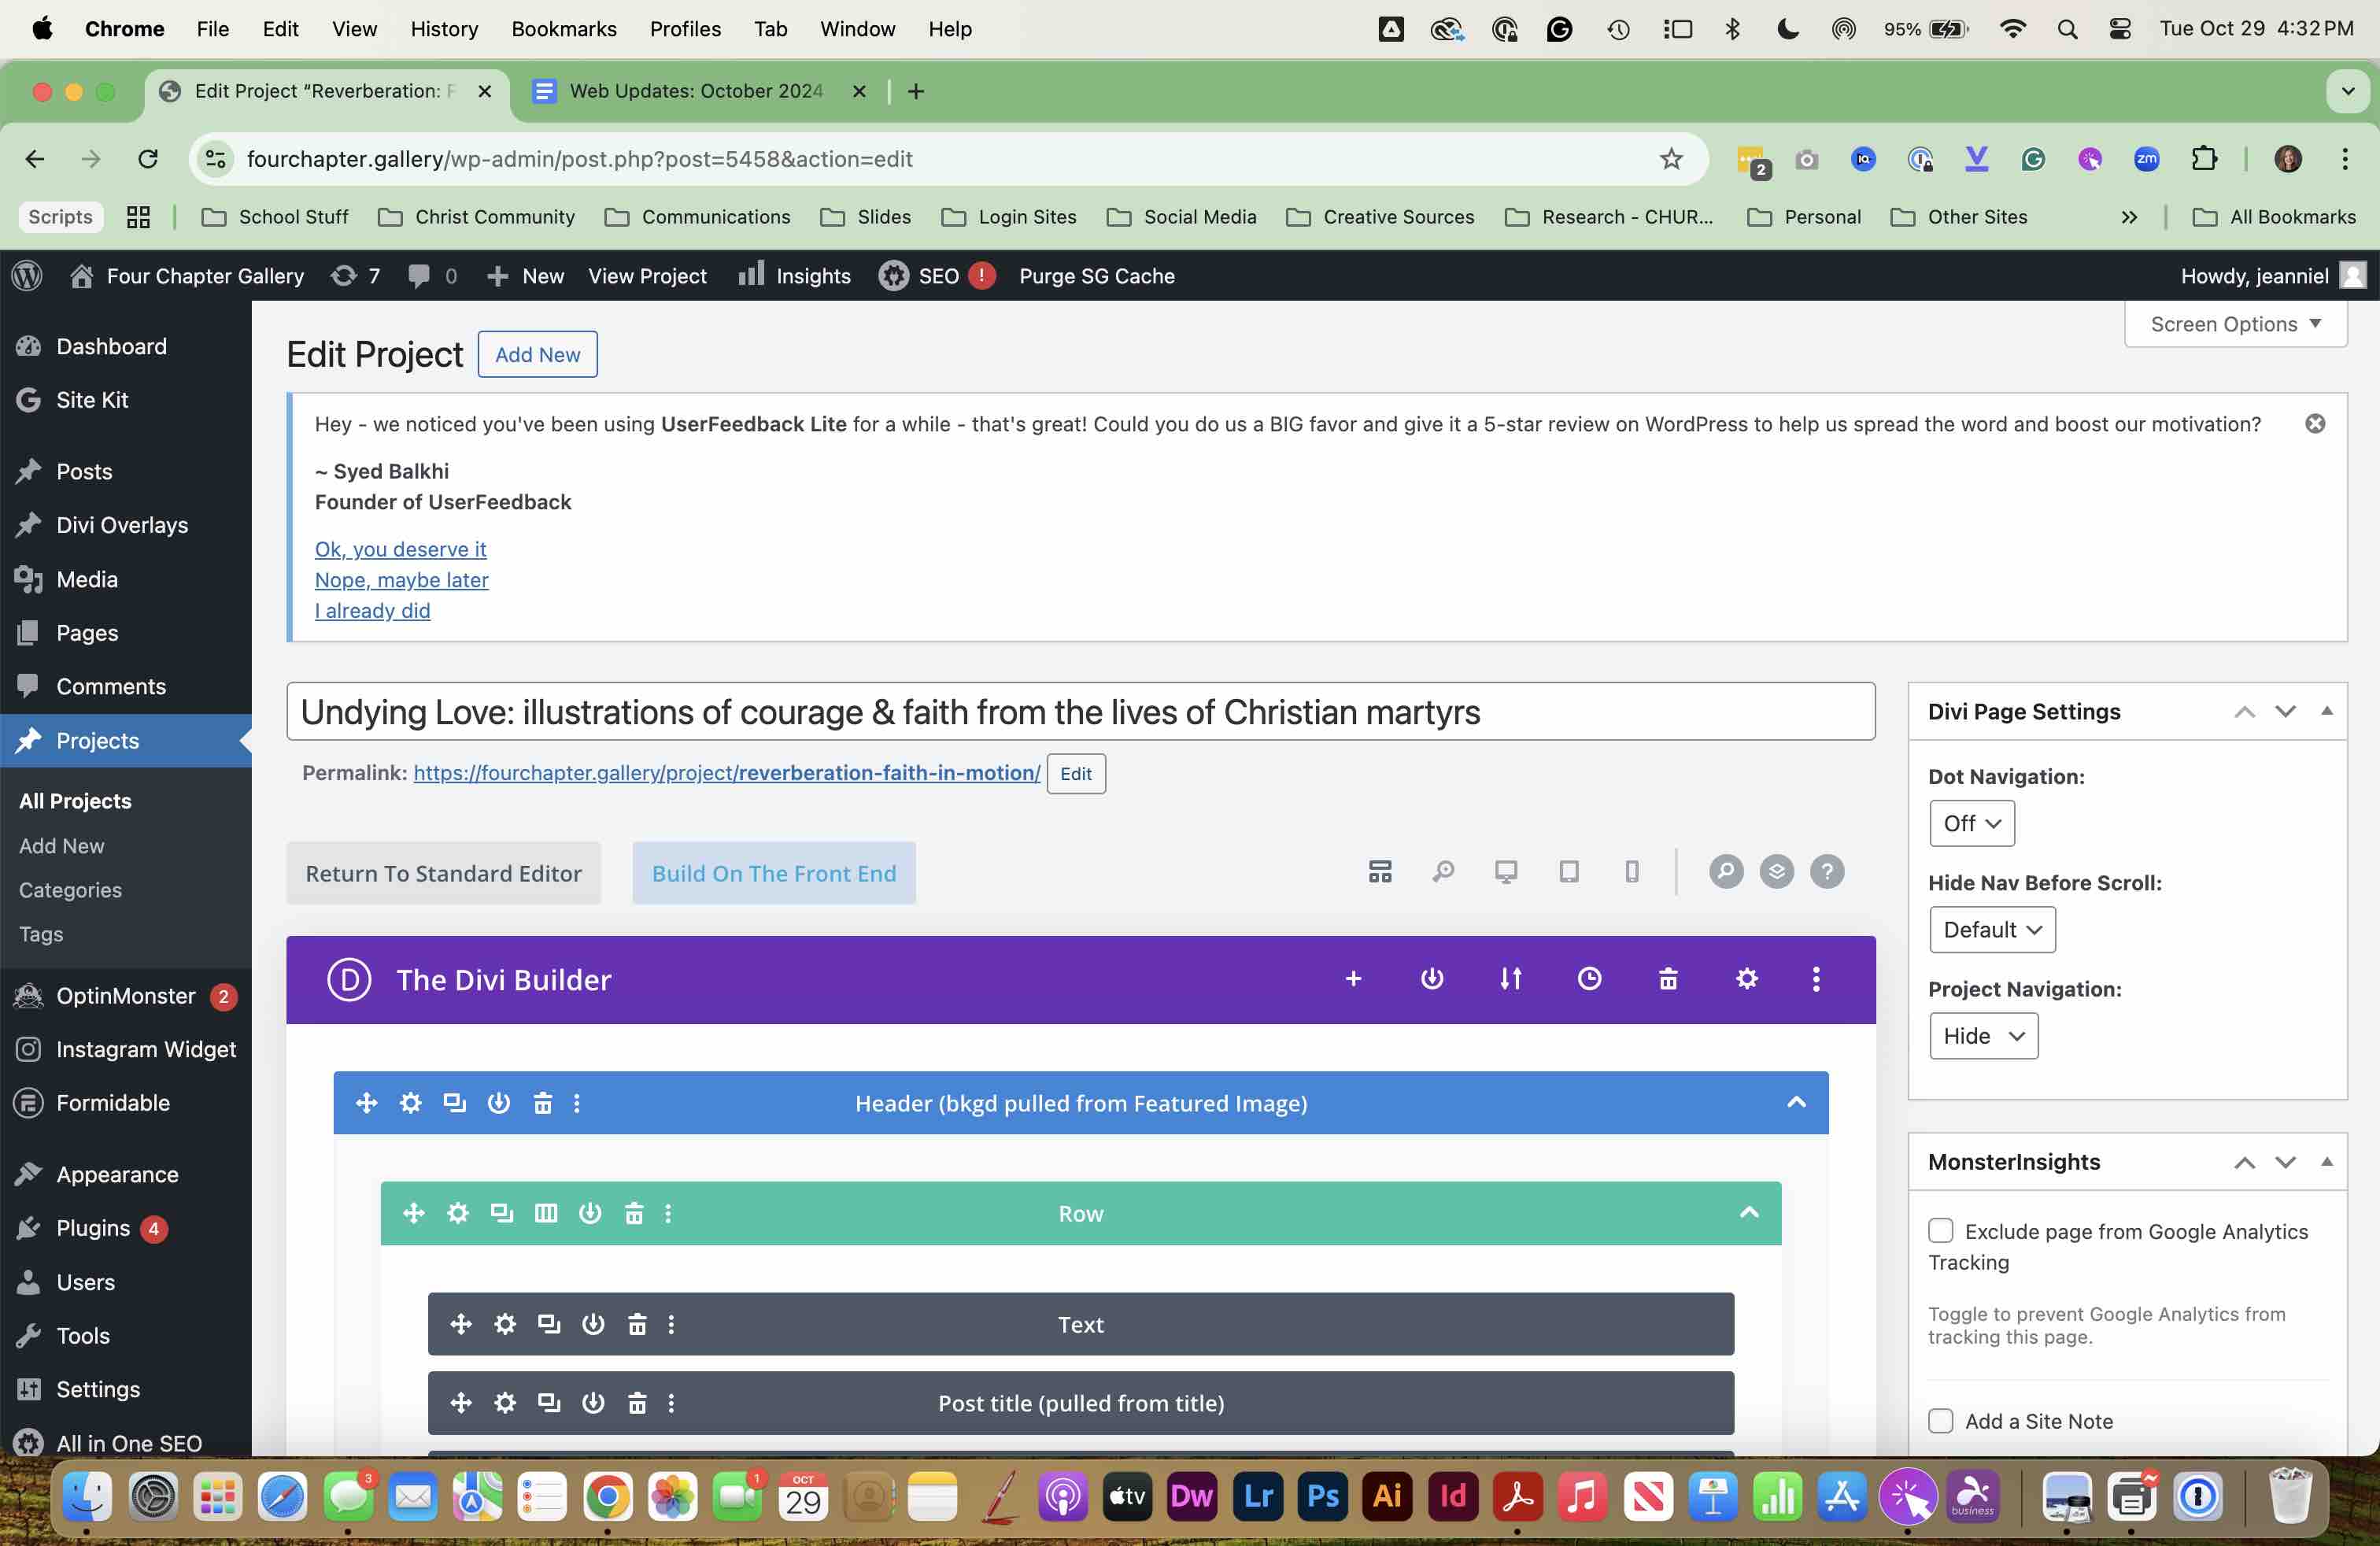
Also UPDATE and shorten the PERMALINK to coordinate with the exhibit title or artist.
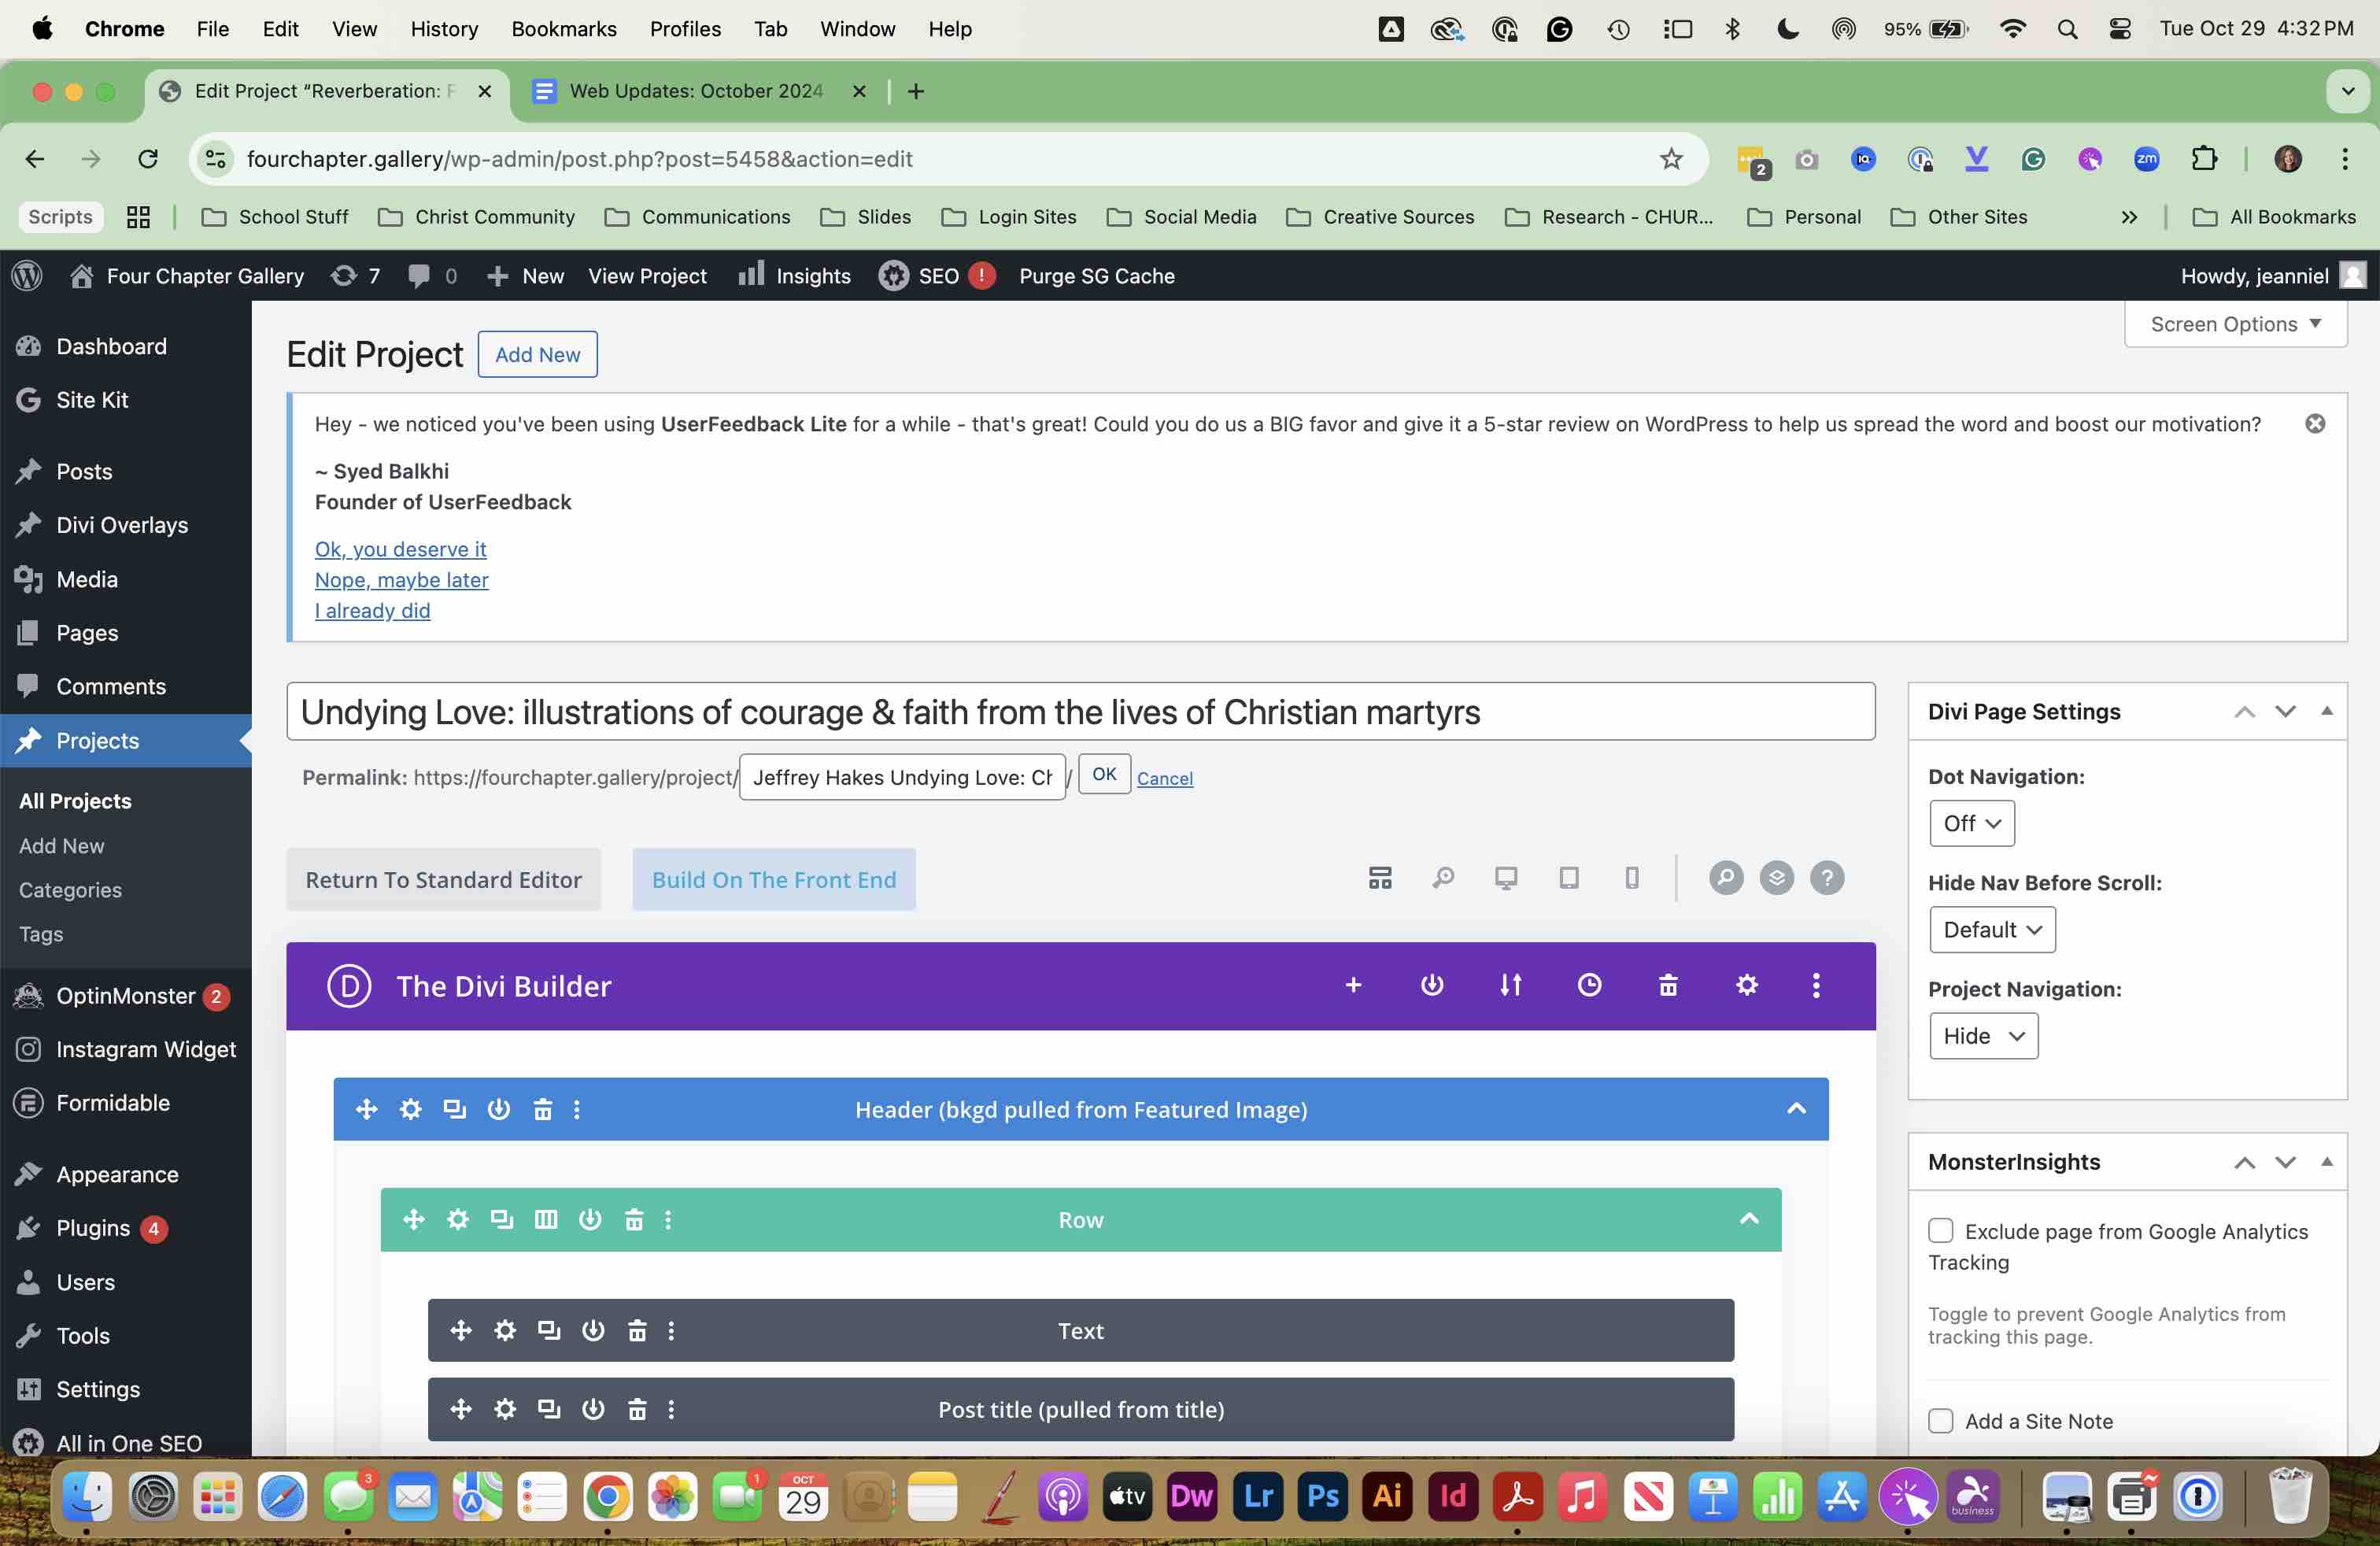
SCROLL down and UPDATE the FEATURED IMAGE and the EXERPT for this exhibit/project with new image and information.
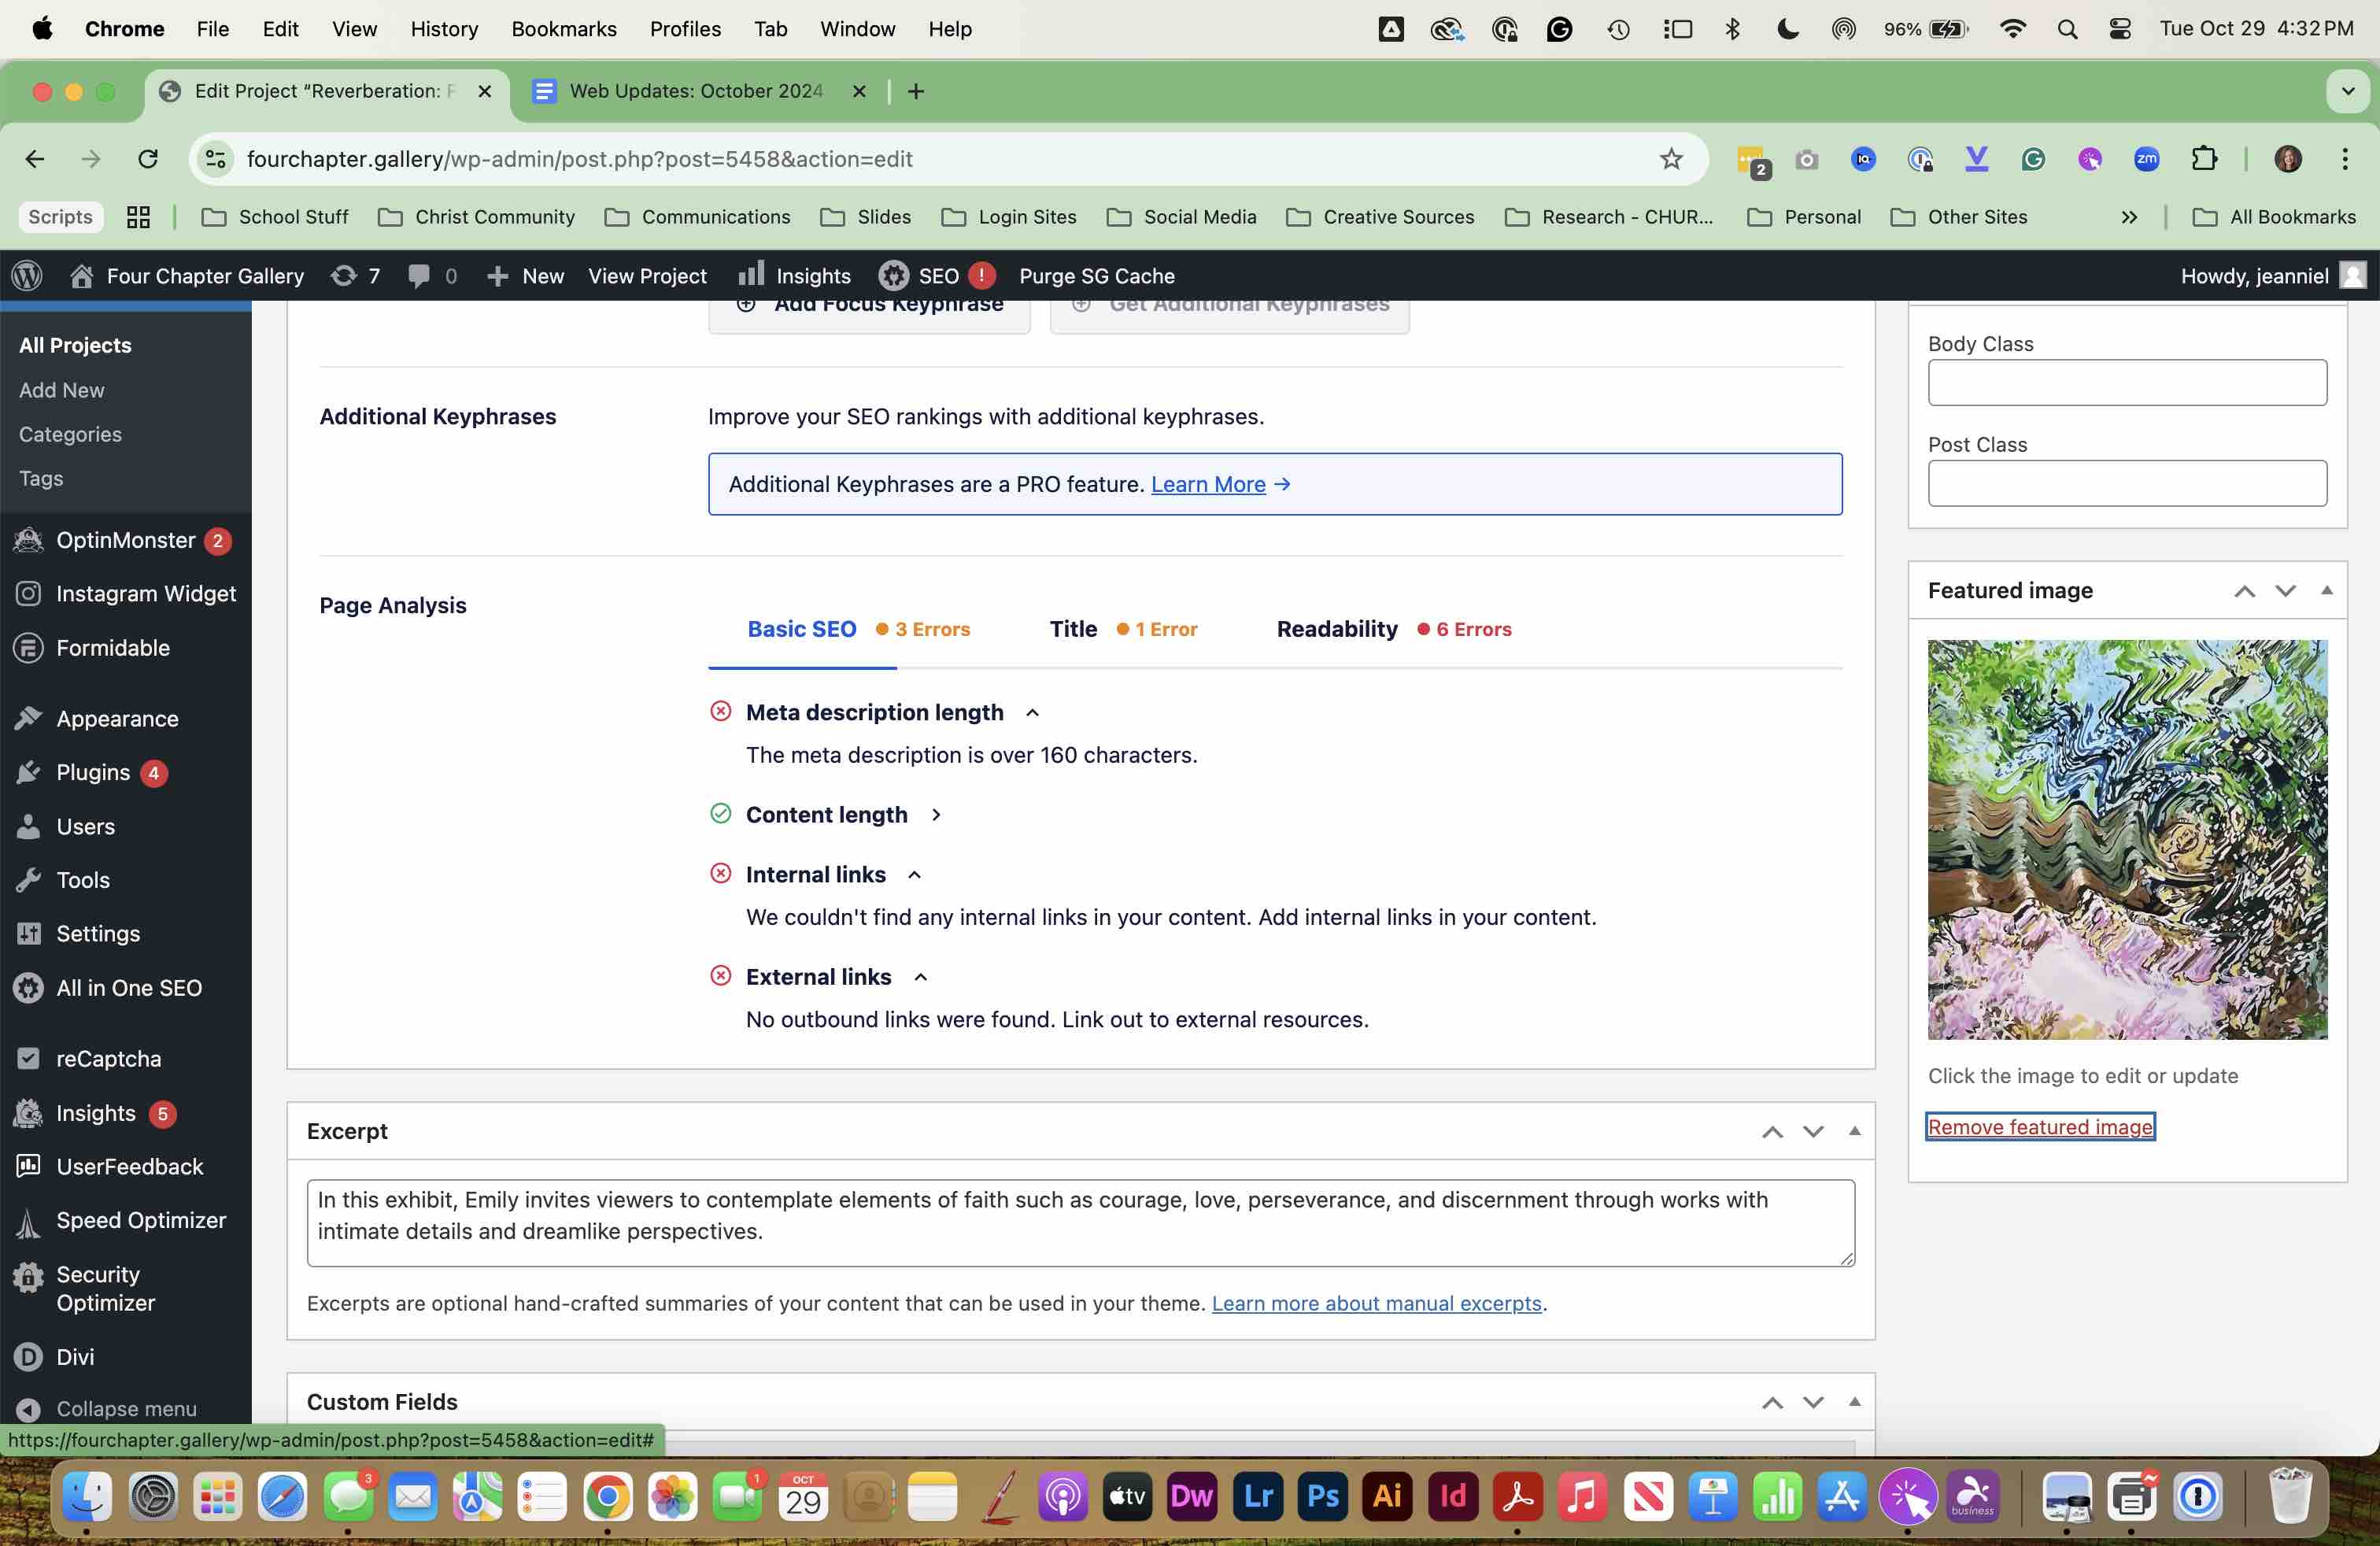
UPDATE exerpt.
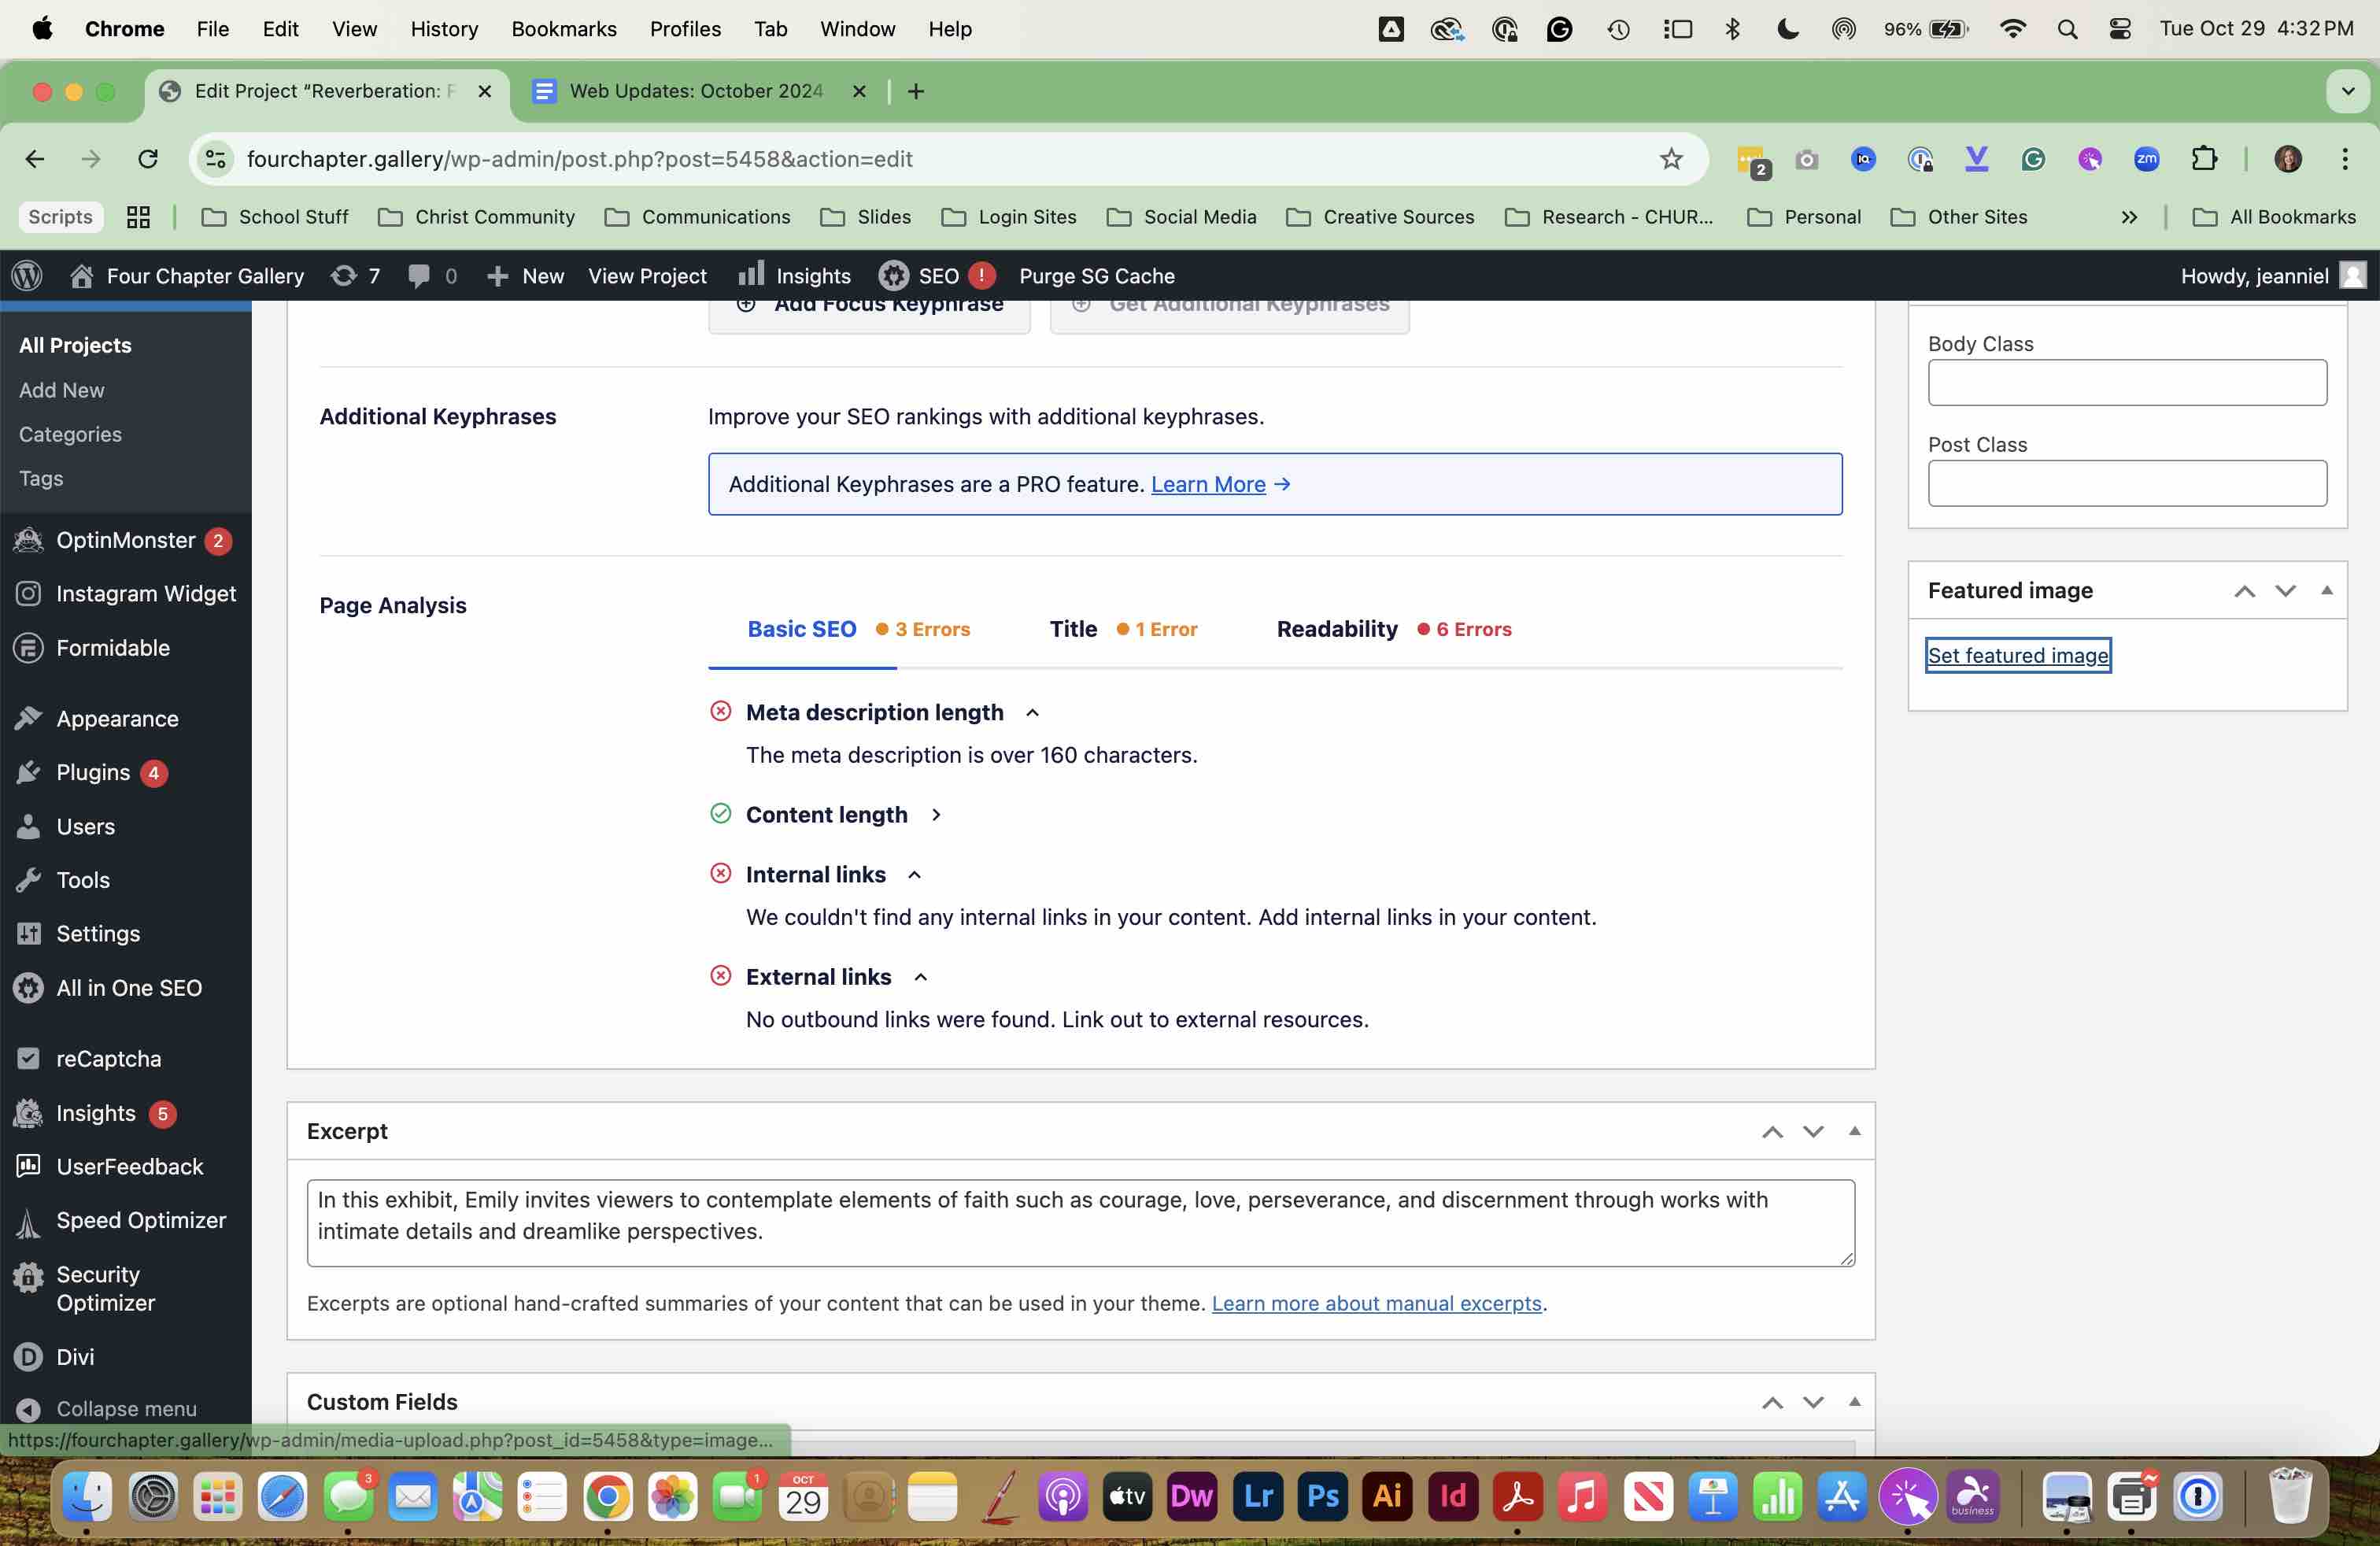
SELECT a square or tall image for this use (NOT horizontal).
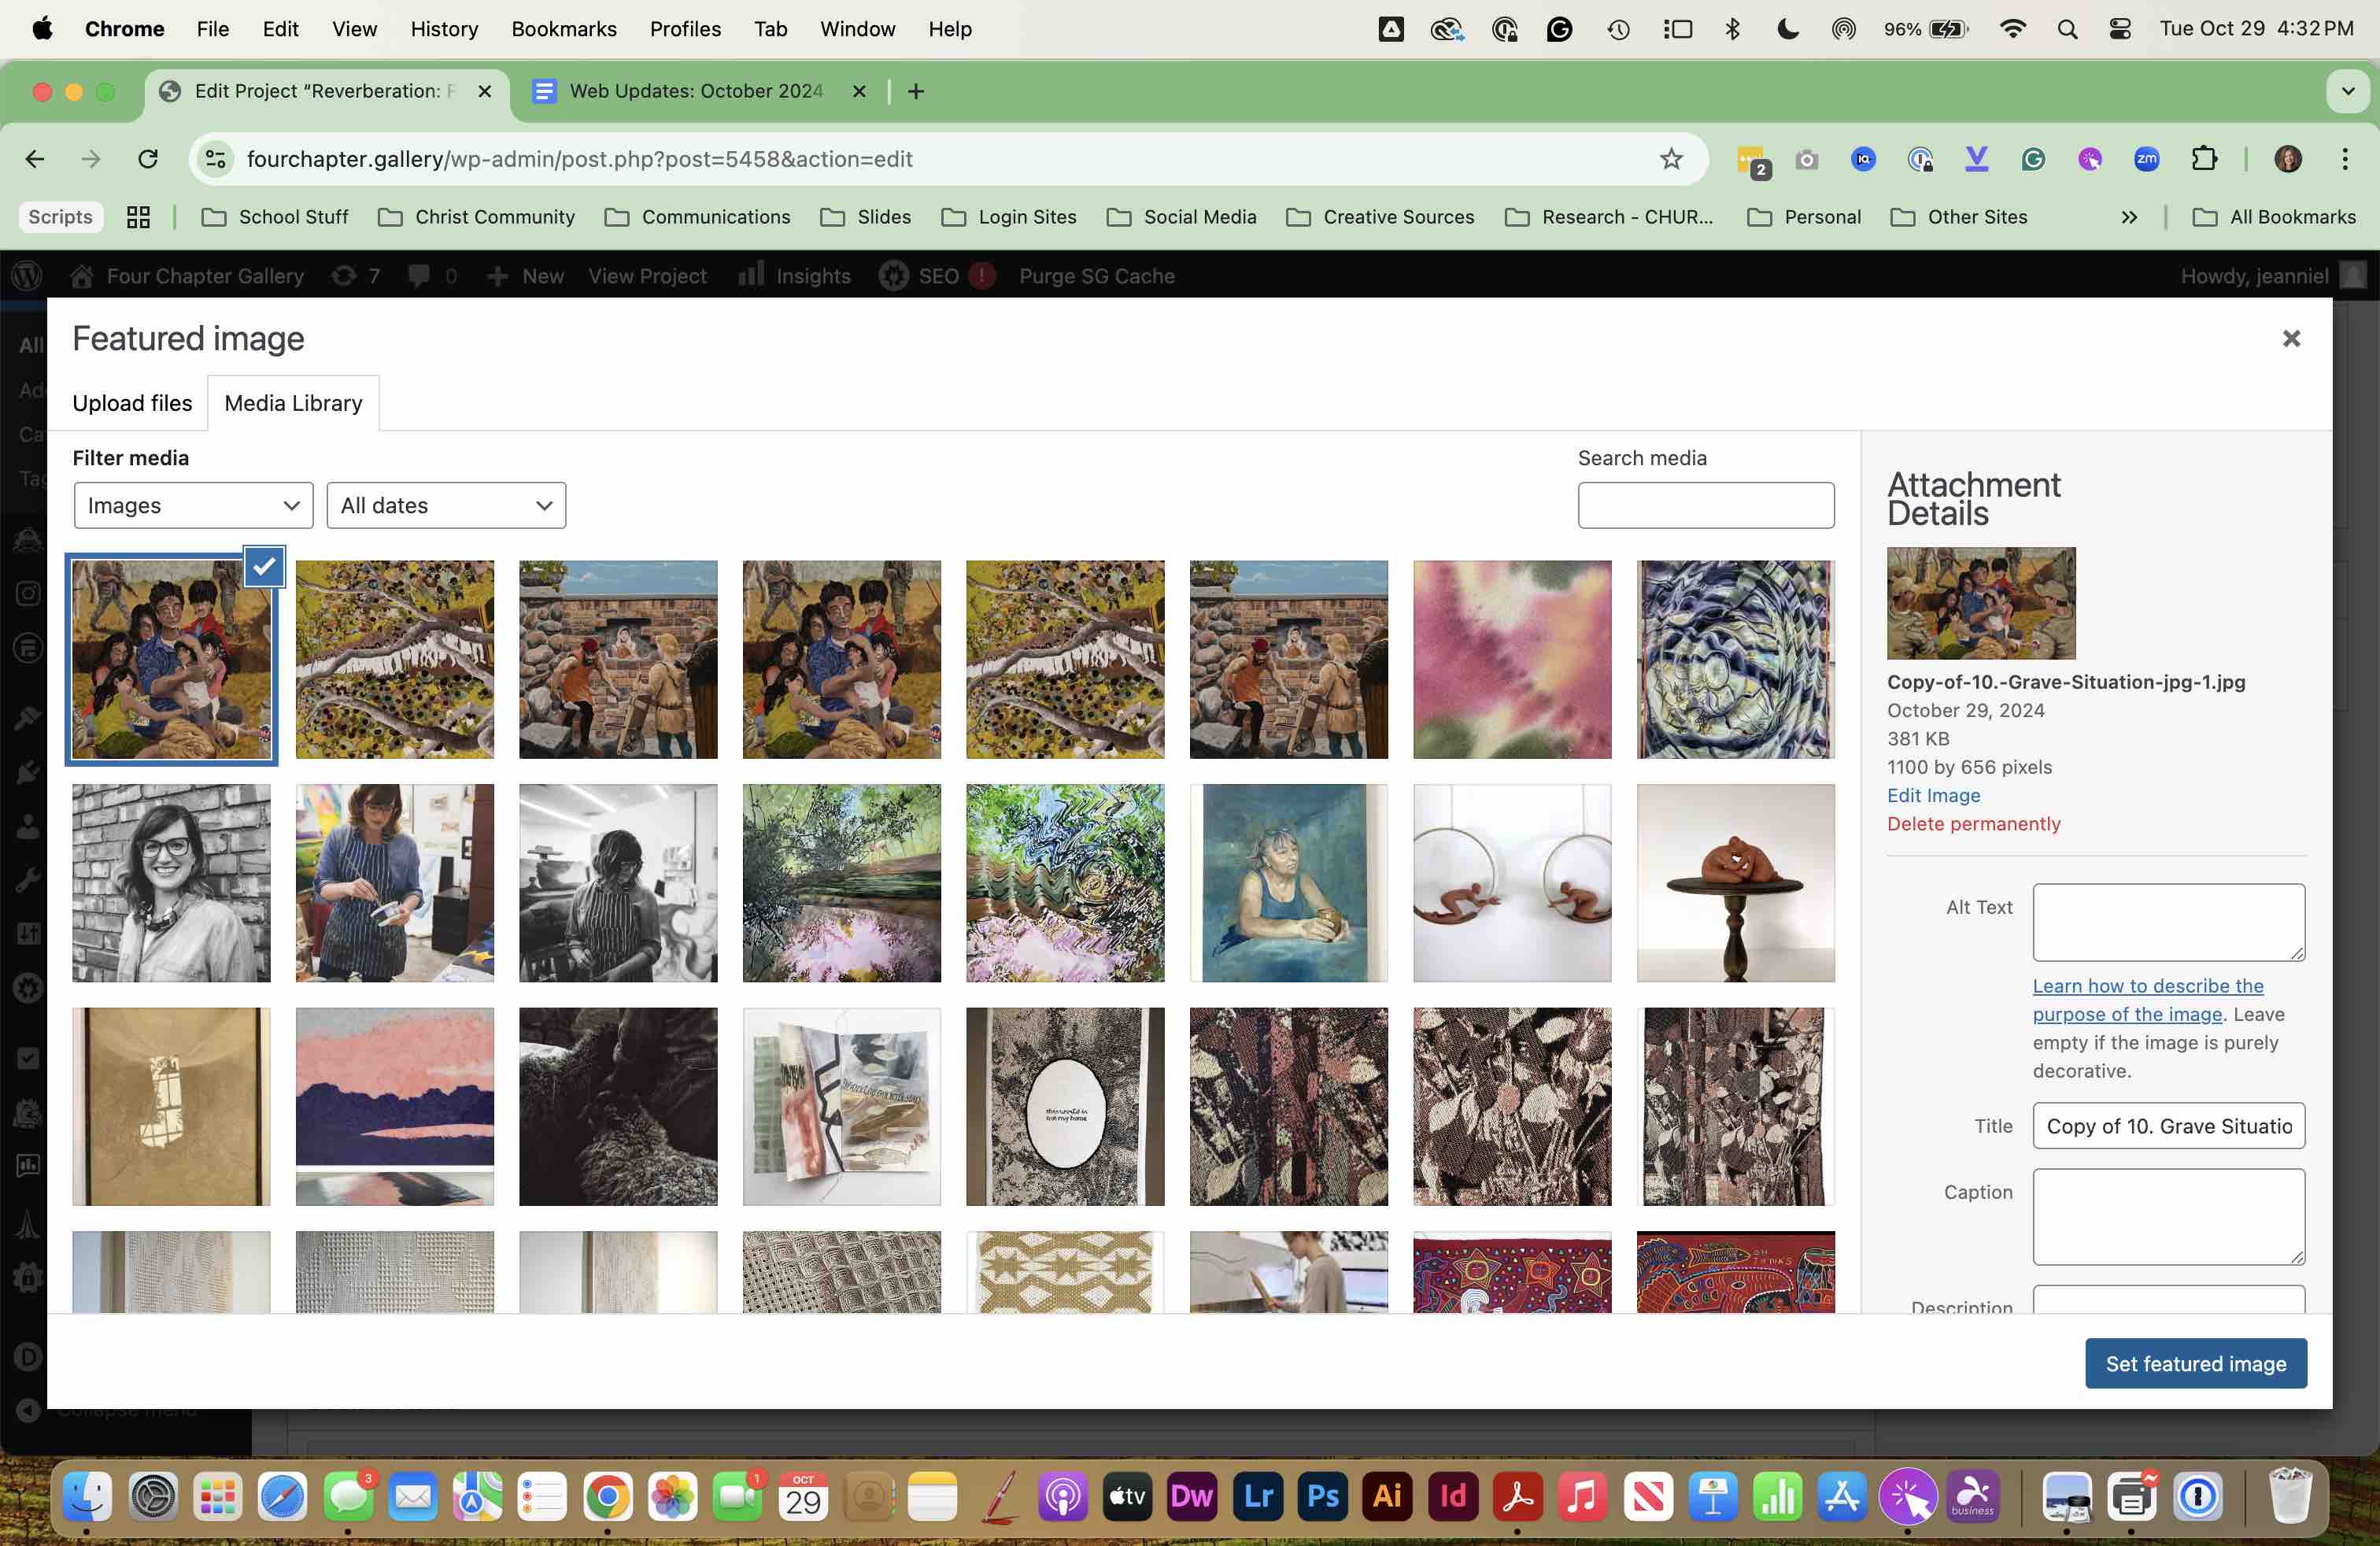
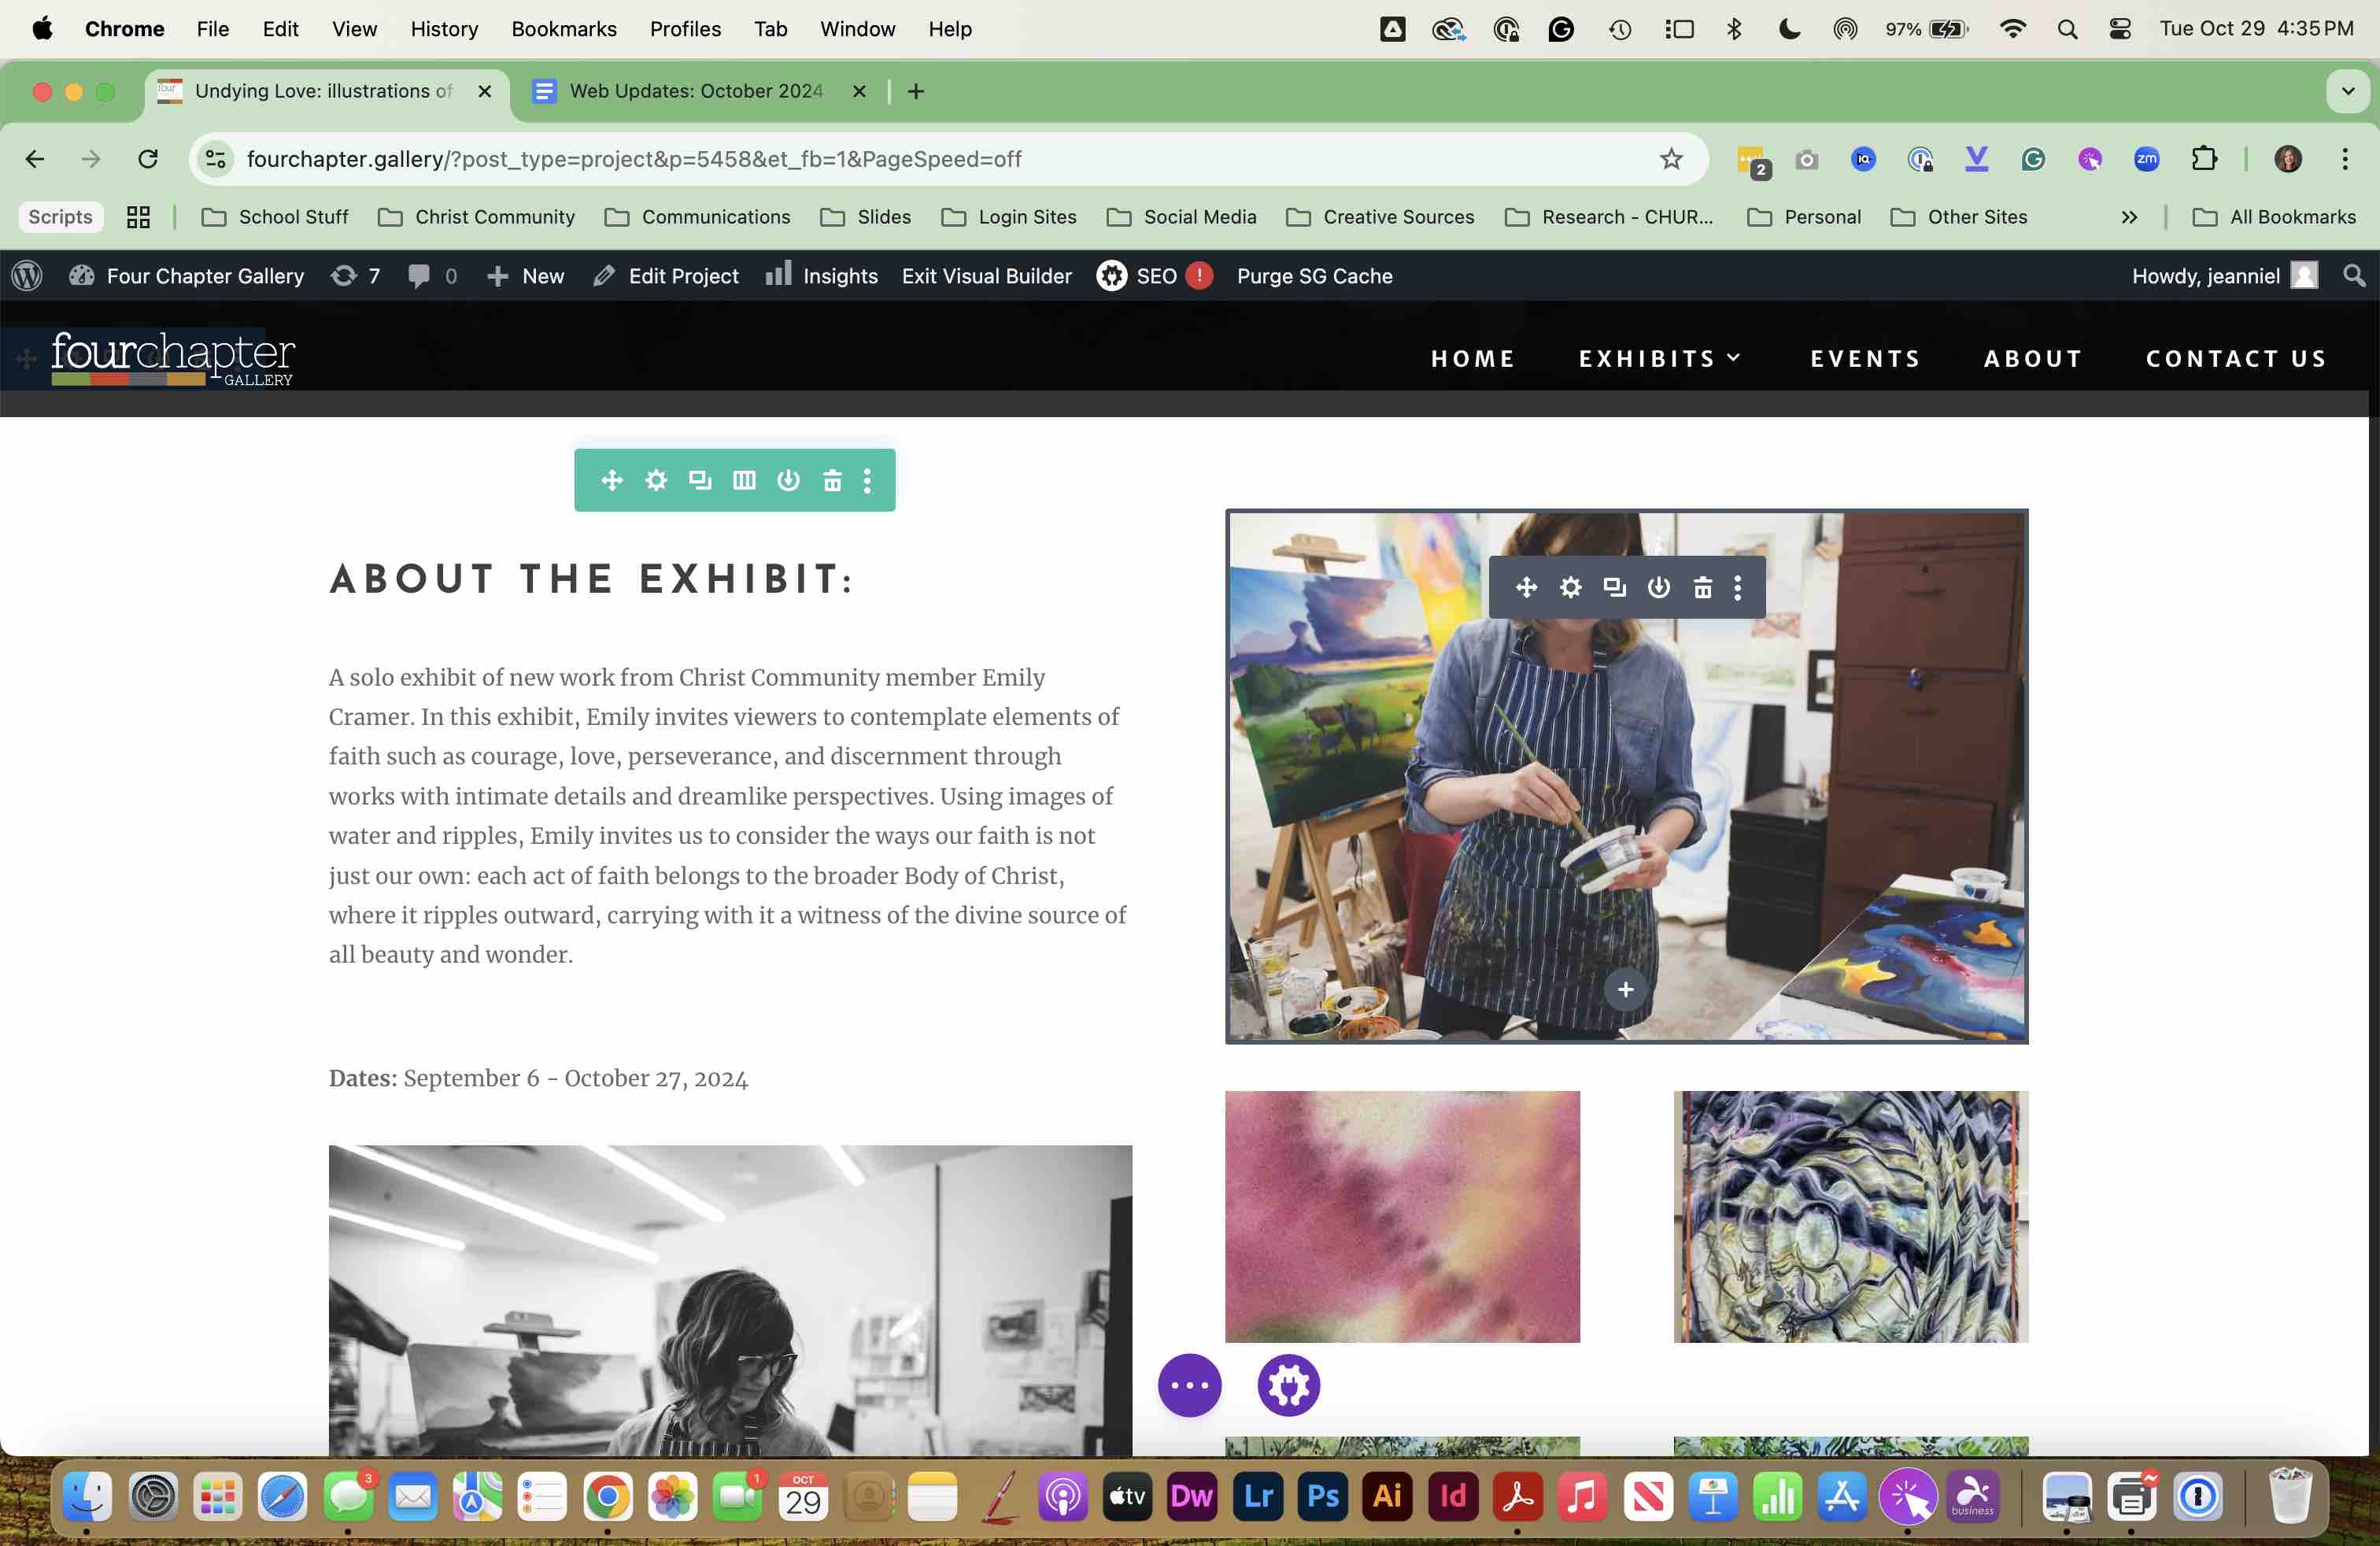
SELECT Build On the Front End
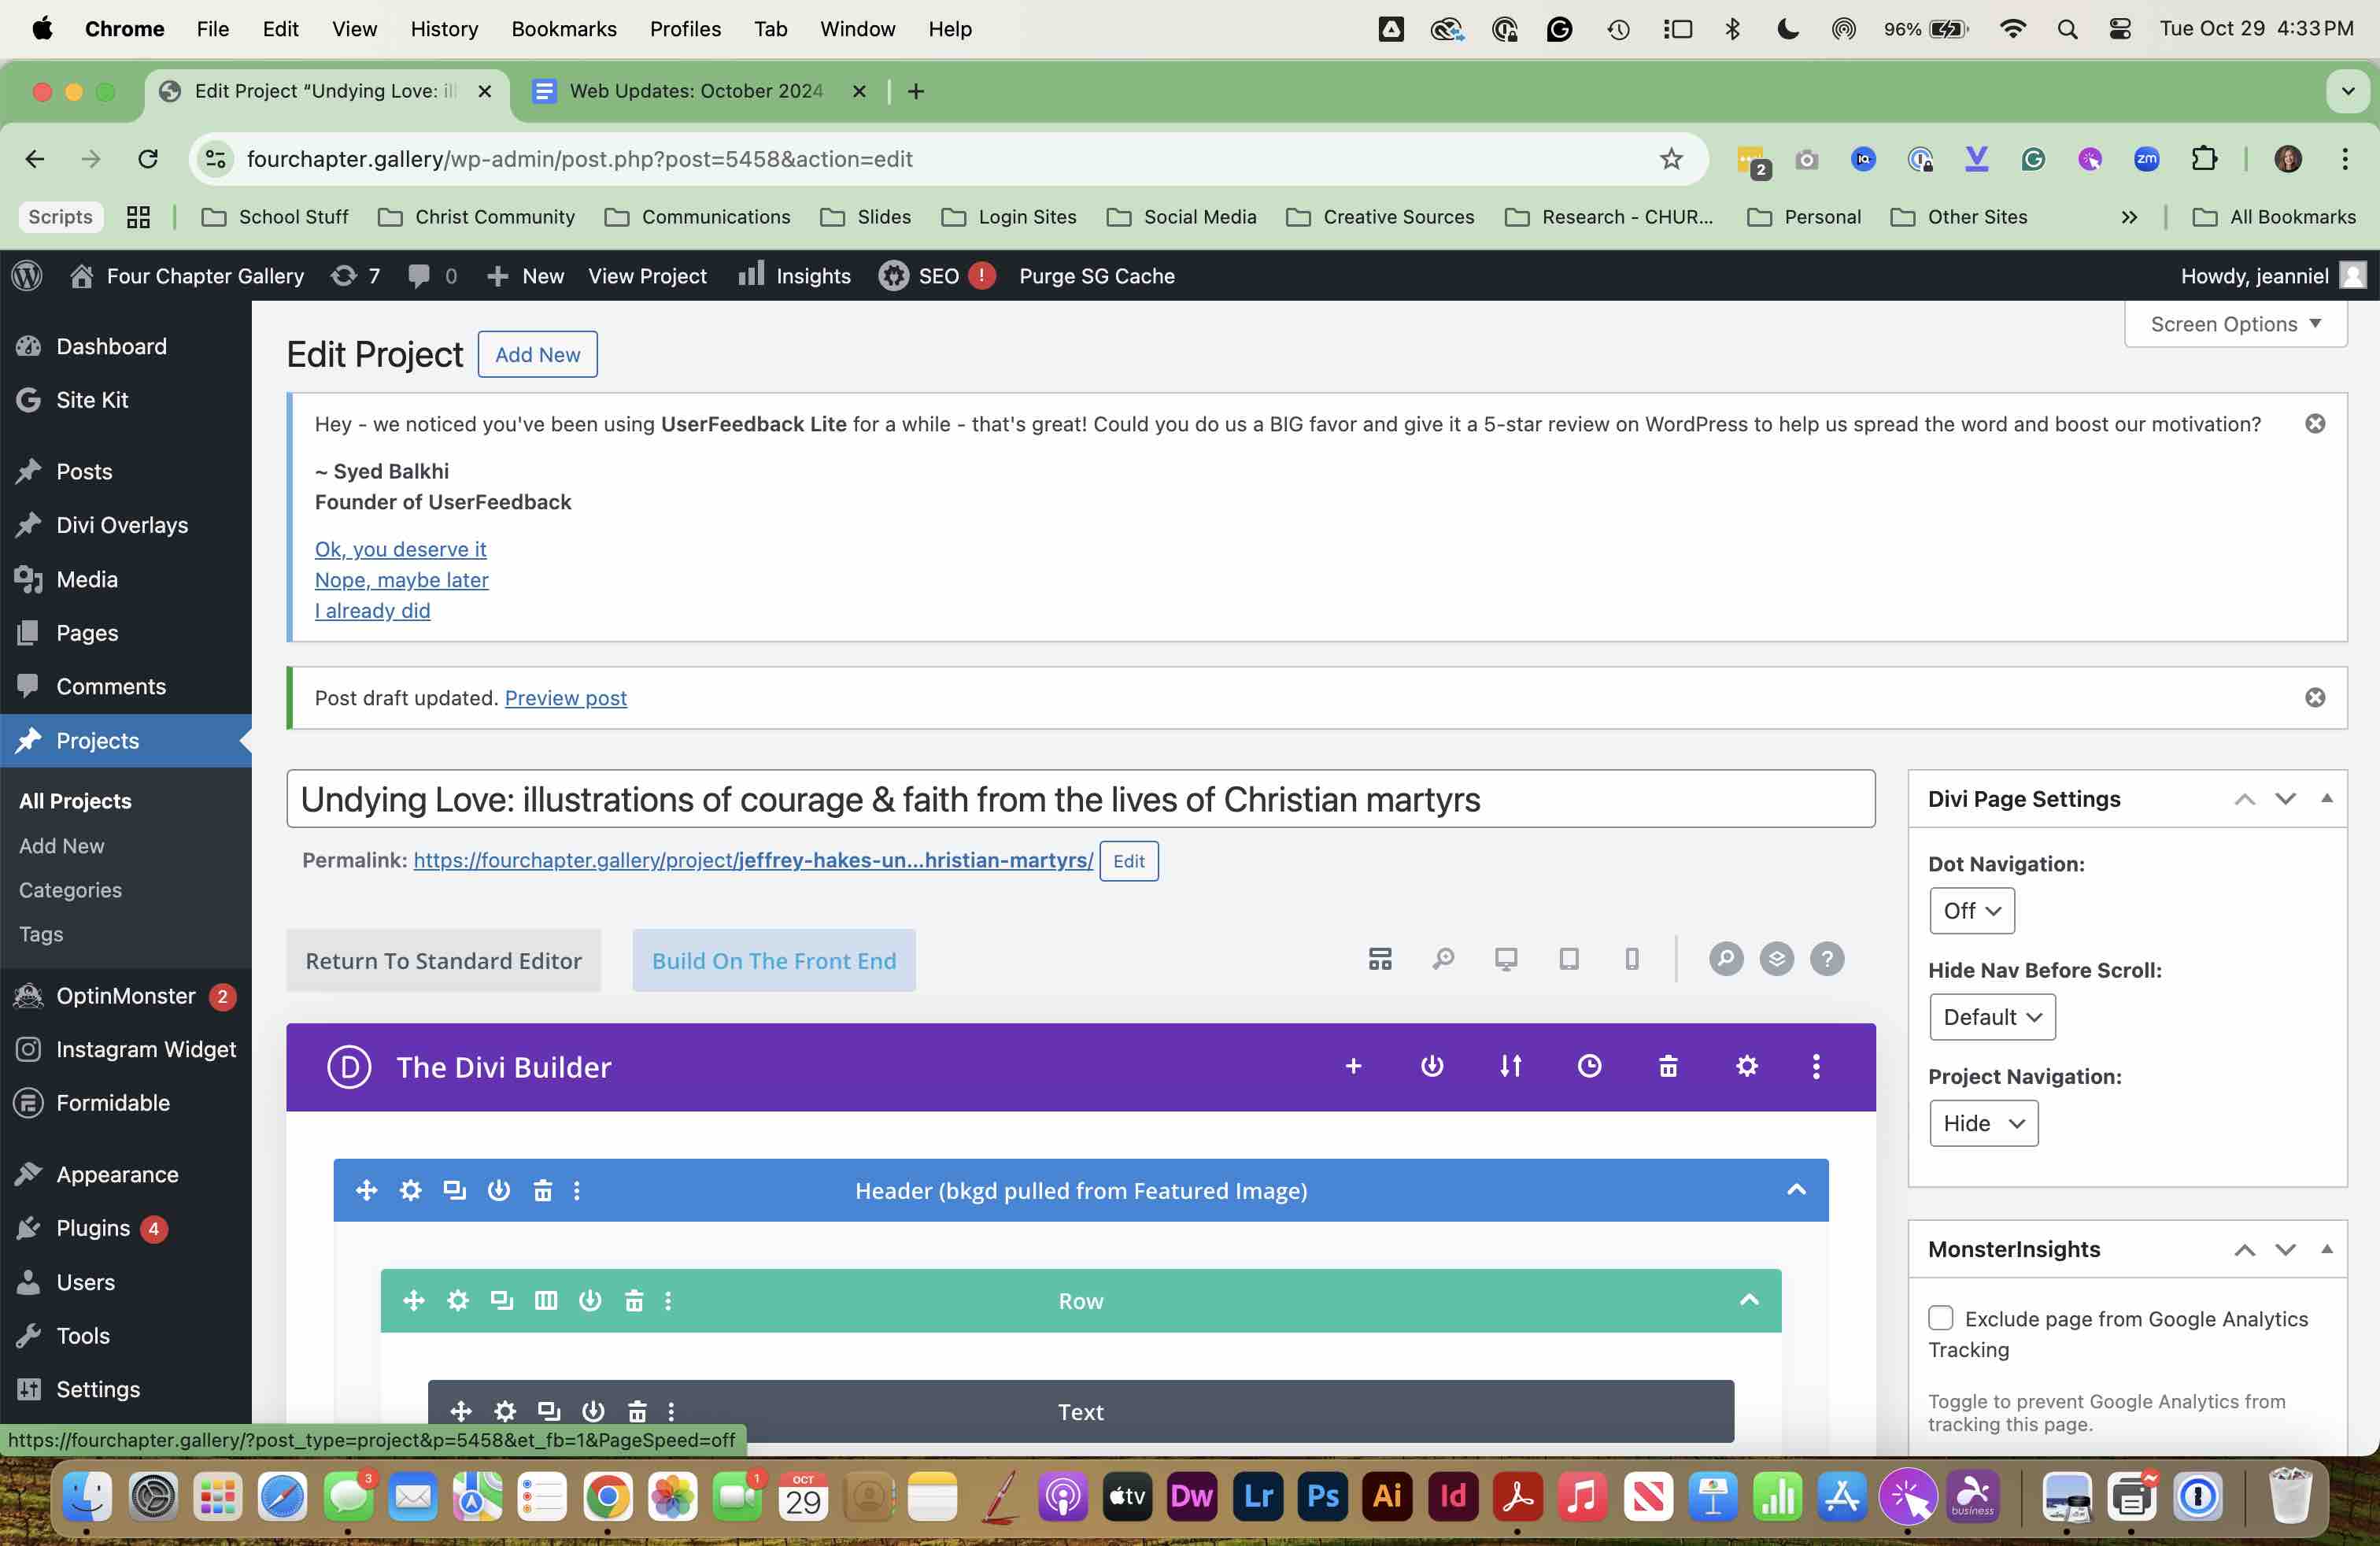
Edit the text on this page per the supplied Google Doc. NOTE: The background image here is from the FEATURED IMAGE.
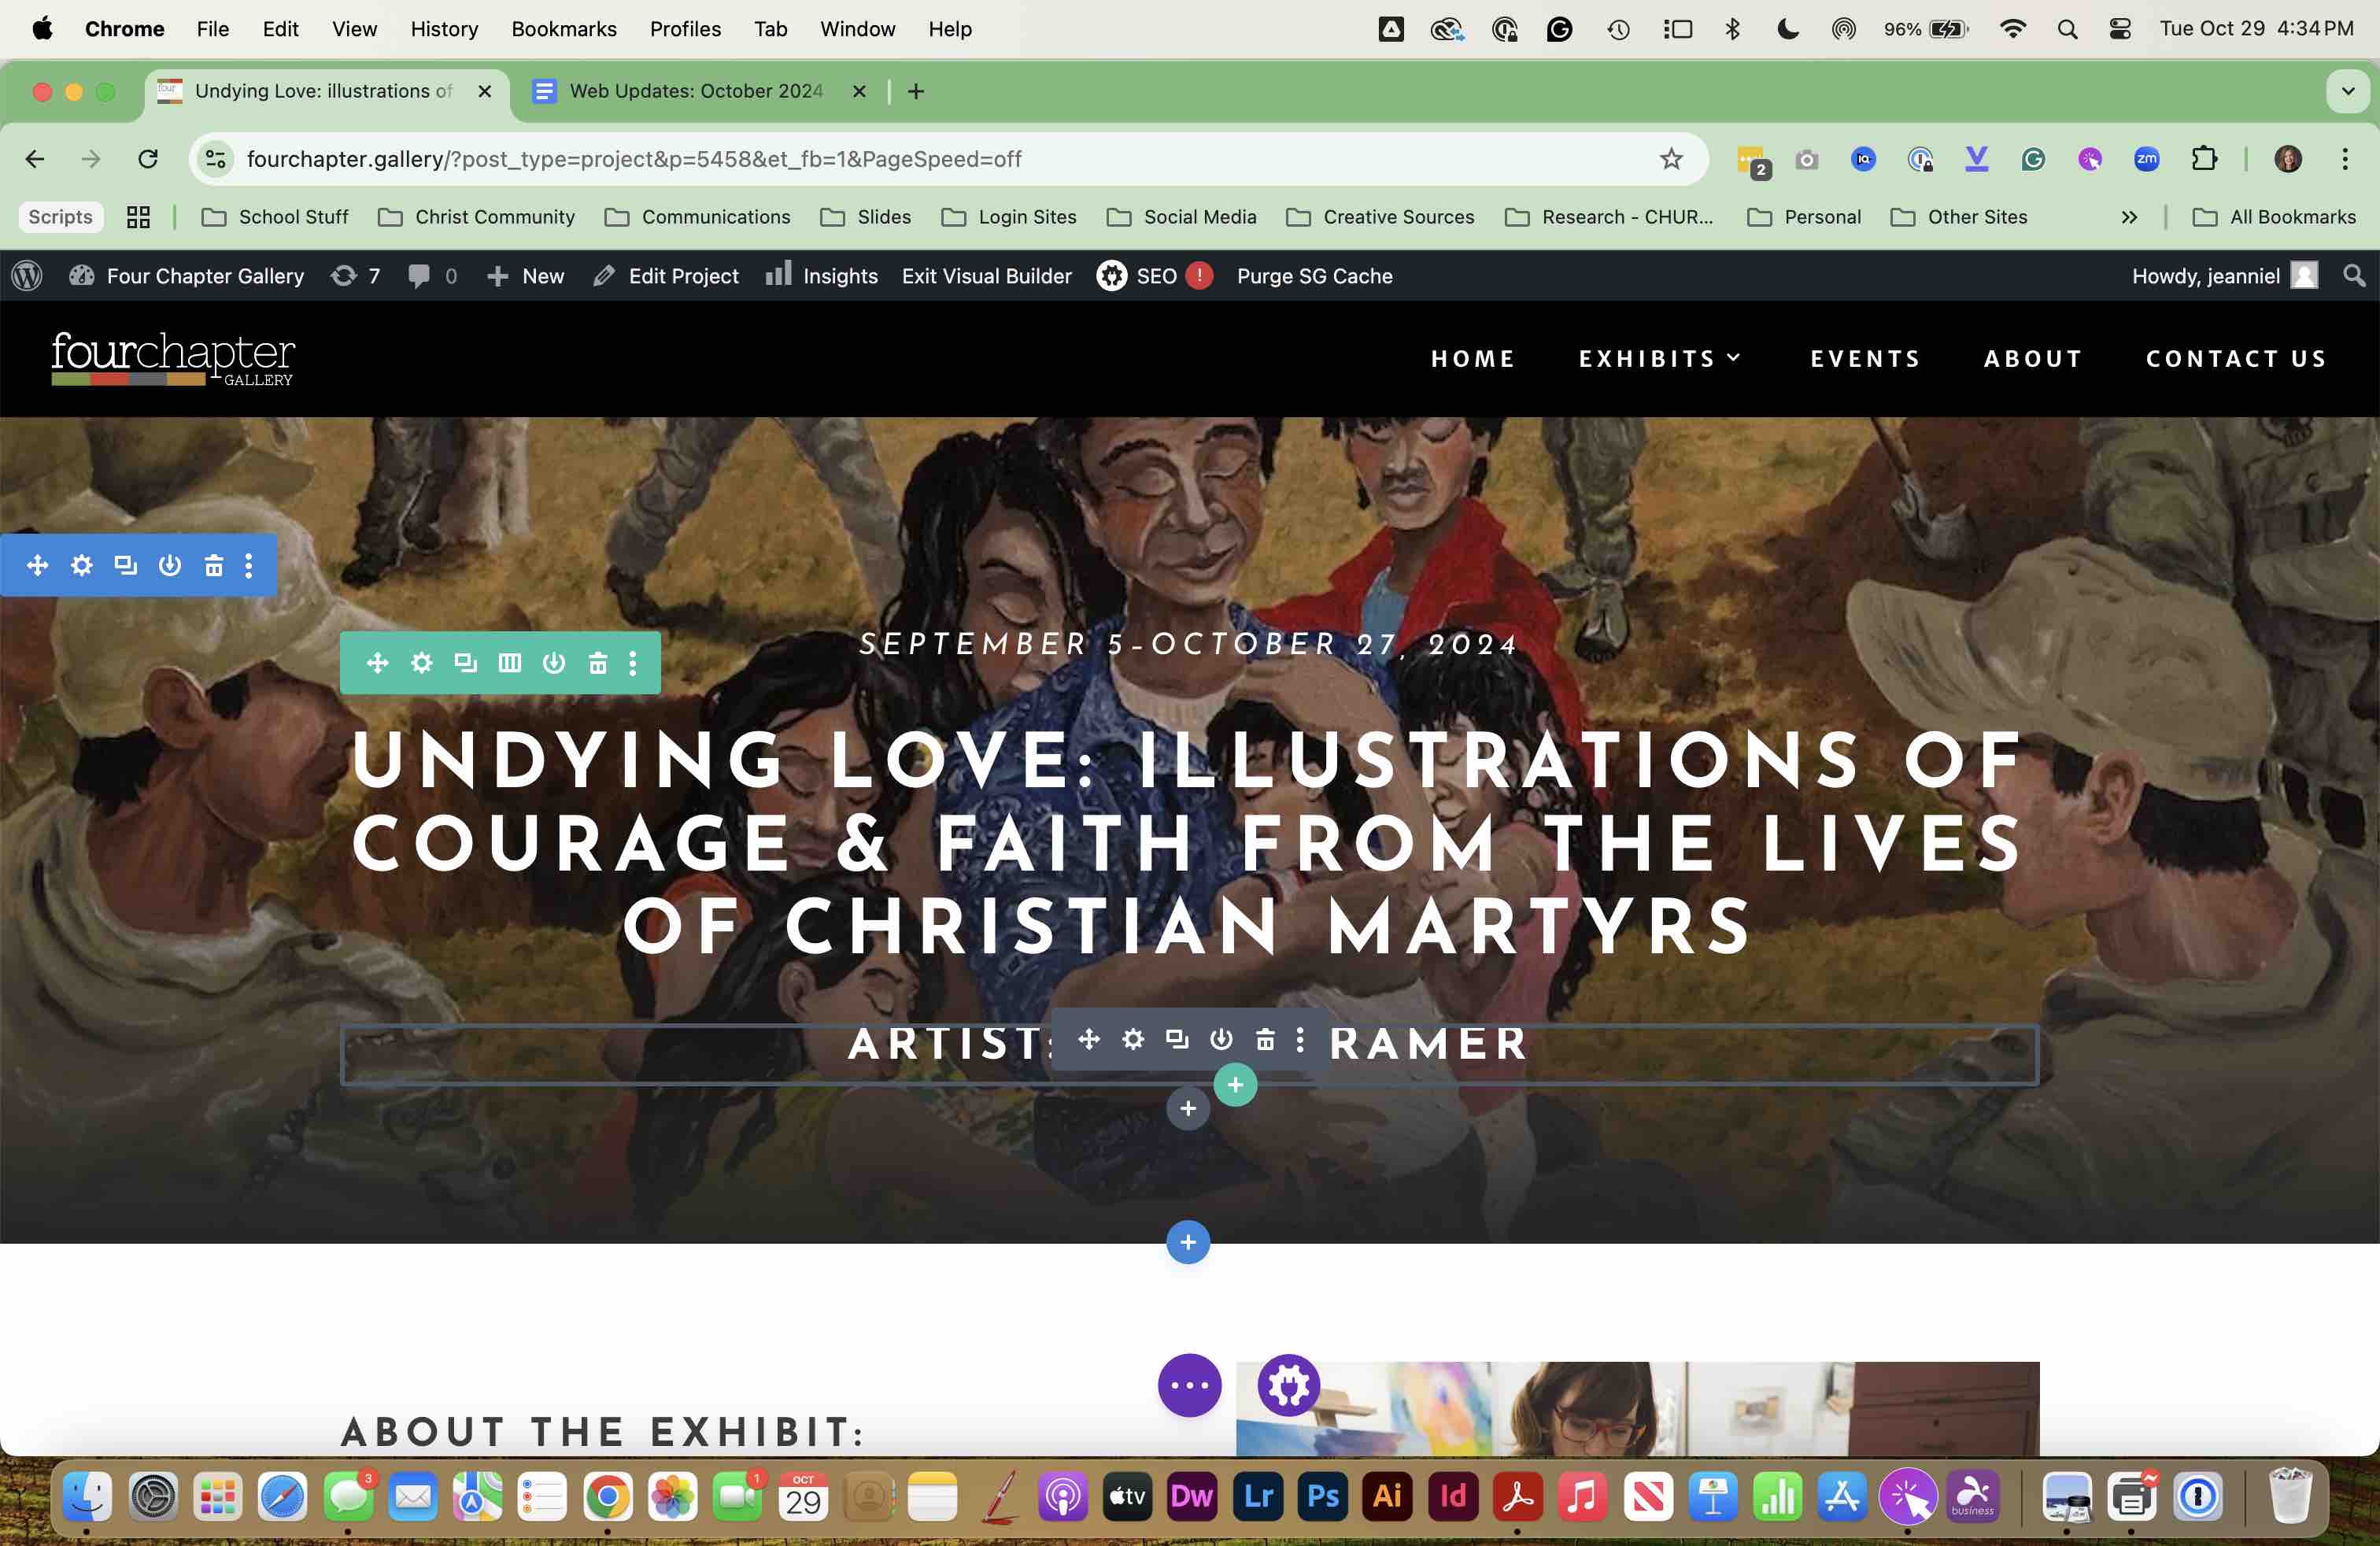
Update the IMAGES, TEXT CONTENT and GALLERY for this new exhibit. SAVE the page.
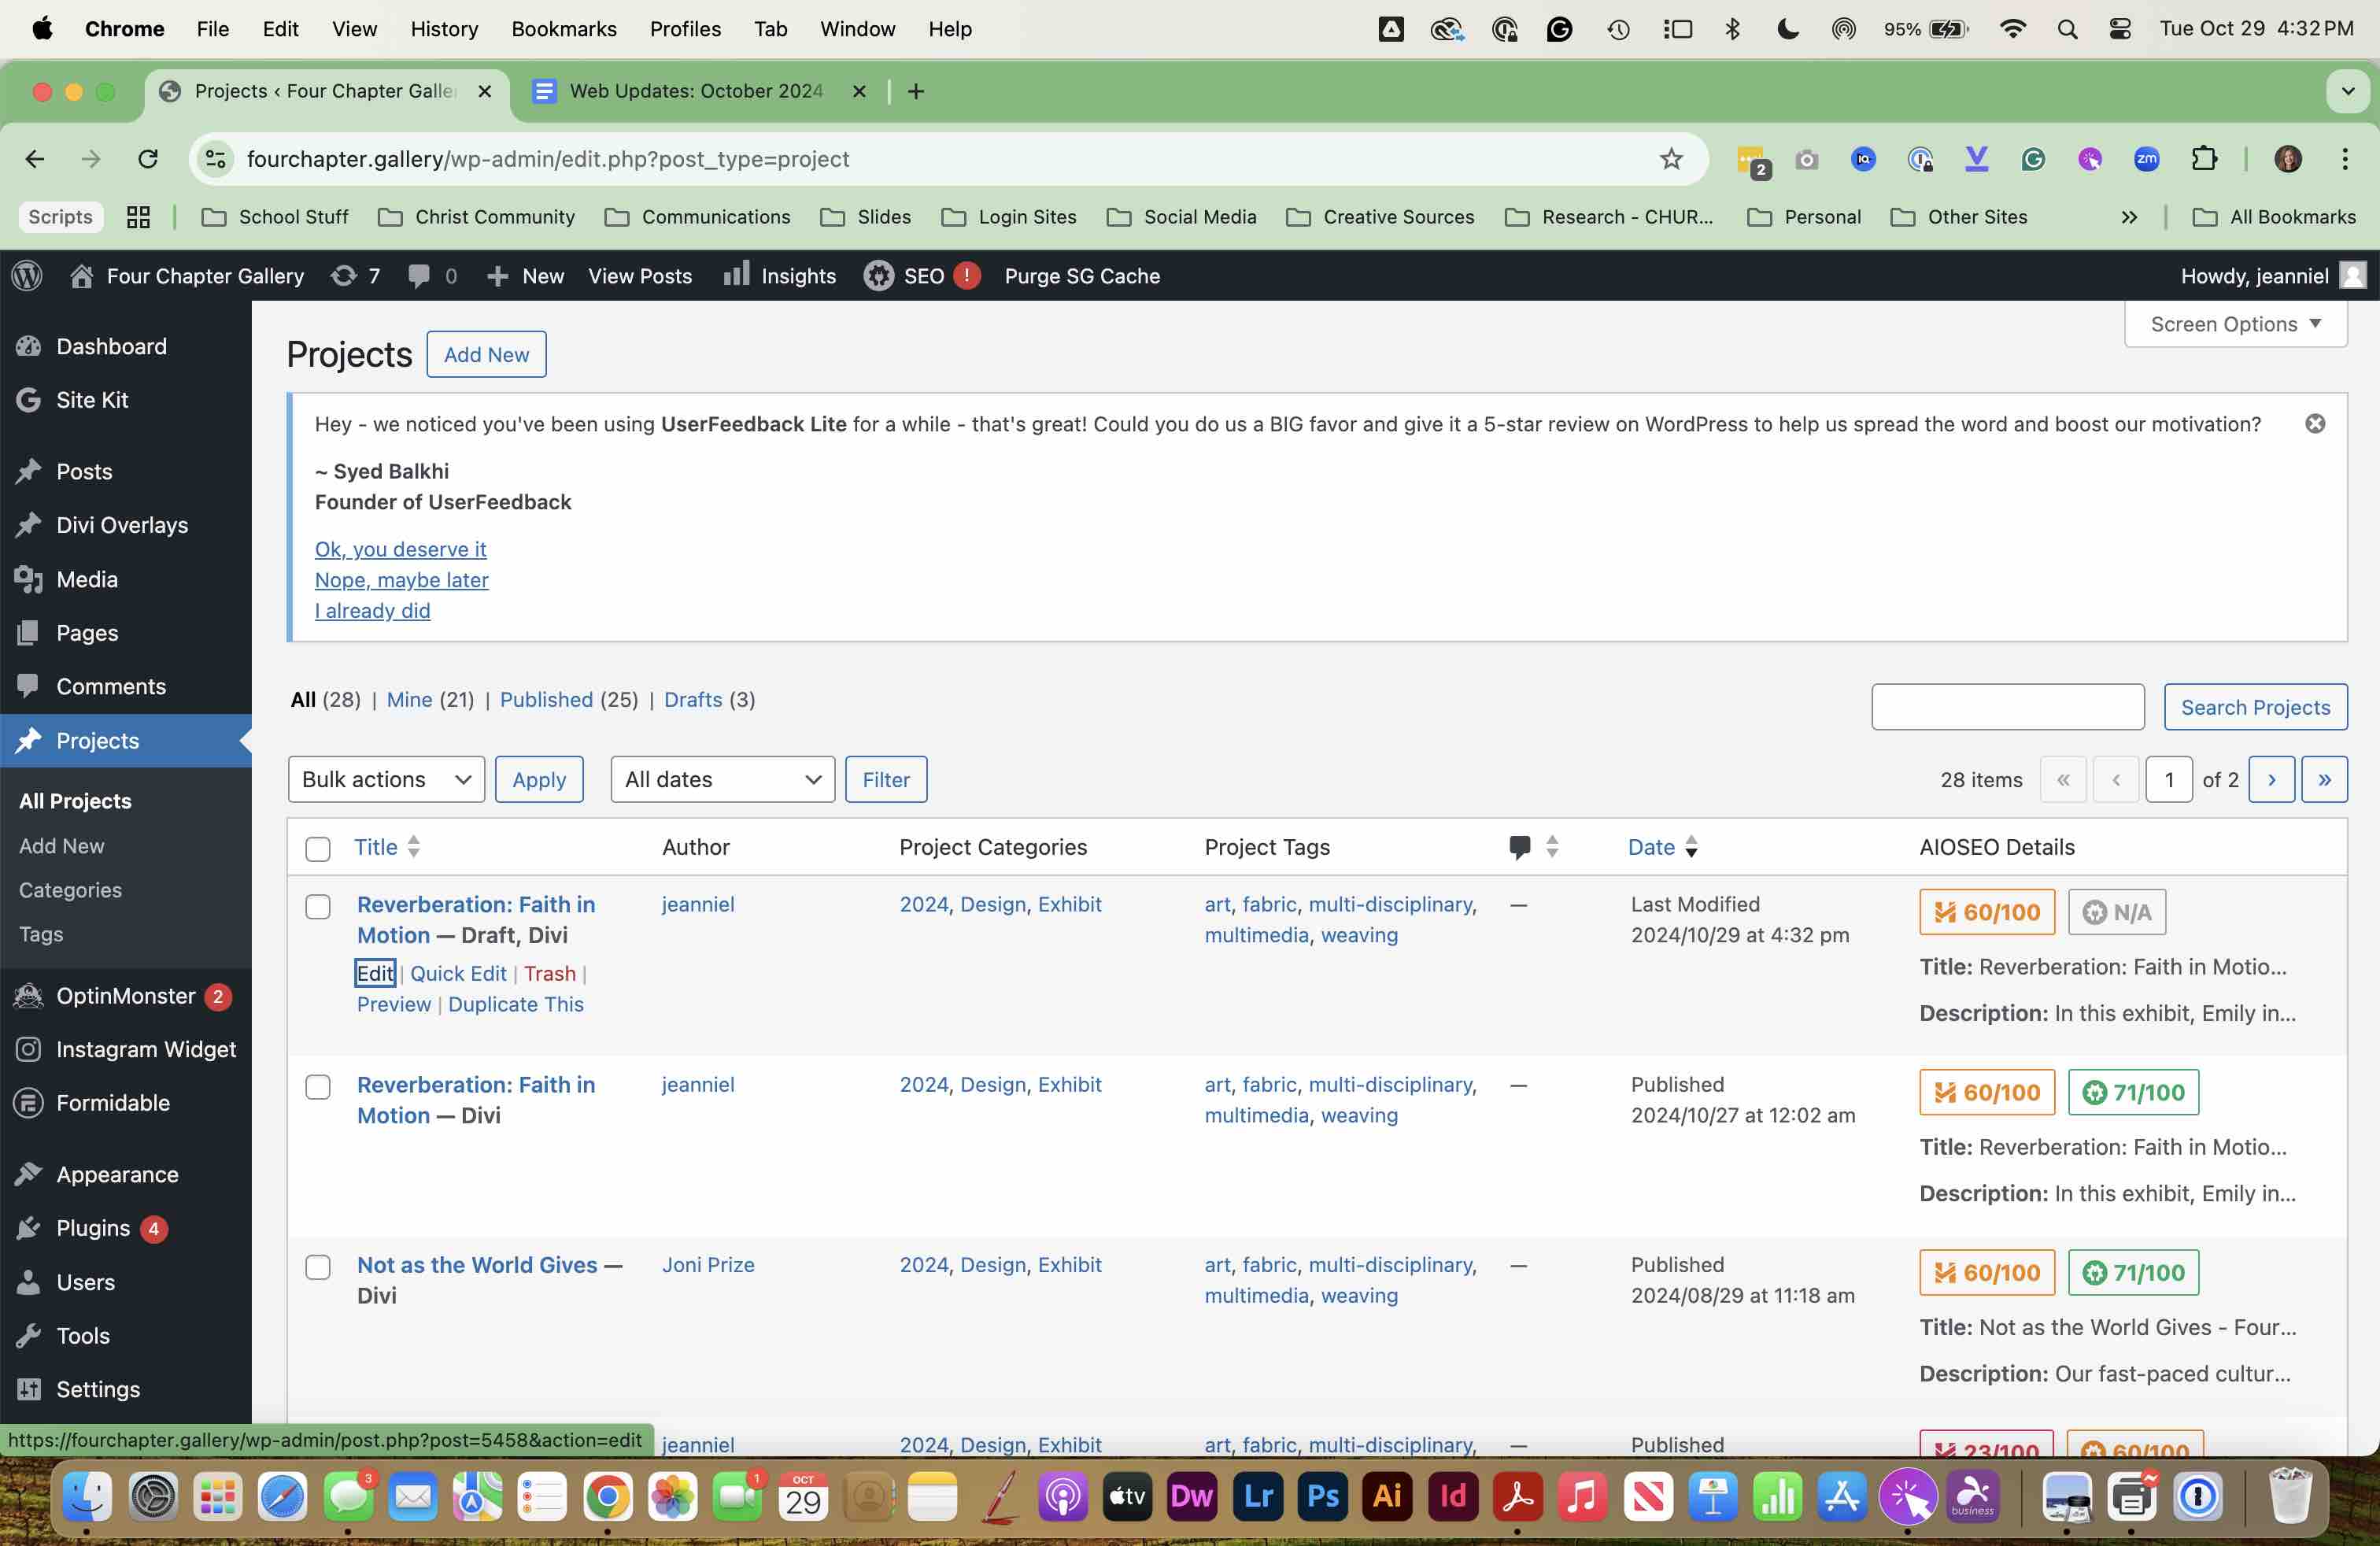
In the Google Doc, locate and make a note of the END DATE for the exhibit.
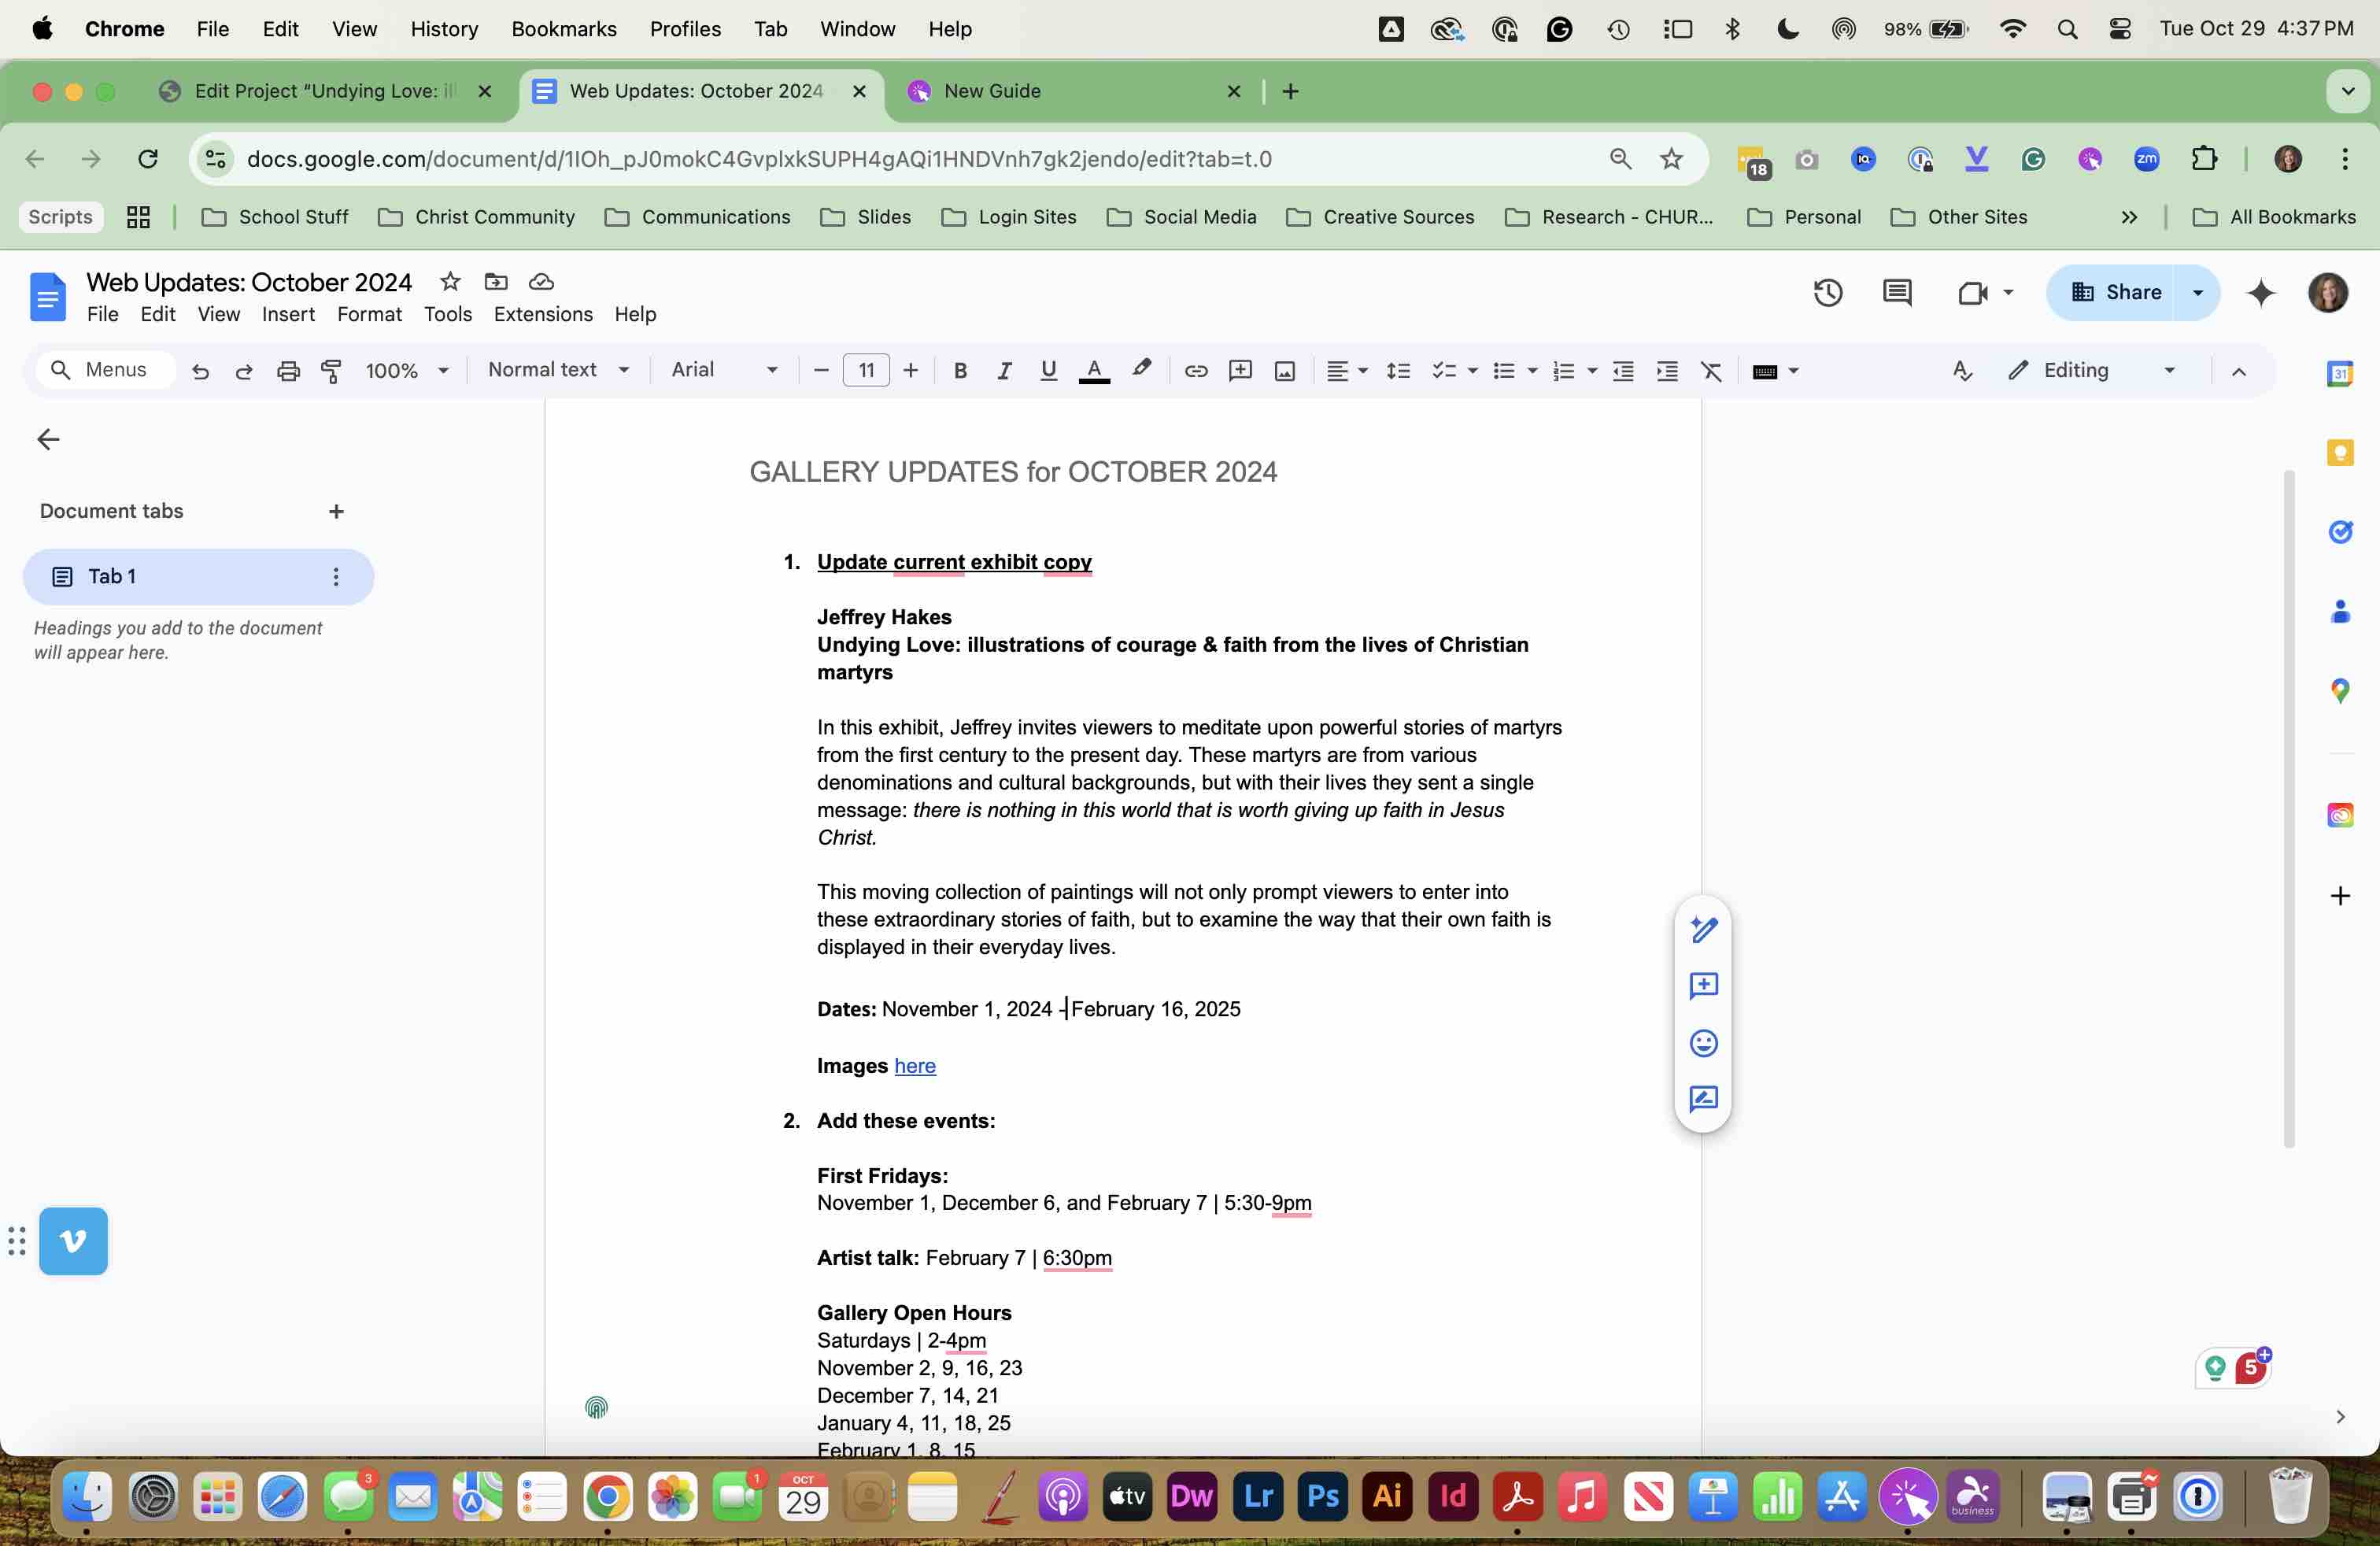
UPDATE the PUBLISH IMMEDIATELY area to be the FINAL DATE of the exhibit. Hit UPDATE and this will change to read SCHEDULED FOR: with the new date. SAVE your page.